Control module
| Control module |
| 1. |
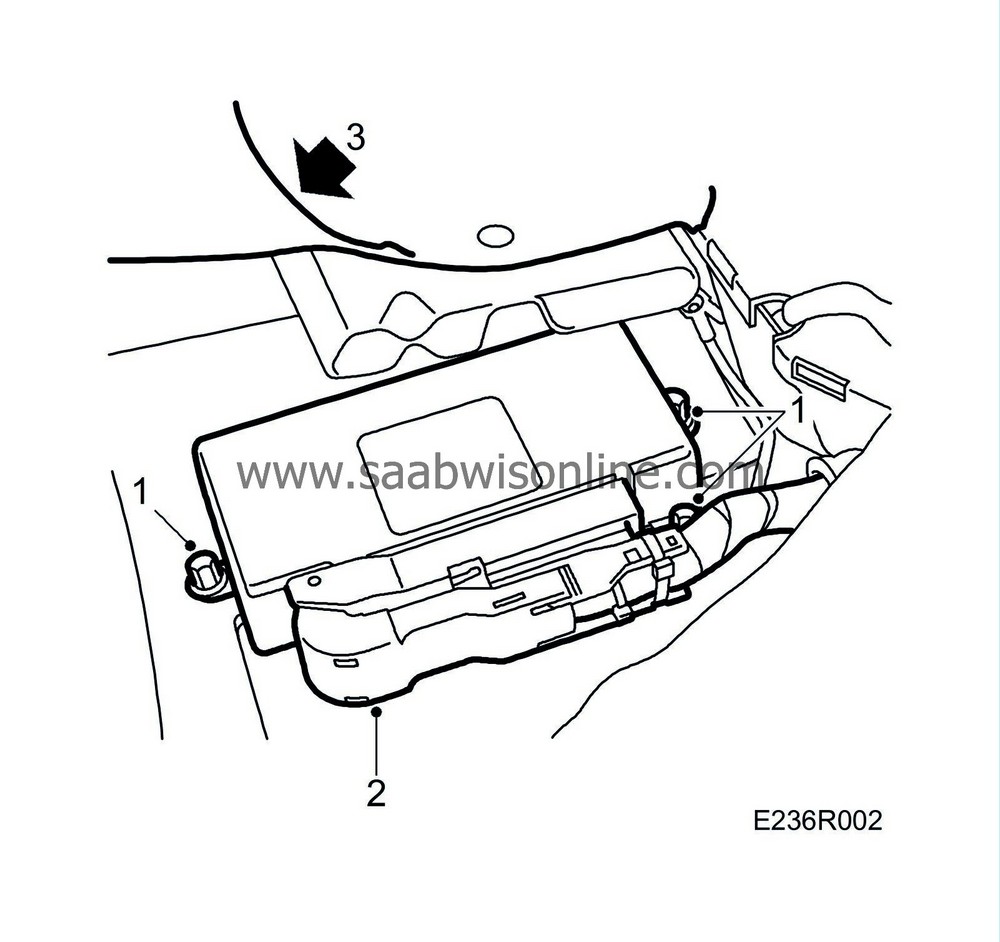
Detach and lift away the LH front seat
|
|
| 2. |
Lift and fold aside the carpet. Remove the plastic moulding as needed.
|
|
| 3. |
Unplug the connector to the module.
|
|
| 4. |
Remove 3 plastic nuts and lift out the module.
|
|
| To fit |

| 1. |
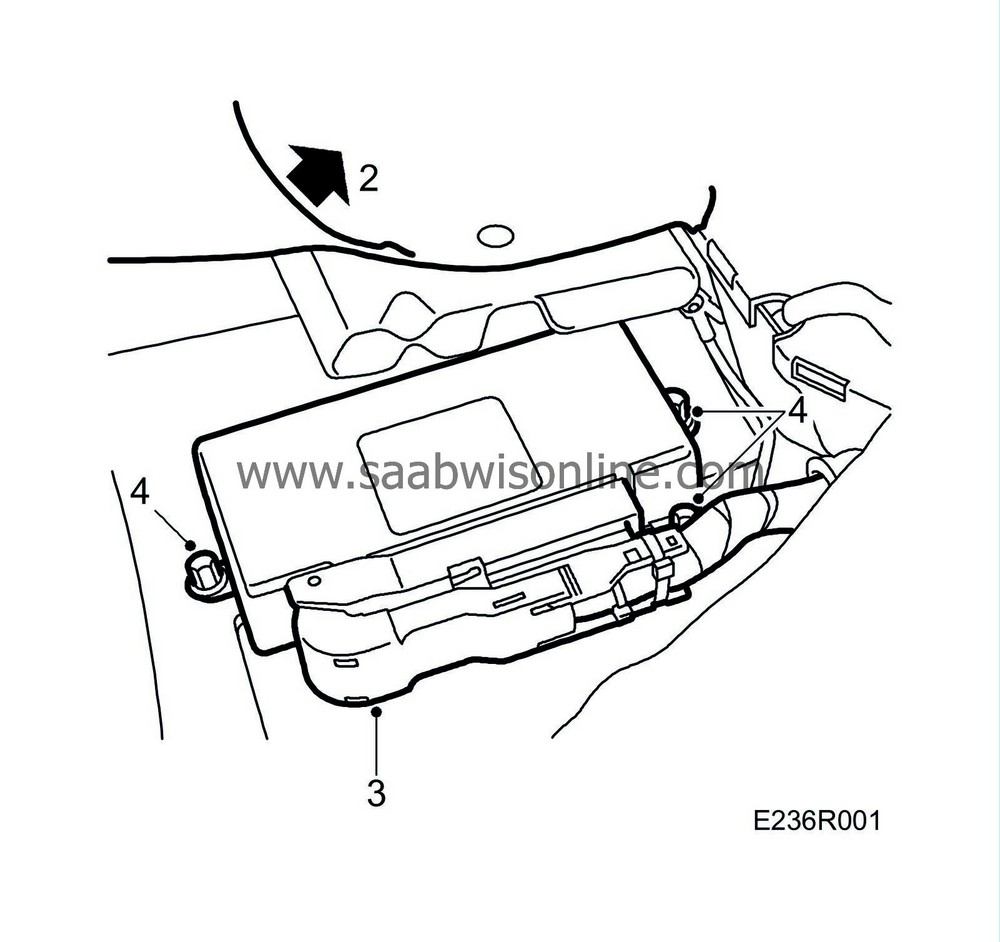
Position the module and fasten it with the 3 plastic nuts.
|
|
| 2. |
Plug in the connector on the module.
|
|
| 3. |
Put the carpet back in place. If necessary, refit the plastic moulding.
|
|
| 4. |
Refit the front seat.
|
|
| 5. |
After the TWICE control module is replaced, it must be programmed into the car.
|
|
| Programming |
| Important | ||
|
All transponders/remote controls for the car must be programmed at the same time. |
||
|
Transponders/remote controls not programmed at the same time will not work with the car. |
||
| 1. |
Connect the diagnostic tool
|
|
| 3. |
The key/remote control (C) must be in the 'OFF' position. Hold the accompanying transponder (D) above the hole in the antenna unit. Turn the ignition to the 'ON' position. Hold the transponder in the same position for a couple of seconds.
Once the transponder code has been read by TWICE, the alarm indicator diode will stop its double flashing. If the alarm indicator diode does not stop its double flashing, repeat step 3 and adjust the position of the transponder (D).
|
||||||||||||||||
| 4. |
Keep the transponder held (D) in the position approved in step 3.
|
|
| 5. |
Select body system and navigate forward to TWICE using the diagnostic tool.
|
|
| 6. |
Press ENTER on the diagnostic tool.
|
|
| 7. |
Select Programming
|
|
| 8. |
Select "Programming transponders and remote controls". Press ENTER.
|
|
| 9. |
Keep the transponder held (D) in the position approved in step 3. Press OK. The seat belt warning lamp should flash to indicate that the transponder code has been recognised by TWICE.
|
||||||||||
| 10. |
Follow the instructions in the diagnostic tool, with the following exceptions:
At the first time with step three in Tech 2, refit the antenna unit and re-insert the same key (C).
Note The antenna unit should not be fitted at low temperatures due to the risk of crack formation.
|
|
| 11. |
Follow the instructions in the diagnostic tool:
Tech 211.1 Look at the seat belt warning lamp.11.2 Press 15 times (once per second) on the key/remote control (C) unlock button until the seat belt warning lamp flashes. M07-: This acknowledgement does not always work. The key is programmed nevertheless. 11.3 Remove the key/remote control from the ignition switch and insert the next key/remote control. 11.4 Turn the key/remote control to the 'ON' position. 11.5 Repeat steps 11.1 and 11.2. Further keys/remote controls are programmed in accordance with steps 11.3 to 11.5. Press 'OK' once all keys/remote controls have been programmed. 11.6 Once the programming of all keys/remote controls has been completed, check that the correct amount have been programmed: - Turn the key/remote control to the 'ON' position. - Press the key/remote control button that unlocks the boot lid. - SID shows the number of keys/remote controls that have been programmed. If the correct number of keys/remote controls has not been programmed then all must be programmed again. Select "Programming transponders and remote controls" and carry out step 11 and onwards in accordance with these instructions. Note When the number of keys/remote controls with accompanying transponder is correct then a further programming must be carried out where an accompanying transponder has not been included in the programming. Select "Programming transponders and remote controls" and carry out step 11 and onwards in accordance with these instructions. 11.7 Carry out spare parts programming for TWICE, select the alternatives that are relevant to the car. 11.8 Perform immobilization programming. 11.9 Clear DTCs in TWICE. 11.10 Clear DTCs in the engine management system. |
|
| 12. |
Discard the accompanying transponder.
|
|
| 13. |
If the return form is included in the spare parts carton then this must be returned together with TWICE within 40 days of the order date.
|
|


