Rear roof rivet
| Rear roof rivet |
| Removing |
| 1. |
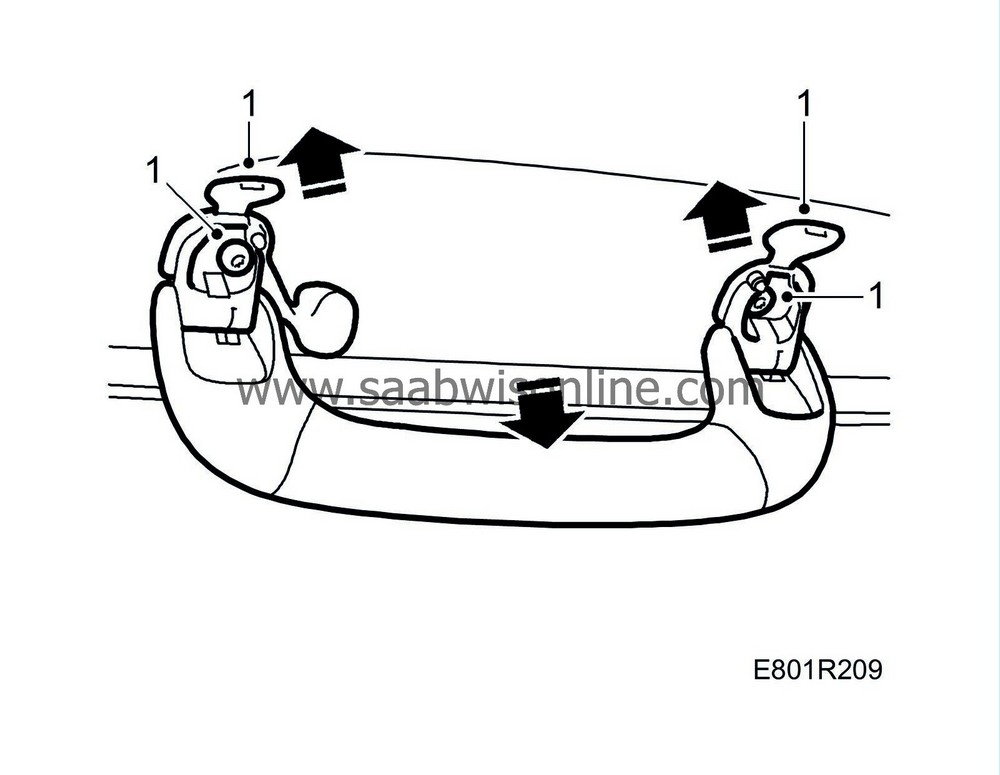
Remove the rear courtesy handle by bending back the covers with a small screwdriver and removing the two screws.

|
|
| 2. |
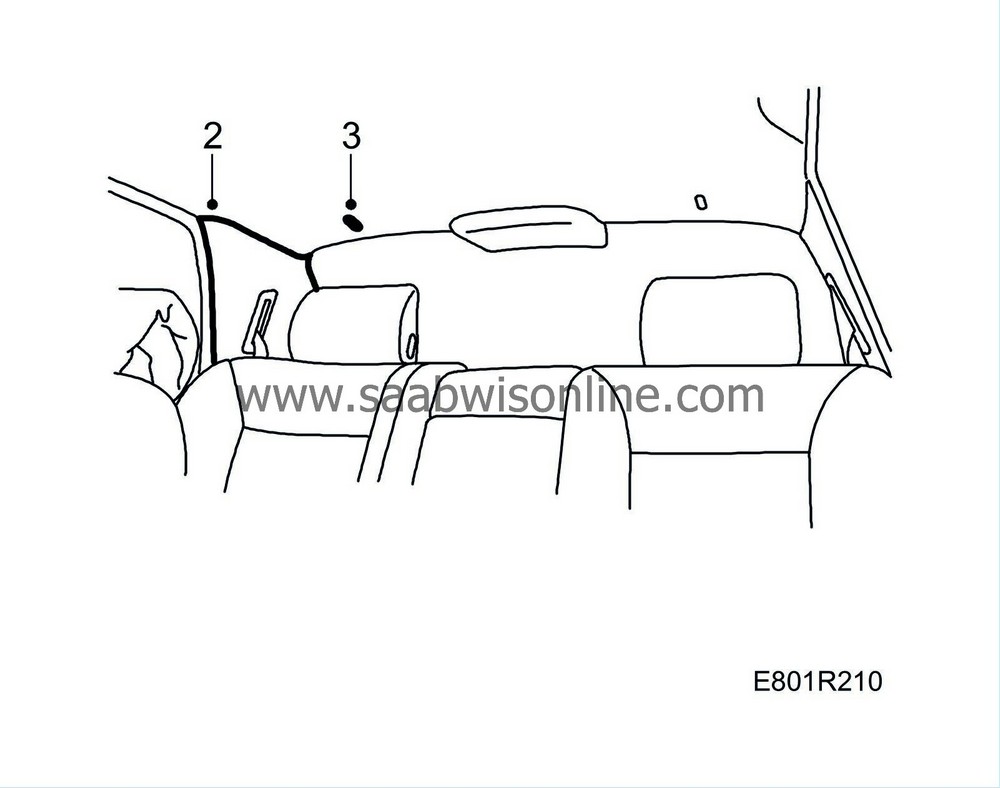
Loosen the top edge of the B-pillar and C-pillar trim (secured with clips).

|
|
| 3. |
Remove the rear roof clip by turning it 90°.
|
|
| 4. |
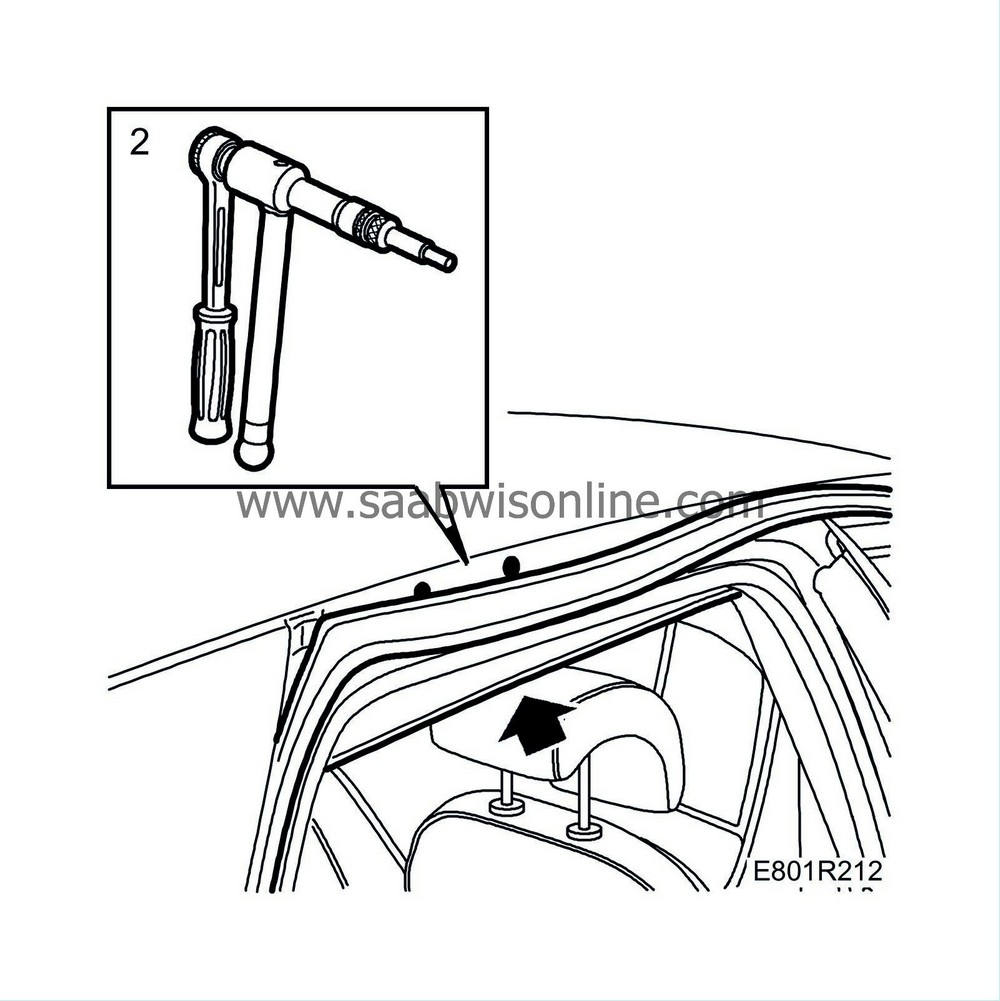
Undo the roof moulding by the roof rivets.

|
|
| 5. |
Carefully bend down the headlining and place a magnet by the roof rivet to be removed. The roof rivets can be accessed through the hole behind the headlining.
|
|
| 6. |
Drill away the head of the roof rivet with a 9 mm (0.35 in) drill.
If rusted, the rivet may spin with the drill, in which case grind down the roof rivet. |
|
| 7. |
With the magnet, remove the drilled rivet through the hole behind the headlining.
|
|
| Fitting |
| Important | ||
|
In case of rust: Blast/grind and clean with Teroson FL cleaner. Apply Standox 1K Füllprimer. Paint the area. |
||
| 1. |
Apply light anti-corrosion agent around the hole and to the roof rivet.
|
|
| 2. |
Fit the roof rivet using rivet kit part no. (16) 82 92 617. See
Rivet kit
.

|
|
| 3. |
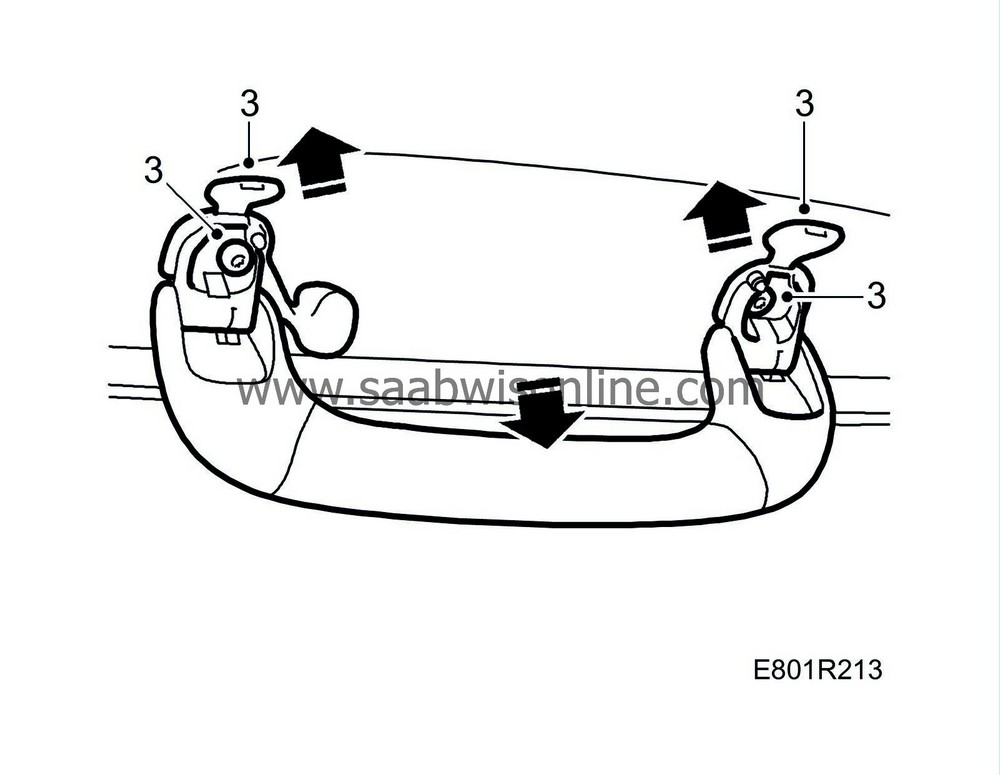
Refit the headlining and fit the rear courtesy handle.

|
|
| 4. |
Refit the B-pillar and C-pillar trim.

|
|
| 5. |
Refit the rear roof clip.
|
|
| 6. |
Refit the roof moulding.
|
|


