Roof 4D
| Roof 4D |
Certain weld joints on the car may be MIG brazed whereby the filler material is bronze rod. The characteristic sign of MIG brazing is that the joint is gold coloured. MIG brazing must always be replaced with new MIG brazing.
|
|||||||
| To remove |
| 1. |
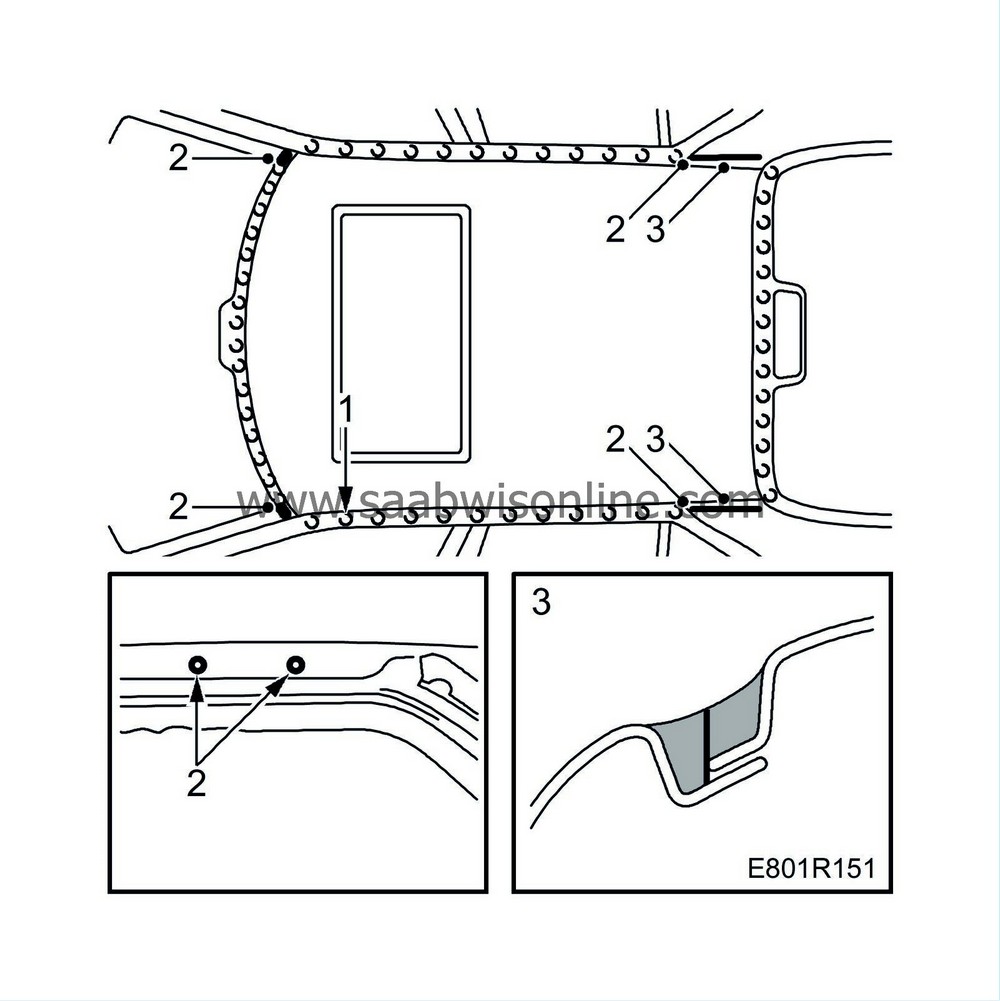
Drill out the spot-welds.
|
|
| 2. |
Grind down the welds that hold the roof to the A and C-pillars. Note that the seam welds may be MIG brazed. Drill out or grind away the nuts for the load carriers in the edge of the roof.
|
|
| 3. |
Make a cut in the middle of the adhesive bead between the roof and the outer side panel.
|
|
| 4. |
Tap loose the roof and align any damaged sheet metal and panels.
|
|
| To fit |
| Note | ||
|
Be careful not to damage the paint on the outer side panel when adjusting the bead of sealant. |
| 1. |
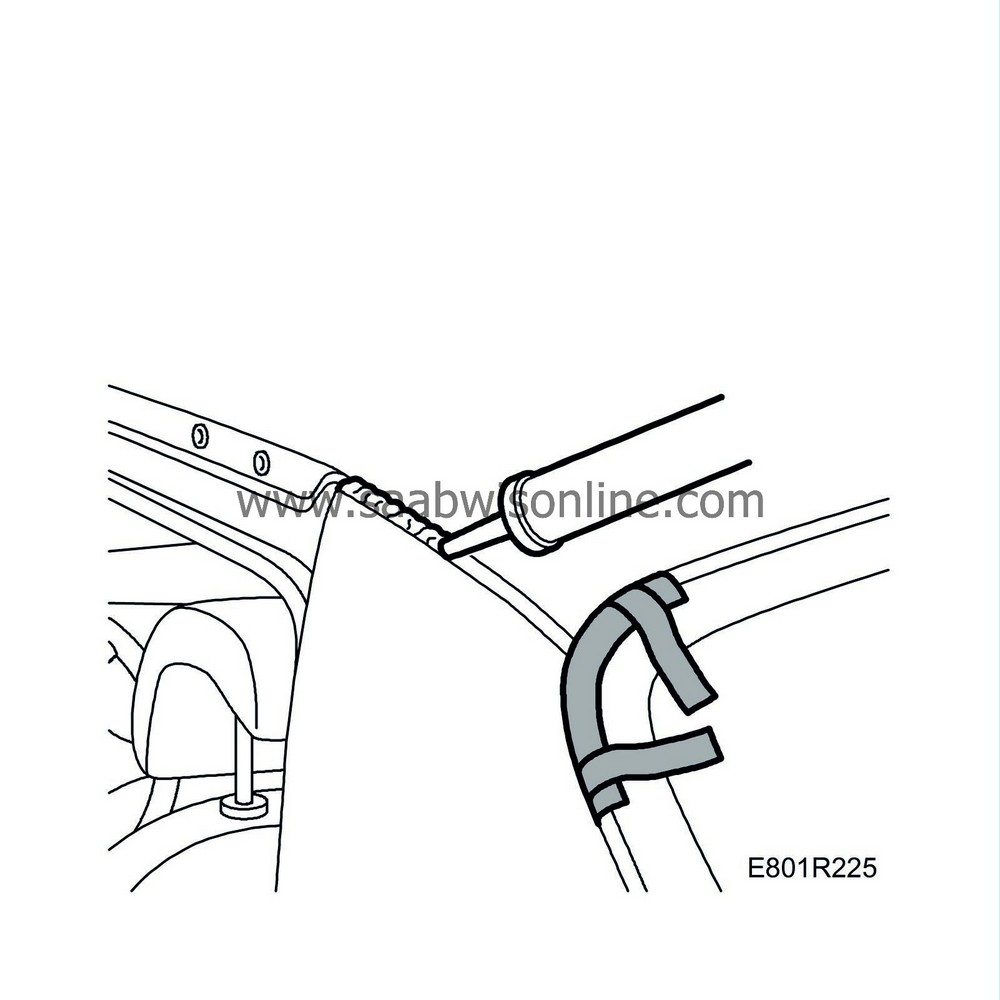
Mask off the outer side panel. Cut away the centre section of putty towards the edge of the side panel using
Cutting tool, roof joint 4D
.
Use 82 93 474 Removal tool to cut away the rest of the putty. Angling the putty knife will make it easier to remove the putty. Be sure to remove the putty at the bottom of the joint. 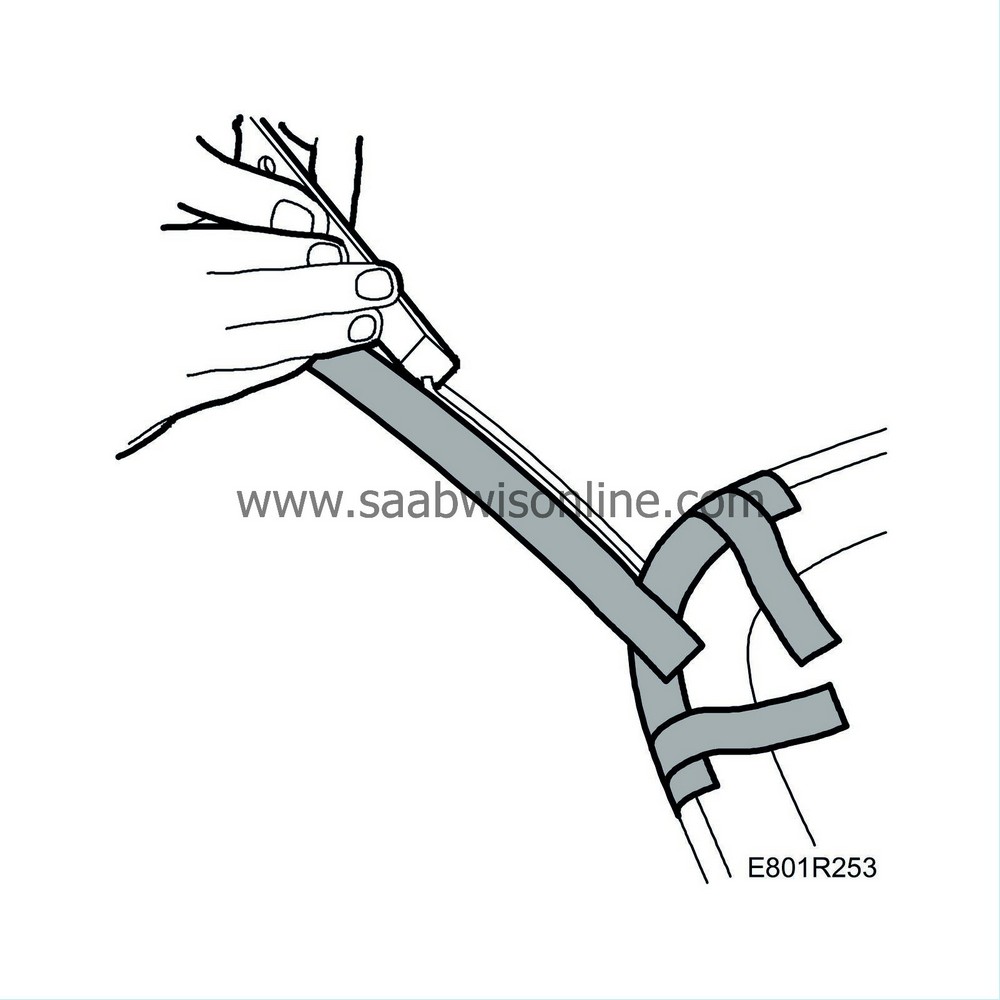
|
|
| 2. |
Grind all the surfaces that are to be welded.
|
|
| 3. |
Apply welding primer to the surfaces that are to be welded.
|
|
| 4. |
Fit the new roof and secure it with a few welding clamps.
|
|
| 5. |
Spot-weld the roof.

|
|||||||||
| 6. |
Seam weld the roof to the A and C-pillars.
Certain cars : Replace the MIG brazing. |
|
| 7. |
Grind the welds.
|
|
| 8. |
Remove any remaining welding primer. Welding primer reduces adhesion of paint, filler and sealant.
|
|
| 9. |
Apply etching primer to all surfaces that have been ground clean.
|
|
| 10. |
Wipe clean the sealant joins with Teroson FL T875.
|
|
| 12. |
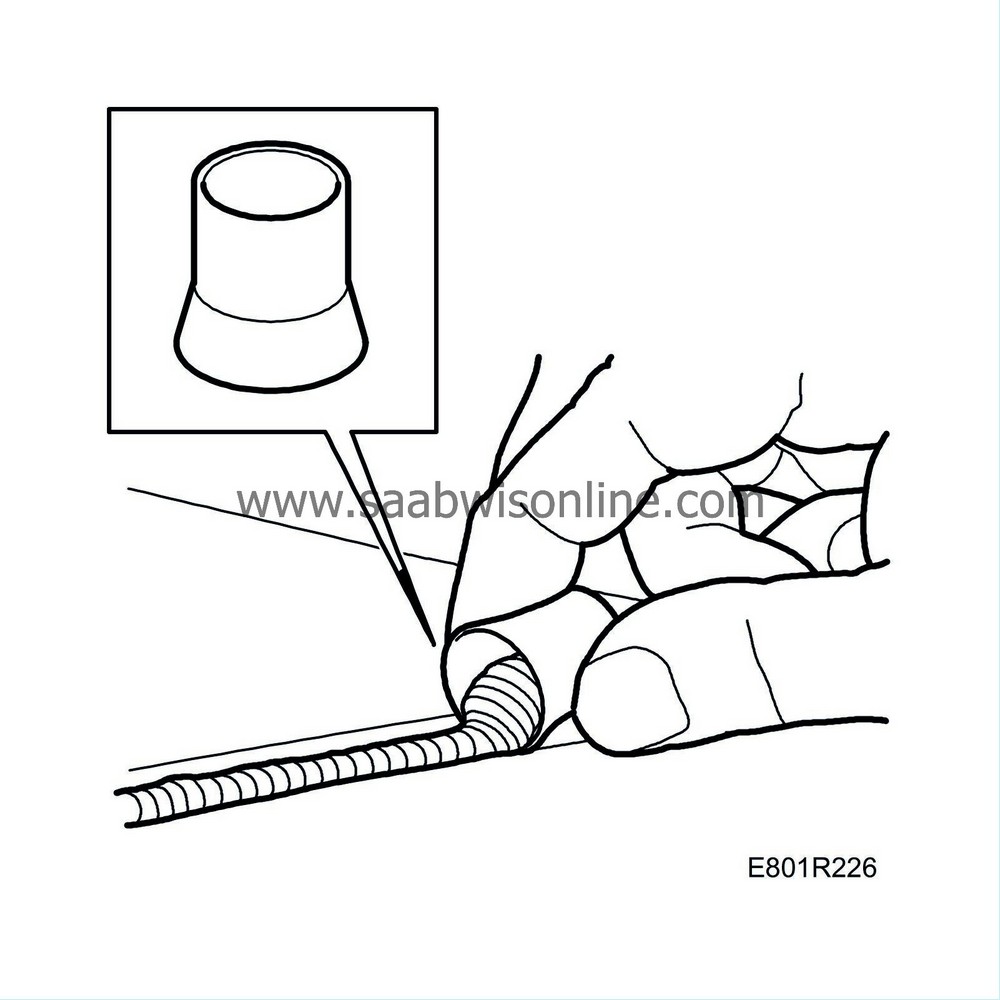
Then use the
plastic scraper
to remove excess material. Adjust the shape at the rear window flange and the roof moulding flanges.
|
|
| 13. |
Inspect the sealing joint for quality and finish.
|
|
| 14. |
Allow the material to harden 2 hours at a minimum of 20
°
C (68
°
F).
|
|
| 15. |
Inspect the sealing joint for quality and finish after hardening.
|
|
| 16. |
Seal joints and seams with sealant.
|
|
| 17. |
Apply anti-corrosion agent to the edge of the roof after painting. Use Terotex HV 400 or Mercasol 1.
|
|
| 18. |
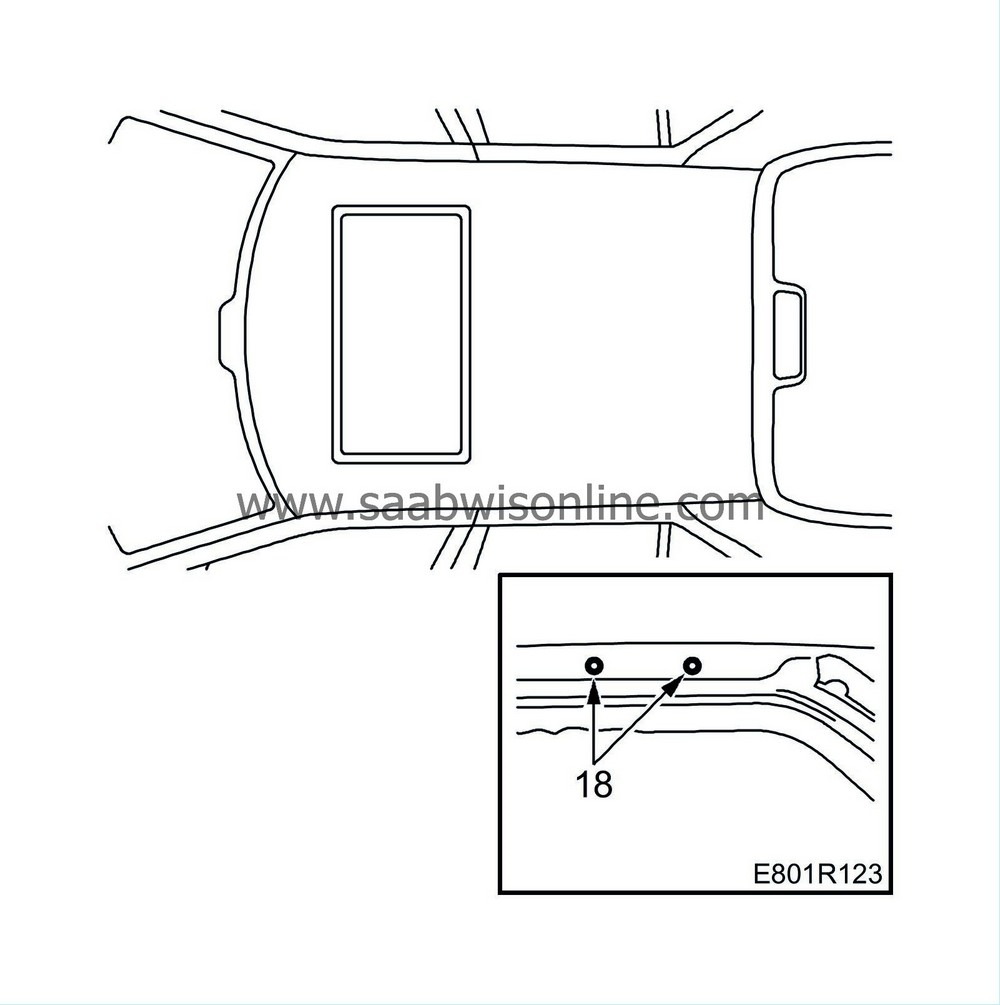
Apply anti-corrosion agent in the holes for the carrier rack and on the nuts.
|
|
| 19. |
Fit the carrier rack nuts on the edge of the roof.
|
||||||||||

 Warning
