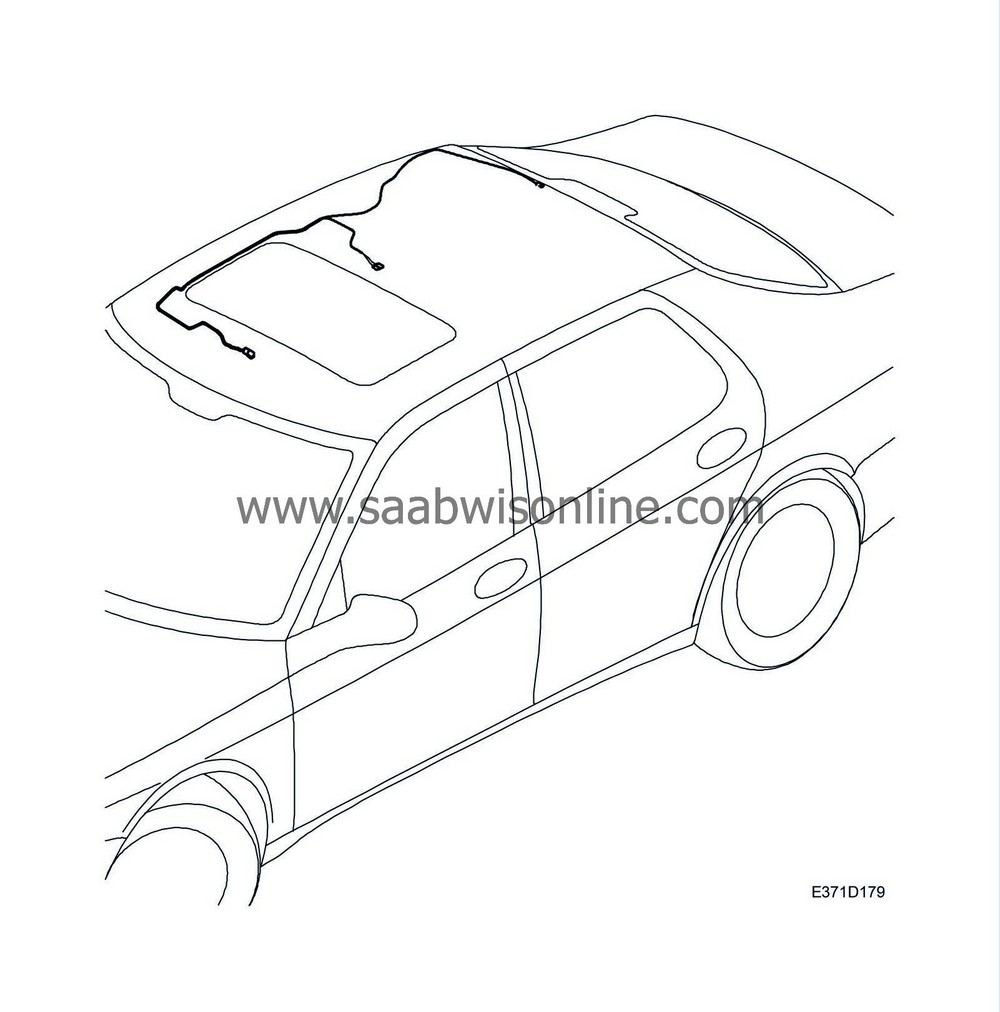
Replacing the wiring harness, headlining 4D
|
|
Replacing the wiring harness, headlining 4D
|
 Warning
|
|
Take care not to damage or loosen the energy absorbers. Damaged or loose energy absorbers must not be refitted. If the occasion should arise, the entire headlining must be changed. Damaged energy absorbers may impair head protection in case of a collision.
|
|
|
|
|
|

|
1.
|
Unscrew the sun visors and their brackets, 3 screws per sun visor. Allow them to remain hanging.
|
|
2.
|
Remove the roof console by carefully prizing with a screwdriver in the clip socket of the lighting lens, at the front edge.
|
Note
|
|
Proceed carefully, the lighting lens could crack if removed incorrectly.
|
|
Take care not to scratch the cover.
|
|
|
3.
|
Unscrew the roof console.
If fitted, detach the microphone and unplug the inner temperature sensor's connector and lift away the roof console.
Unplug the grey 10-pin connector.
|
|
4.
|
Remove the A-pillar trims (secured with clips).
|
|
5.
|
Remove all courtesy handles above the doors.
|
|
6.
|
Cars with sunroof:
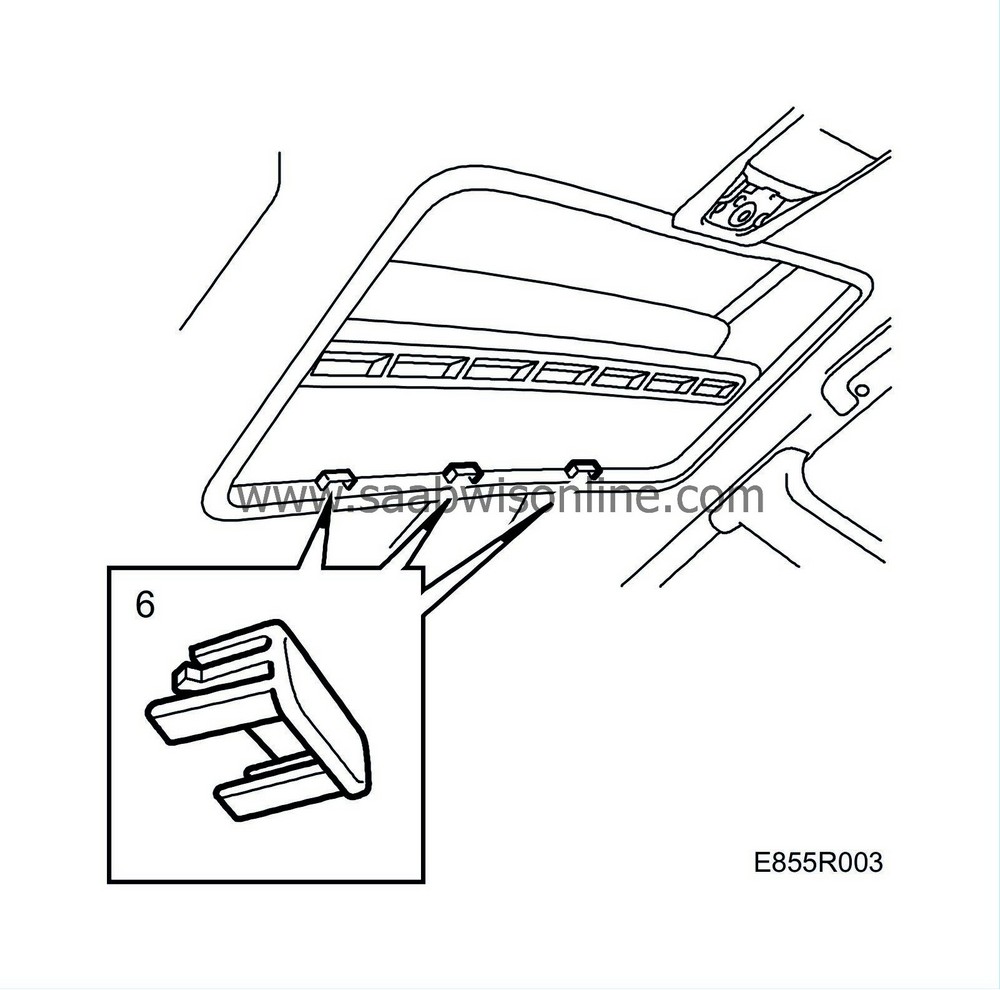
Undo the clips at the rear edge of the sunroof (x 3) by carefully pressing with a finger from the rear.
|
|
7.
|
Undo the B-pillar trim on the passenger side (secured with clips).

Lift the pillar trim from the air duct and place it to one side.
|
|
8.
|
Lower the rear seat backrest cushions.
Remove the loudspeaker grille on the right and left-hand sides (2 clips + 1 rivet / side).
|
|
9.
|
Remove the C-pillar trims at the top edge (secured with clips). Allow them to remain hanging in the belts.
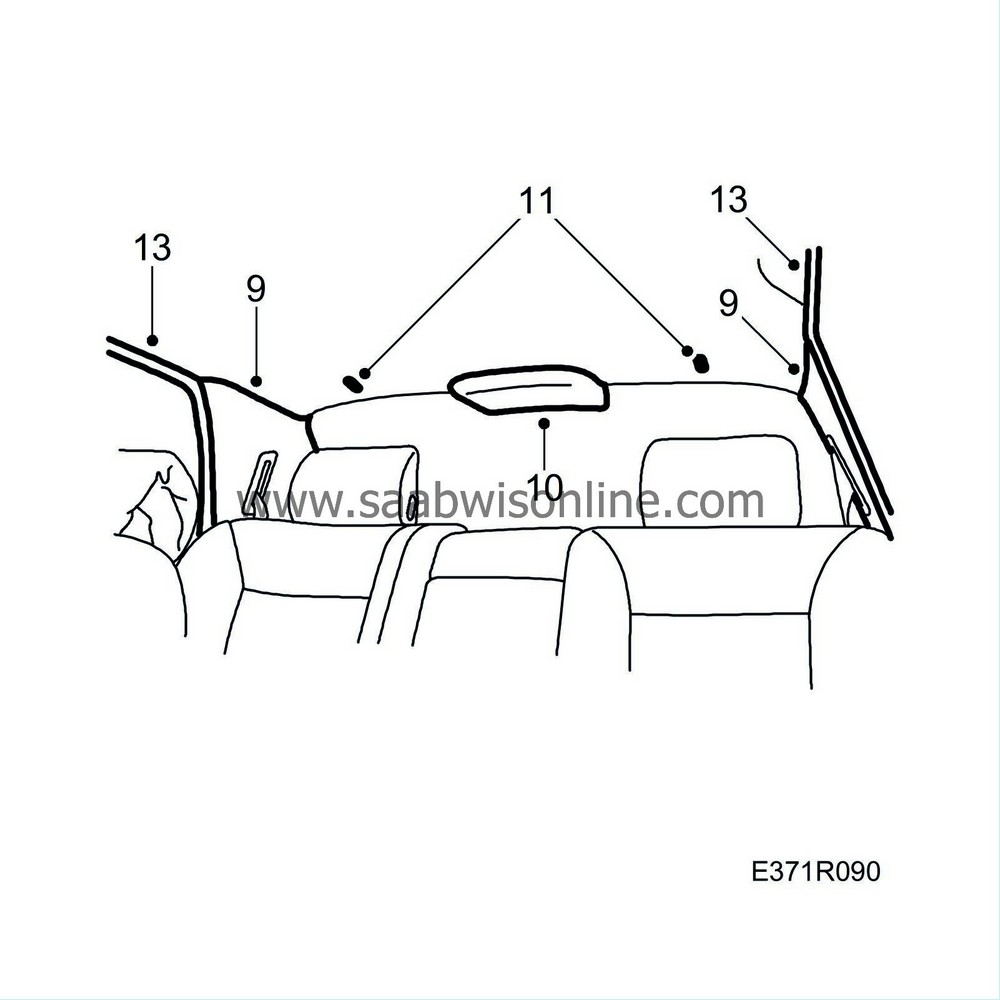
|
|
10.
|
Remove the cover for the brake light (secured with clips) and unplug the connector.
Pull out the brake light cable so that it runs free of the bracket.
|
|
11.
|
Undo the 2 clips that secure the headlining at the rear edge by turning them 90°.
|
|
12.
|
Lower and move the front seats forward and lower the backrests fully.
|
|
13.
|
Carefully pull the headlining from the door weatherstrips on the passenger side. Then pull the headlining from the weatherstrips on the driver's side.
|
|
14.
|
Cars with sunroof:
Undo the headlining from the hooks adjacent to the sunroof.
|
|
15.
|
Unplug the connector on the top of the headlining.

If necessary, unplug the connector for the car alarm.
|
Important
|
|
Take care that the headlining does not get broken.
|
|
|
|
|
16.
|
Uncouple the contacts from the interior lighting.
Remove the wiring harness from the headlining and detach the tape carefully
|
 Warning
|
|
Take care not to damage or loosen the energy absorbers. Damaged or loose energy absorbers must not be refitted. If the occasion should arise, the entire headlining must be changed. Damaged energy absorbers may impair head protection in case of a collision.
|
|
|
|
|
|

|
Important
|
|
Take care that the headlining does not get broken.
|
|
|
|
1.
|
Position the roof's wiring harness in place and secure with new tape.
|
|
2.
|
Plug in the connector on the top of the headlining.
Where appropriate, plug in the connector for the car alarm.
|
|
4.
|
Fit the headlining into the B-pillar trim and the door weatherstrips on the driver's side.
|
|
5.
|
Pull the headlining forward so that it hangs in the roof console adjacent to the rearview mirror.
|
|
6.
|
Cars with sunroof:
Hook in the hooks adjacent to the sunroof.
|
|
7.
|
Fit the headlining in under the door weatherstrips on the passenger side.
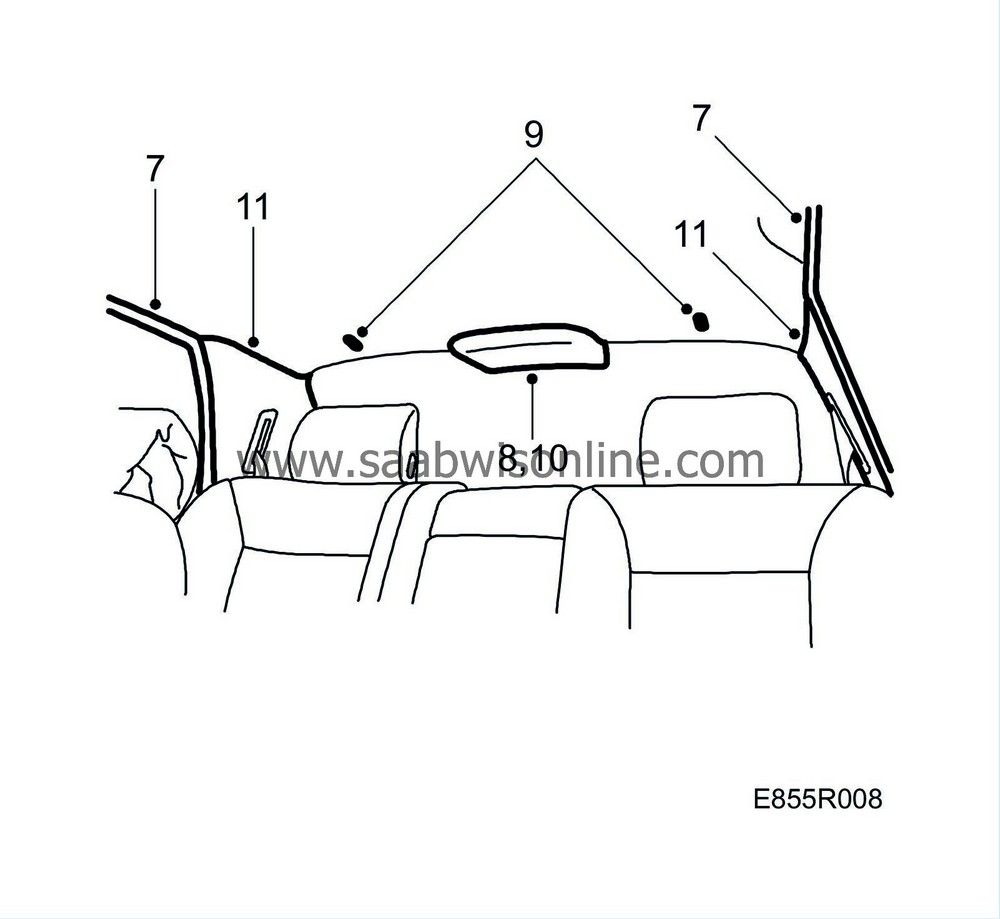
Check that the door weatherstrips are correctly aligned.
|
Note
|
|
Check that the headlining hooks in properly.
|
|
|
8.
|
Guide the cable in and plug in the connector for the brake light.
|
|
9.
|
Fit the 2 clips in the rear edge of the headlining.
|
|
10.
|
Fit the cover for the brake light.
|
|
11.
|
Fit the C-pillar trim.
Fit the loudspeaker grille.
Raise the rear seat backrest cushions.
|
|
12.
|
Fit the B-pillar trim.

Check that the belt is routed correctly.
|
|
13.
|
Cars with sunroof:

Fit the clips in the rear edge of the sunroof.
|
|
14.
|
Fit the courtesy handles.
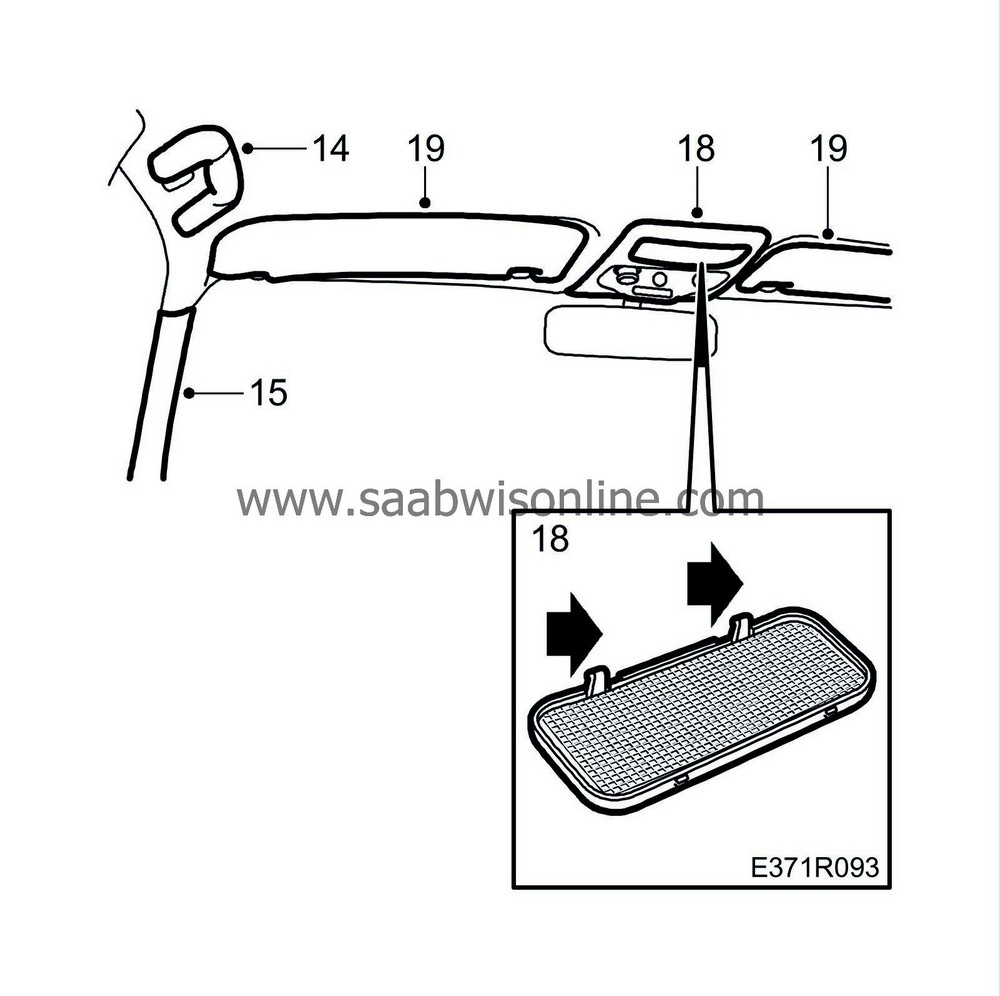
|
|
15.
|
Fit the A-pillar trim.
|
|
16.
|
Plug the grey 10-pin connector into the roof console.
|
|
17.
|
Refit the diode in its bracket in the roof console.
|
|
18.
|
Fit the roof console, 1 screw and the lighting lens.
|
|
19.
|
Fit the sun visors and their brackets.
|


 Warning

