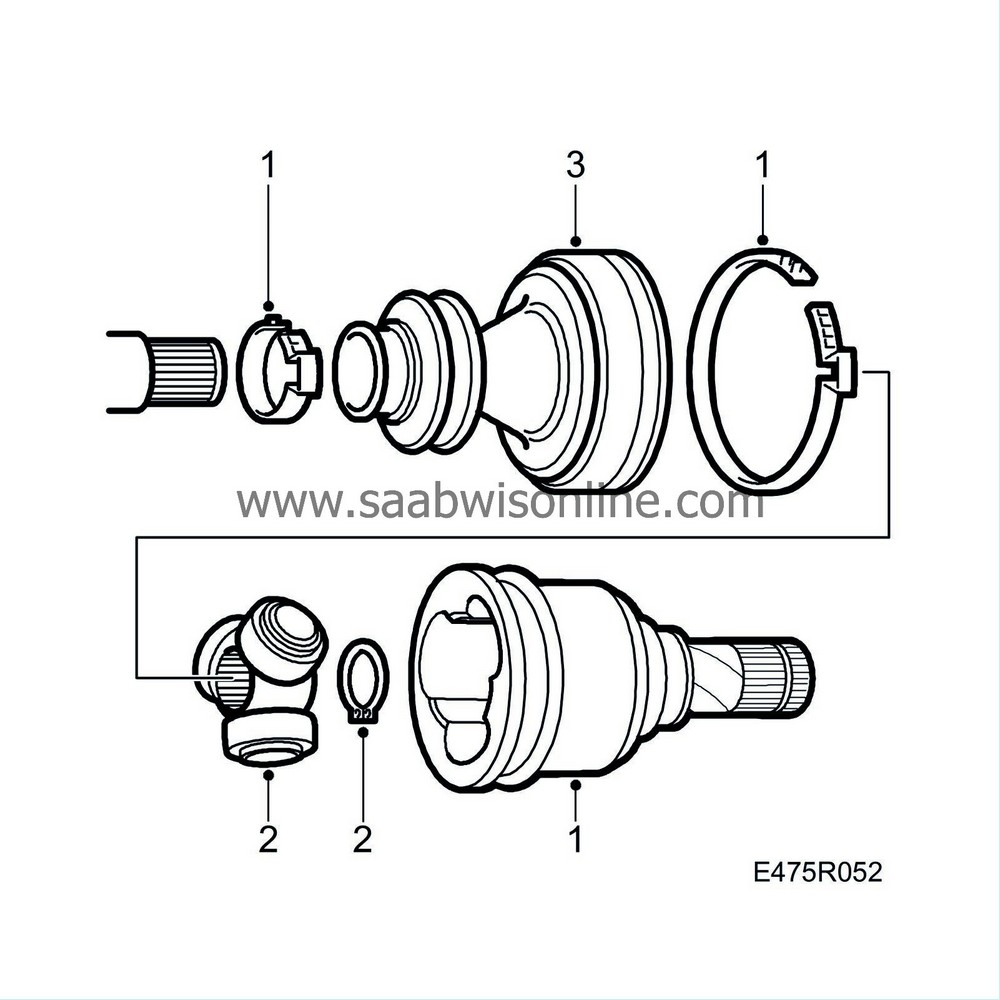
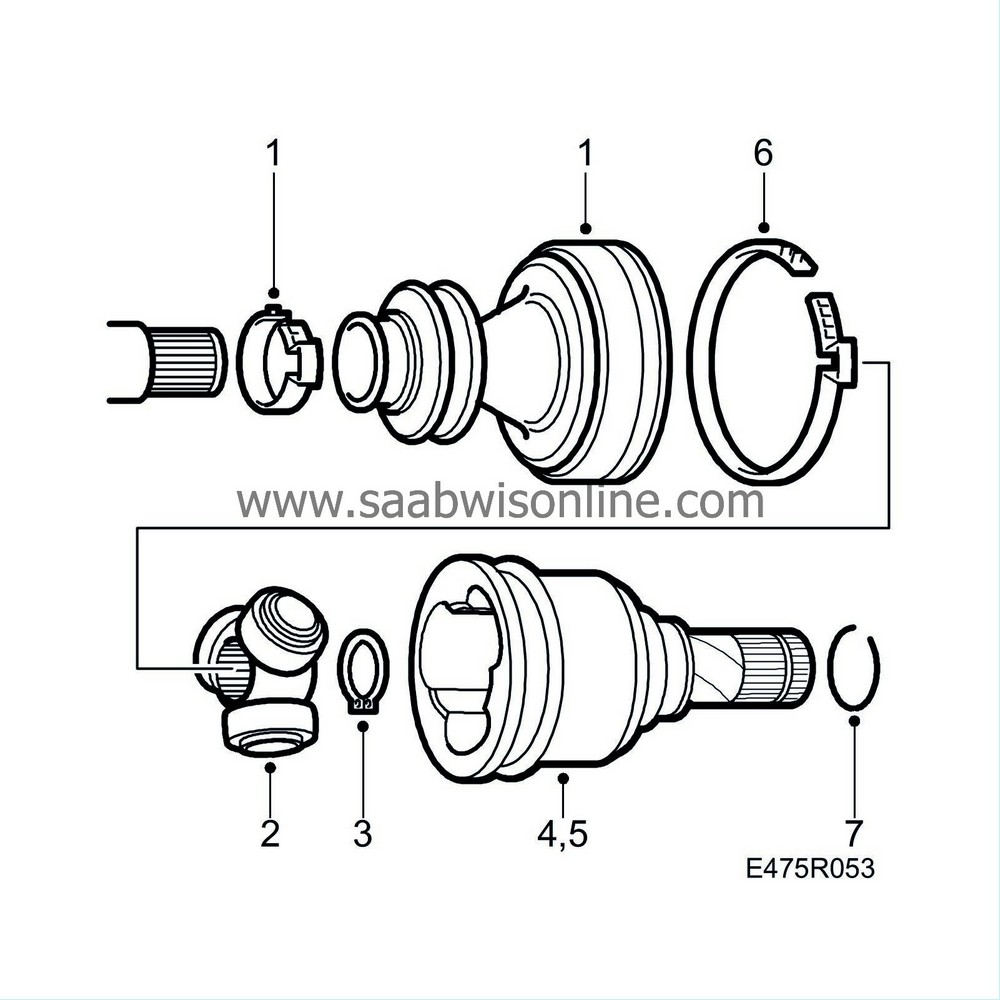
Inner universal joint
| Inner universal joint |
| Important | ||
|
Great cleanliness must be observed on all work involving drive shafts and universal joints. Try to avoid dirt and dust getting into the universal joints. The surfaces around the drive shafts and universal joints must be cleaned carefully before commencing work. |
||
| To dismantle |

| 1. |
Clean the outside of the universal joint. Remove the gaiter clips. Remove the plate edge and lift off the tripod housing. The plate does not need to be refitted (only for production purposes).
|
|
| 2. |
Wipe and remove the circlip and pull the tripod from the shaft. Use a suitable 3-arm puller.
|
|
| 3. |
Pull the rubber gaiter from the drive shaft.
|
|
| 4. |
Clean the universal joint, tripod and drive shaft thoroughly.
|
|
| To assemble |

| 1. |
Fit the new rubber gaiter to the drive shaft and fit a new clip.
|
|
| 2. |
Fit the tripod. Check that the chamfered edge on the tripod faces in towards the shaft.
|
|
| 3. |
Fit the circlip.
|
|
| 4. |
Pack the universal joint with 190 g new grease of type
90 007 999 Special grease
.
|
|
| 5. |
Couple the drive shaft and tripod housing. Bend back the plate if it has not been removed. The plate does not need to be refitted (only for production purposes).
|
||||||||||
| 6. |
Thread on the rubber gaiter and fit a new clip.
|
|
| 7. |
Fit a new circlip to the u shaft.
|
|


