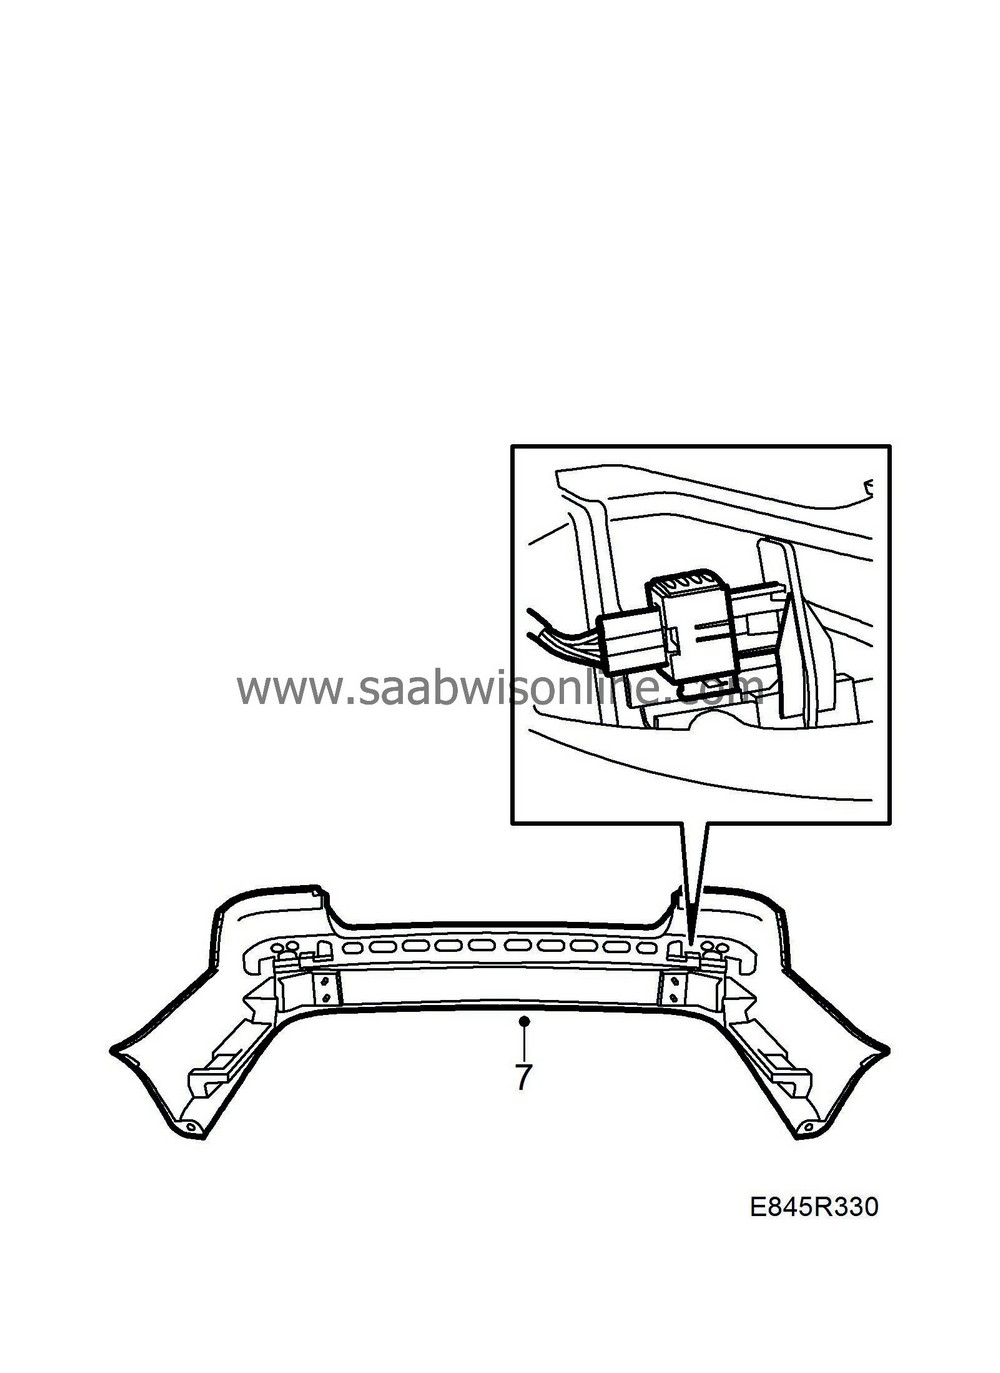
Rear bumper, 4D
| Rear bumper, 4D |
| Removing |
| 1. |
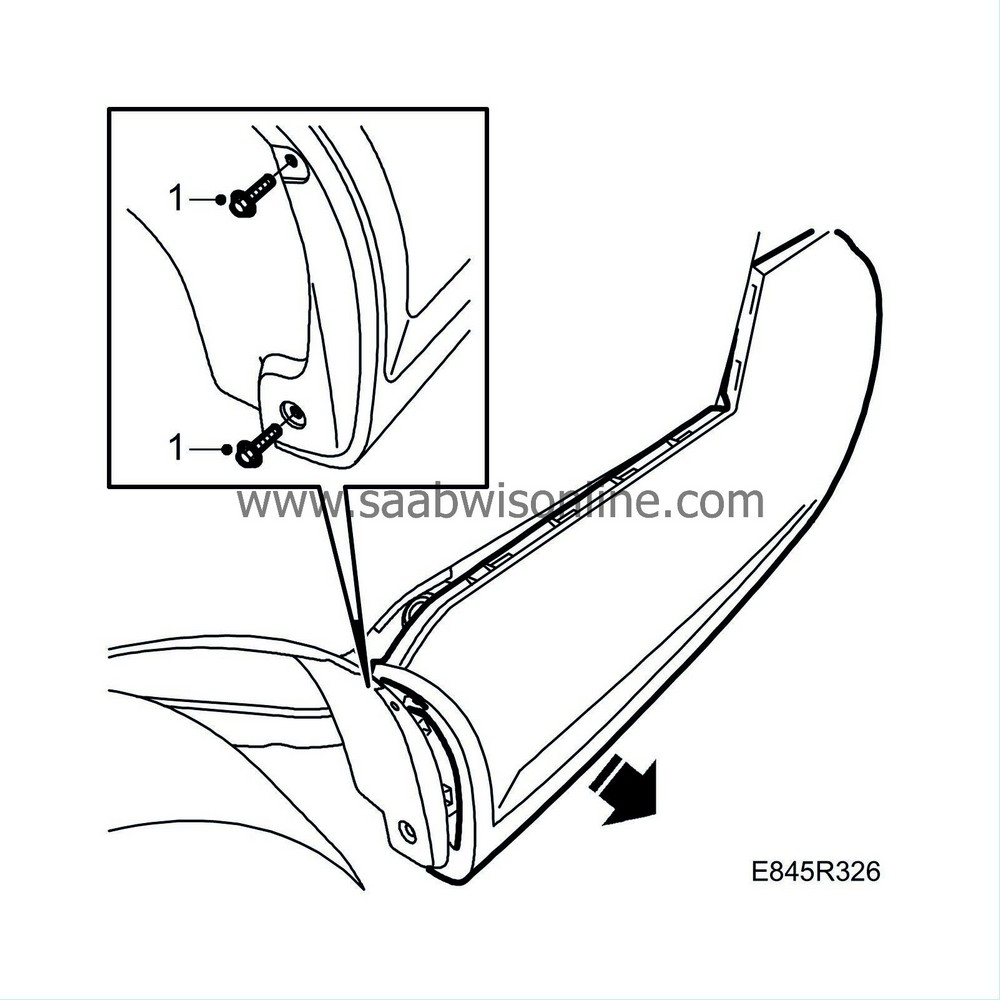
Remove the bolts in the wheel housing.
|
|
| 2. |
Open the boot lid and move the floor aside.
|
|
| 3. |
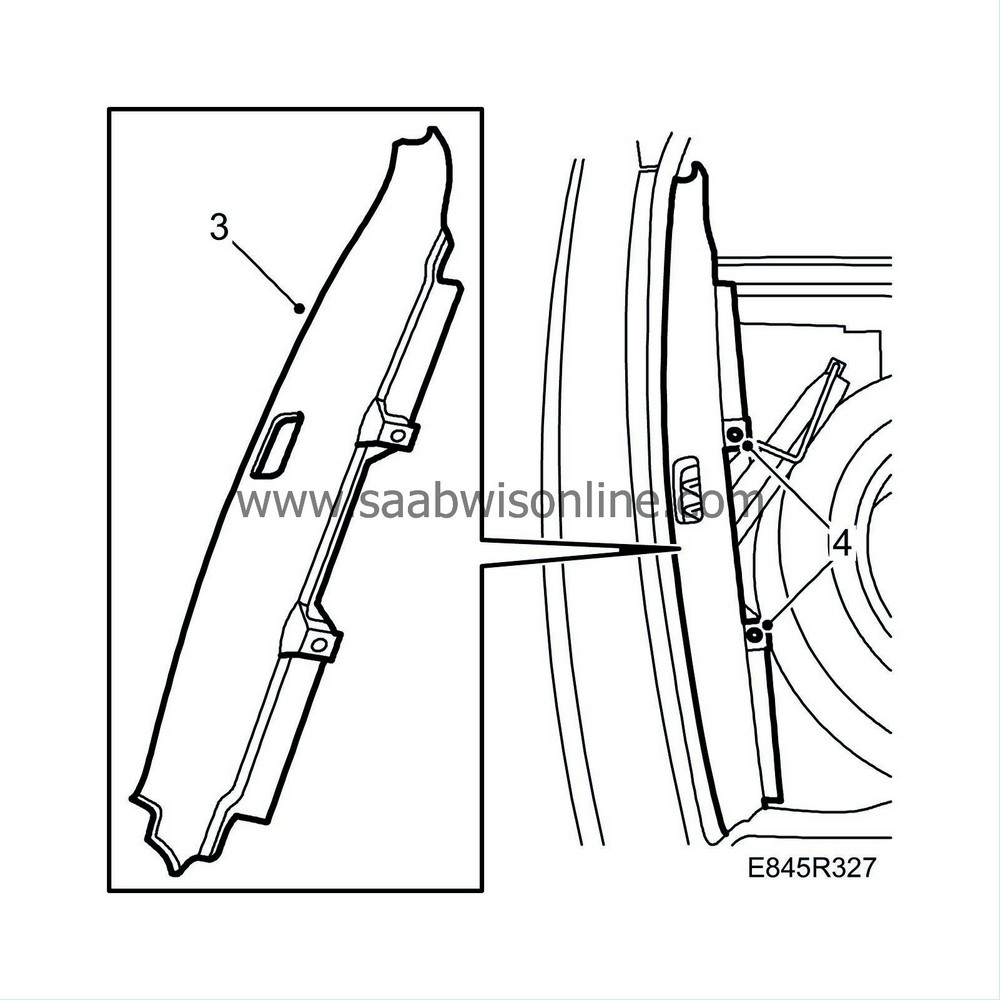
Remove the scuff plate.
|
|
| 4. |
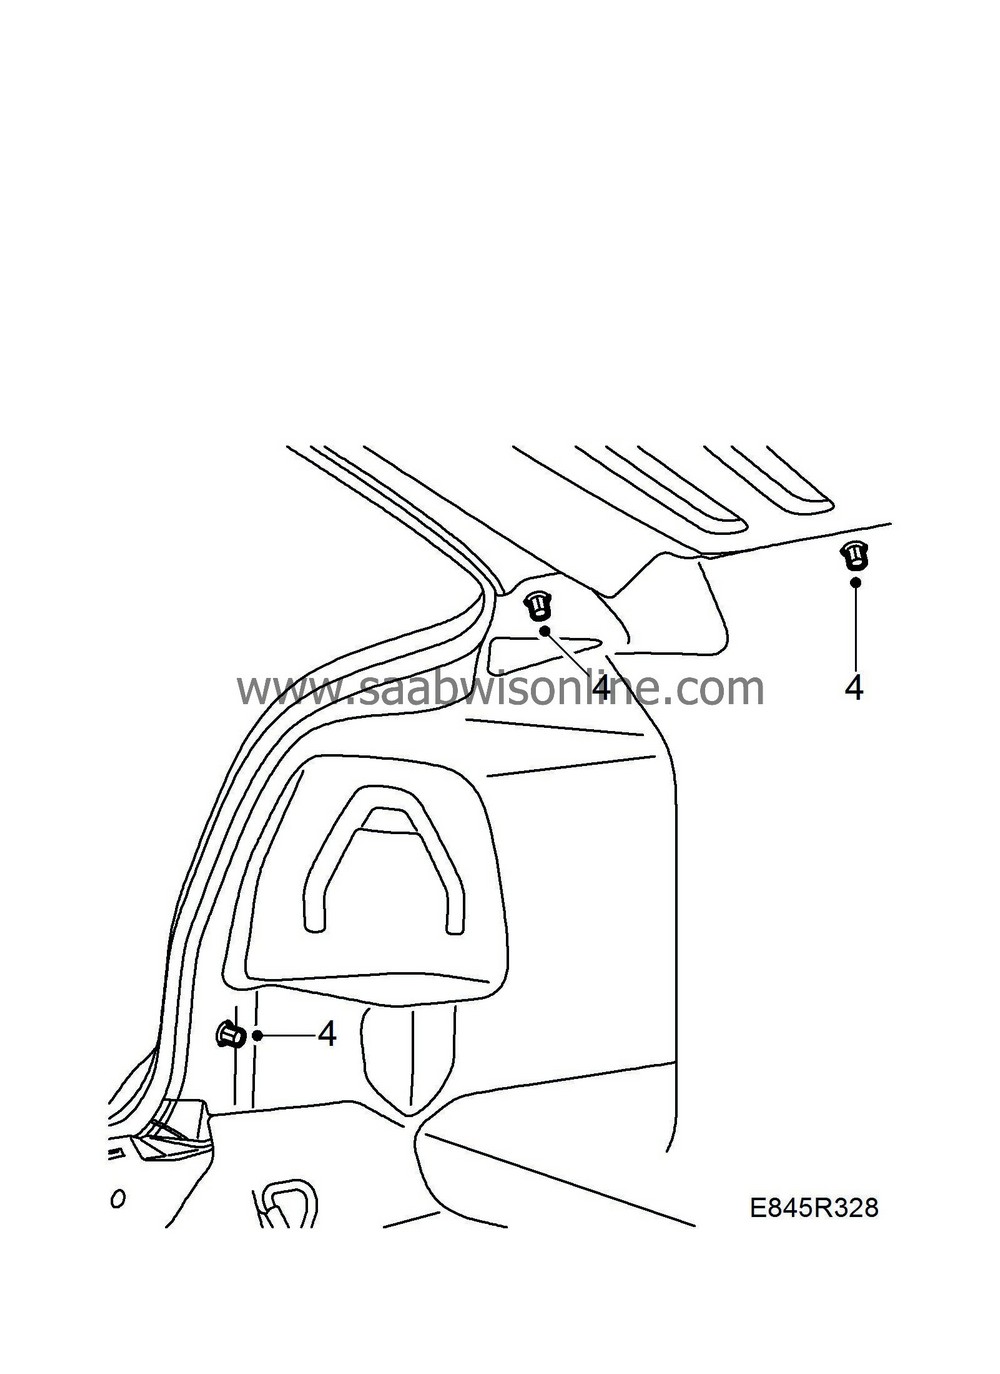
Remove the nuts of the luggage compartment mat. Move the trim aside.
|
|
| 5. |
Remove the insulation pads. The old ones must be discarded and replaced by new ones.

|
|
| 6. |
Remove the nuts holding the bumper. The lower bolts only have nuts if the car is equipped with a towbar.
|
||||||||||
| 7. |
Together with an assistant, pull out the bumper from the clips and lift the bumper out backwards.
|
||||||||||
| Fitting |
| Note | ||
|
For cars equipped with Saab Parking Assistance (SPA): |
||
| • |
Plug in the connector.
|
|
| 1. |
Place the bumper in position and press it over the edge of the wheel housing and the rear wing. Make sure that the clips sit correctly.

|
|
| 2. |
Fit the screws in the edge of the wheel housing.

|
|
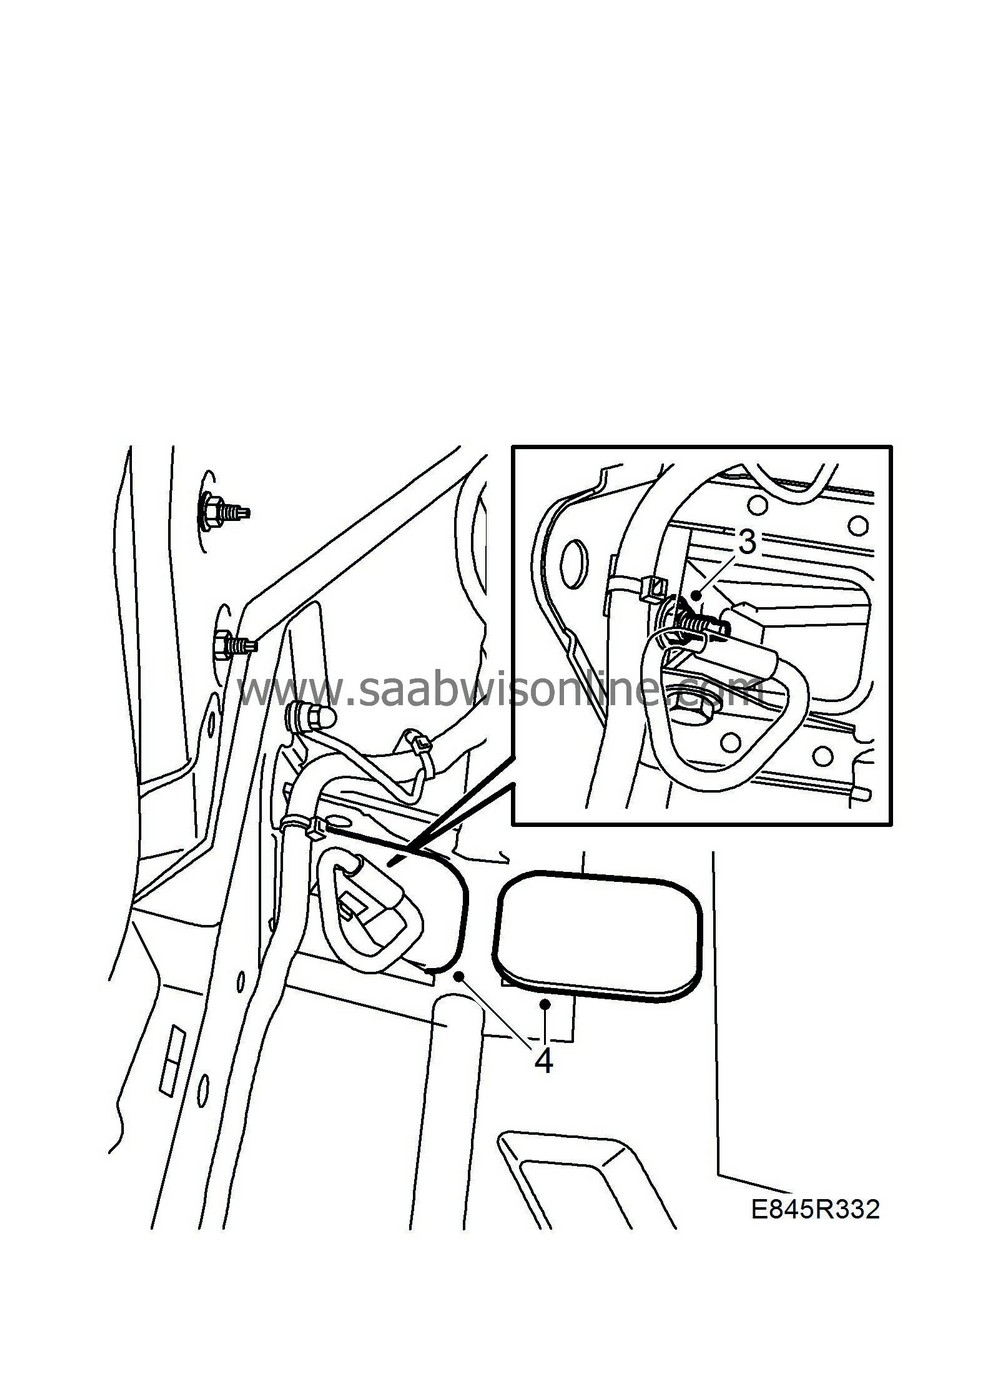
| 3. |
Tighten the nuts holding the bumper.
|
|
| 4. |
Fit the new insulation pads.
|
|
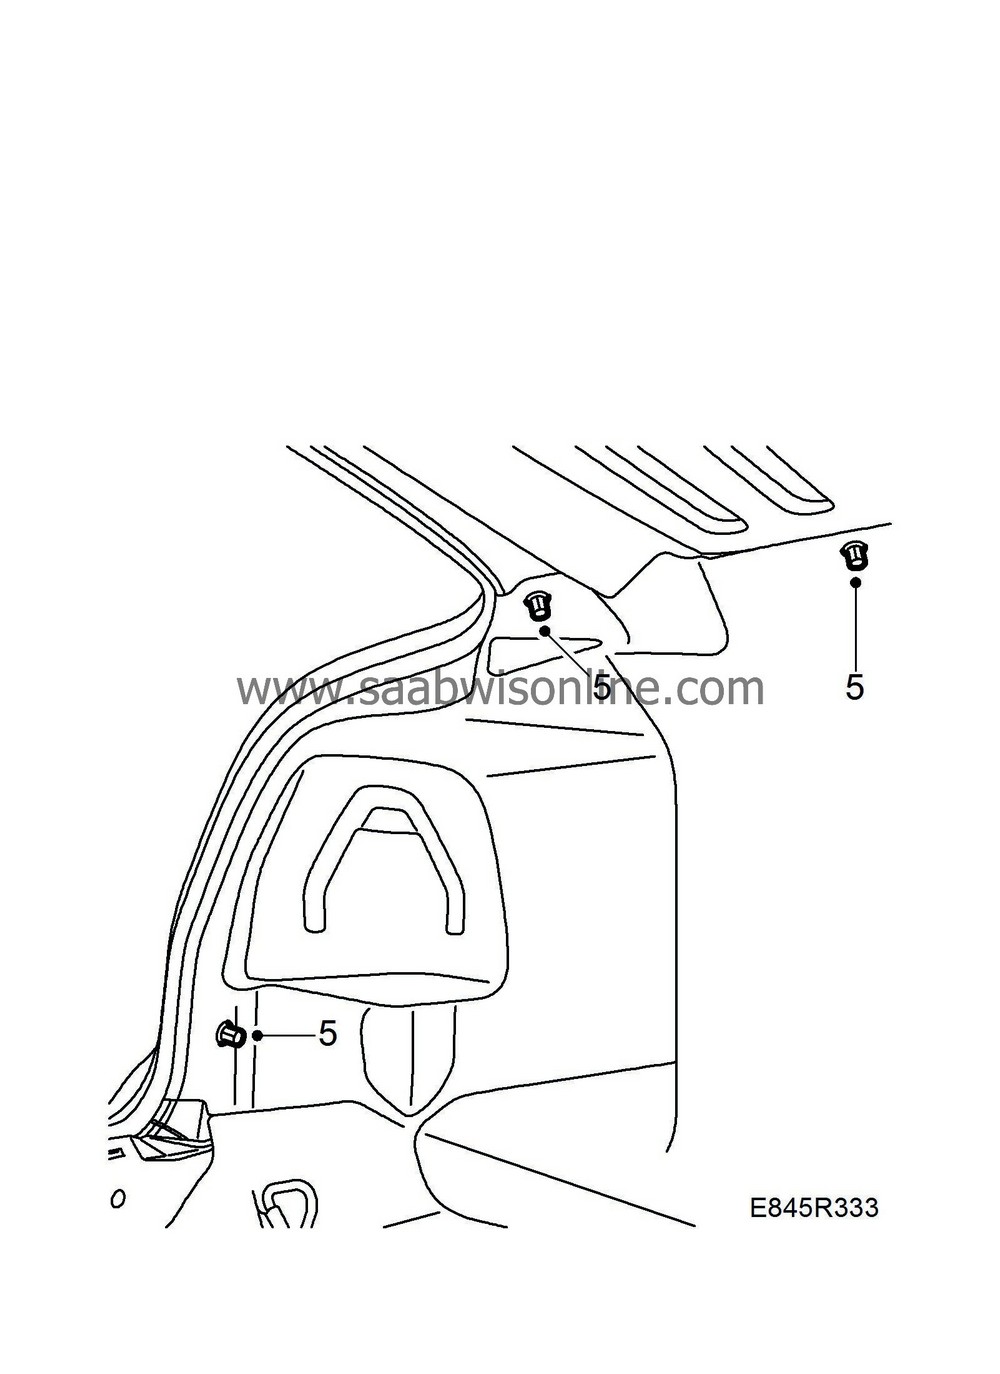
| 5. |
Fit the luggage compartment trim.
|
|
| 6. |
Fit the scuff plate.

|
|
| 7. |
Fit the luggage compartment floor.
|
|
| 8. |
Close the boot lid and check the bumper fit.
|
|

