Rear power steering pipes
| Rear power steering pipes |
| To remove |
| Important | ||
|
Always observe utmost cleanliness when working with hydraulic components. |
||
| 1. |
Remove the nut from the rear engine mounting.
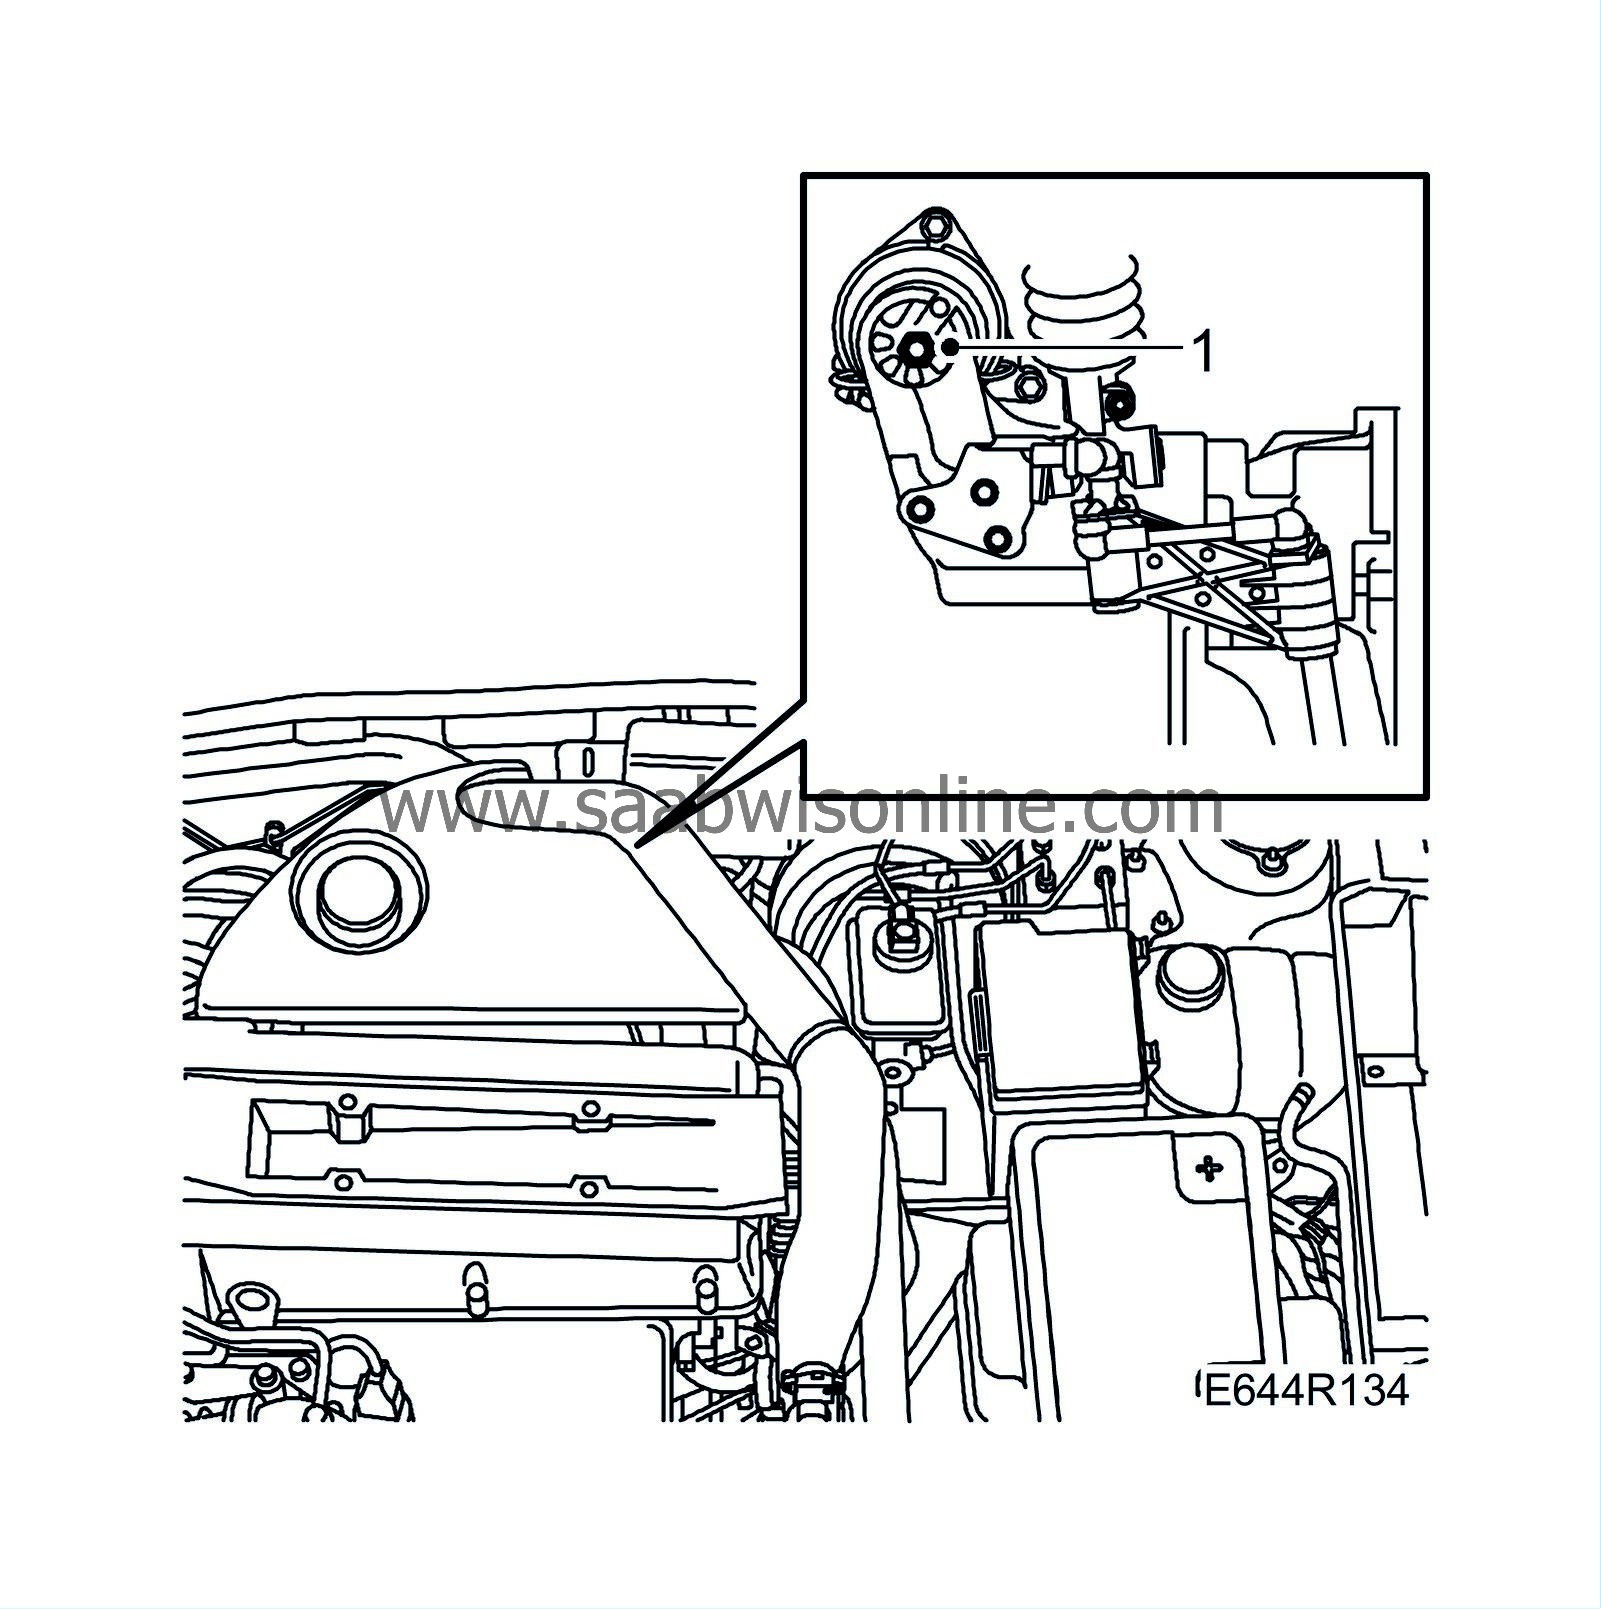
|
|
| 3. |
Clamp the intake hose of the power steering pump and the return hose to the reservoir with two
30 07 739 Pinch-off pliers
.

|
|
| 4. |
Petrol
: Slightly loosen the nuts which attach the exhaust pipe to the turbo so that the pipe can be rotated.

|
|
| 5. |
Raise the car.
|
|
| 6. |
Diesel
: Remove the lower engine cover.

|
|
| 7. |
Diesel
:
Remove the front exhaust pipe
.
|
|
| 8. |
Petrol
: Remove the front mounting of the exhaust pipe.

|
|
| 9. |
Petrol:
Detach the exhaust pipe from the catalytic converter.
|
|
| 10. |
Remove the RH side-cover.
|
|
| 11. |
Mark the position of the subframe relative to the body.
|
|
| 12. |
Remove the reinforcement plates.

|
|
| 13. |
Slowly lower the subframe by undoing the centre bolts. Use a pillar jack.
|
|
| 14. |
Undo the rear pipe clamps.

|
|
| 15. |
Remove the cable tie (LHD) from the rear pipe and the clamp that secures the pipe to the steering gear.

RHD : 
|
|
| 16. |
Place a bowl under the front pipe union and separate the union.
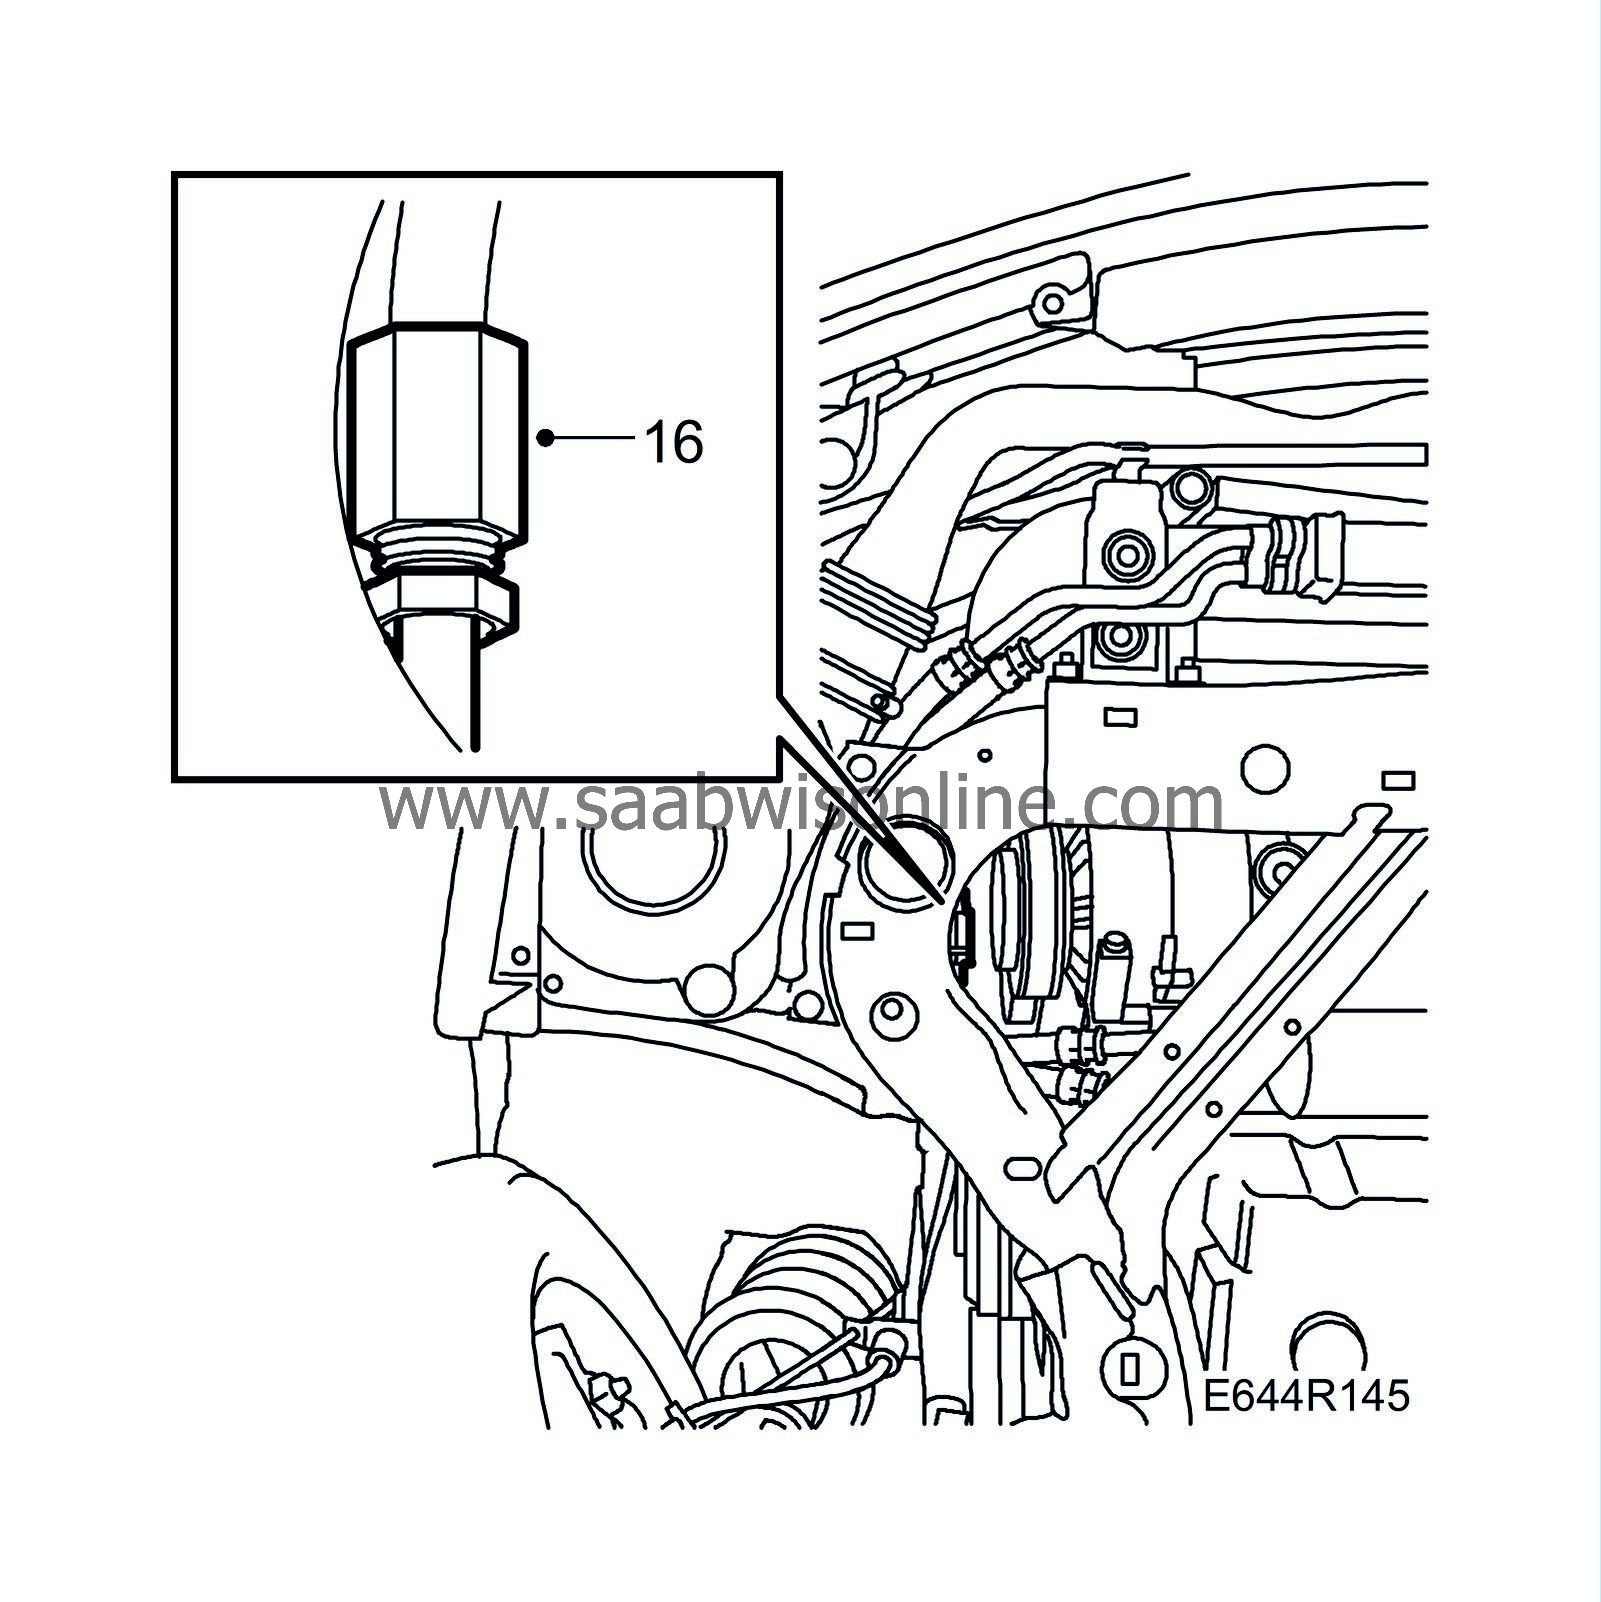
|
|
| 17. |
Place a bowl under the banjo nipple and undo the nipple from the steering gear. Remove the pipe.

RHD : 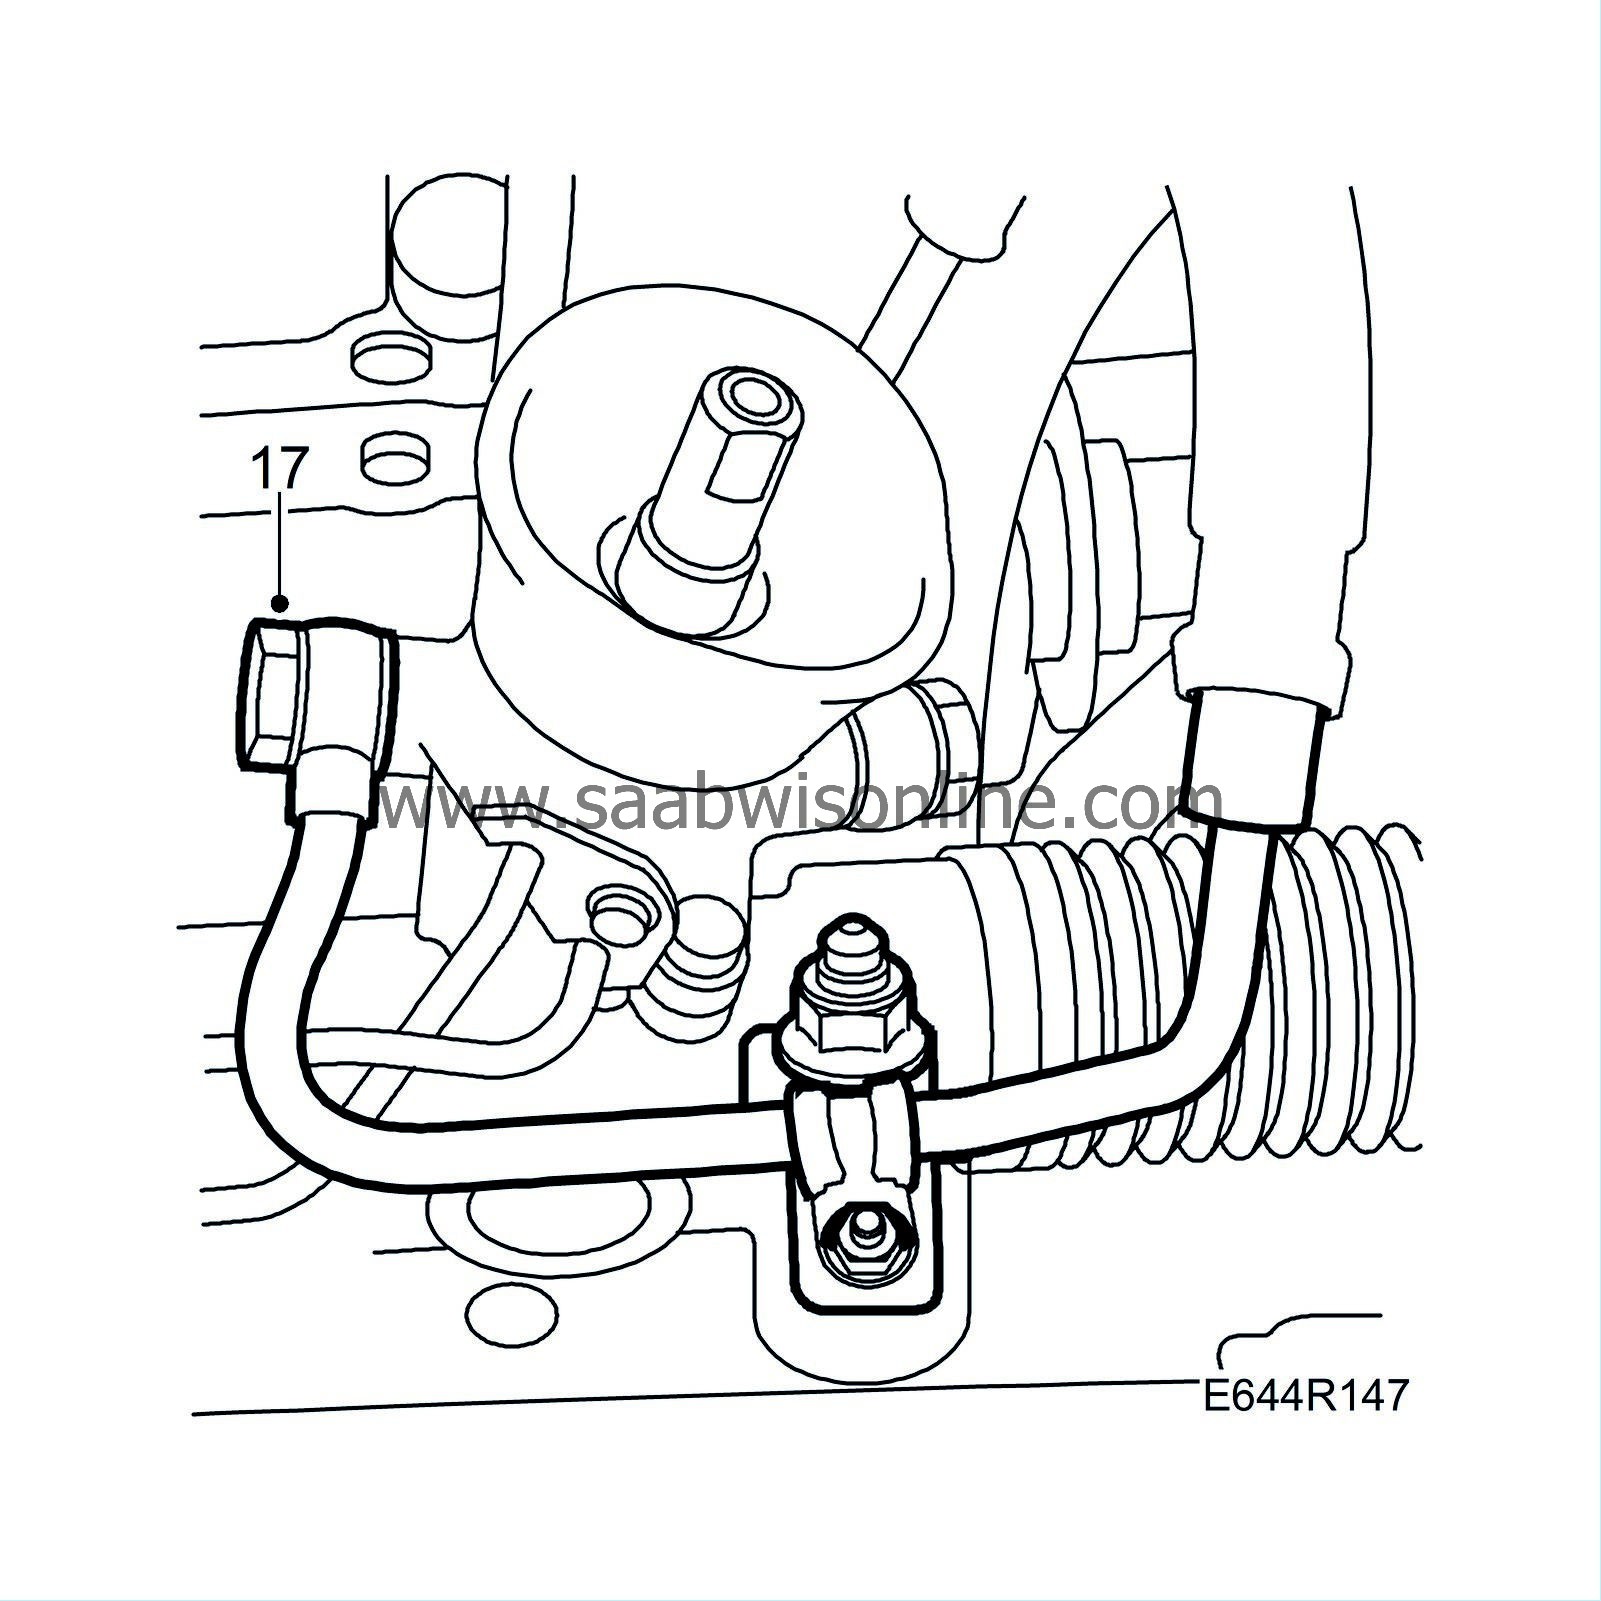
|
|
| To fit |
| 1. |
Position the pipe, starting from the rear.
|
|
| 2. |
Remove the rear transit protection and screw by hand the banjo nipple into place with new seals.
|
|
| 3. |
Remove the front transport protection and lightly screw together the front pipe union.
|
|||||||
| 4. |
Fit the rear clamp to the steering gear.
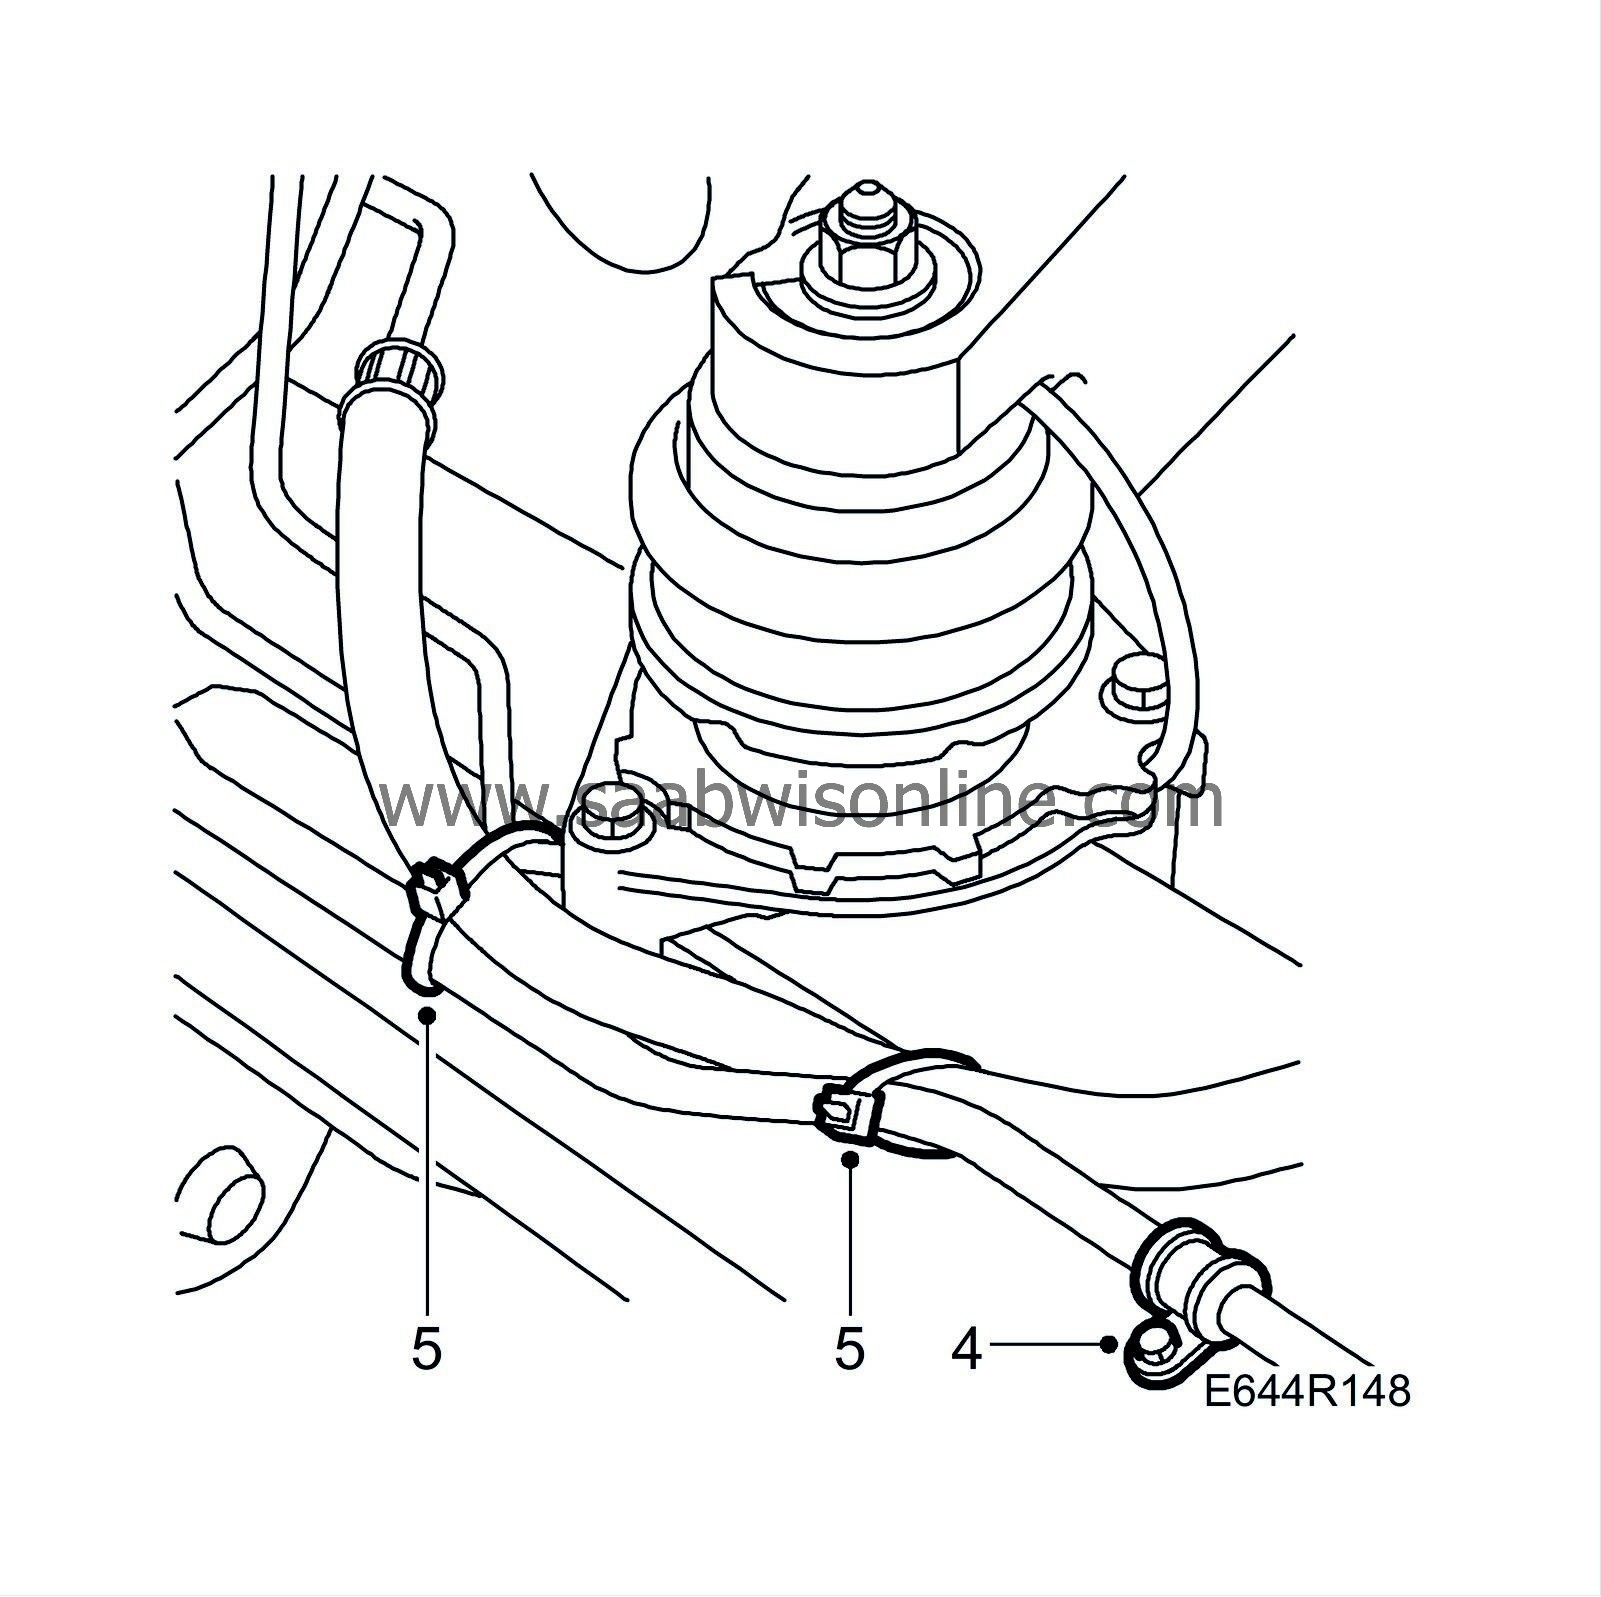
RHD : 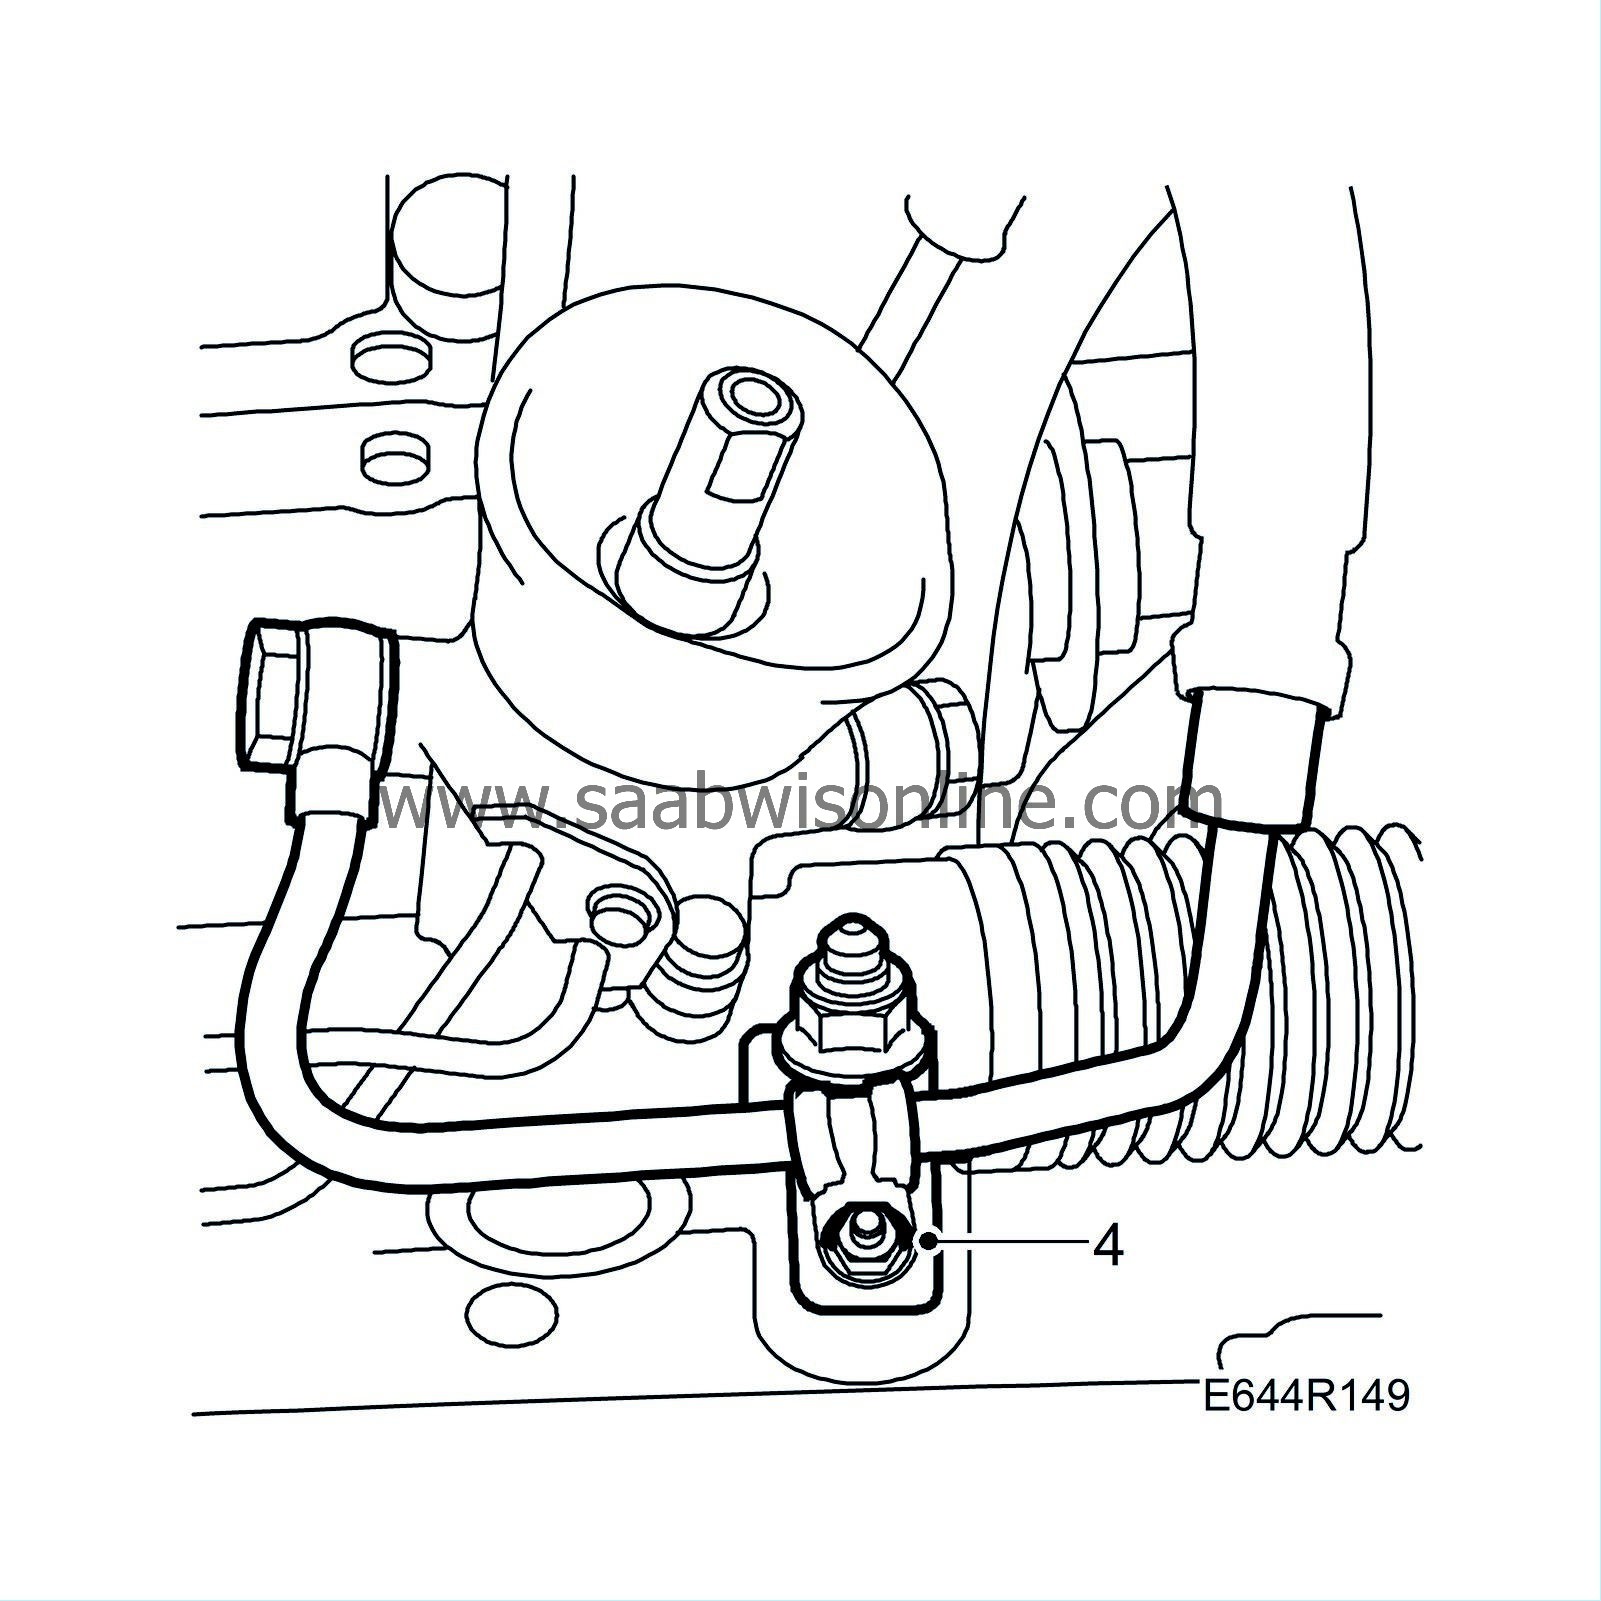
|
|
| 5. |
LHD
: Fit the return hose with two cable ties.
|
|
| 6. |
Tighten the banjo nipple.
Tightening torque 30 Nm (22 lbf ft) 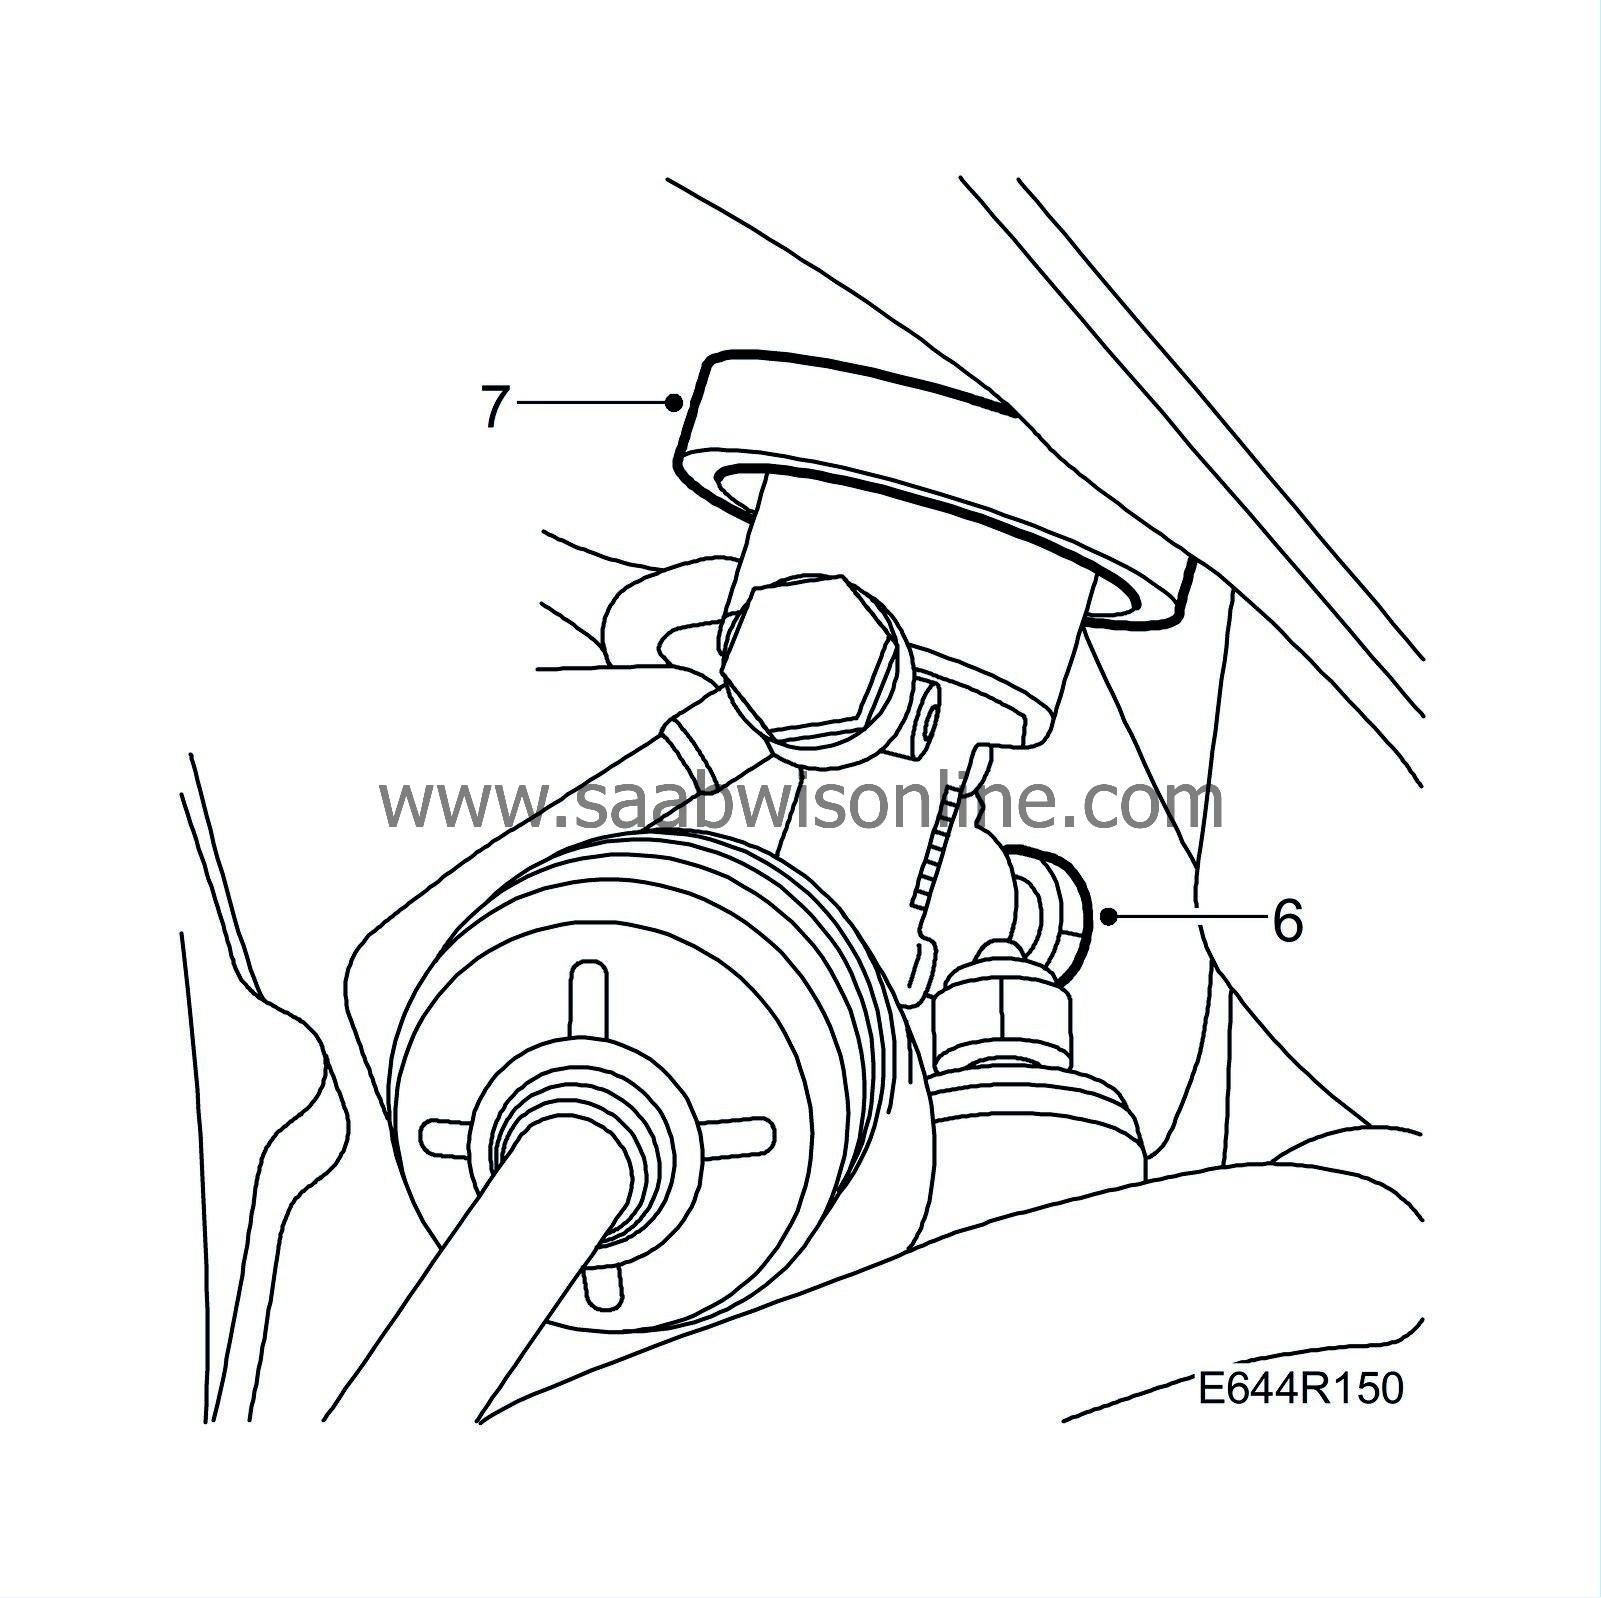
|
|||||||
| 7. |
Check that the seal between the steering gear and the body is correctly positioned.
|
|
| 9. |
Fit the reinforcement plates.
Tightening torque 65 Nm (48 lbf ft) |
|
| 10. |
Adjust the subframe so as to align with the previously made marks on the body. Tighten the subframe mounting bolts.
Tightening torque 100 Nm +45°(74 lbf ft +45°) |
|
| 11. |
Diesel
:
Fit the front exhaust pipe
.
|
|
| 12. |
Petrol:
Fit the mounting.
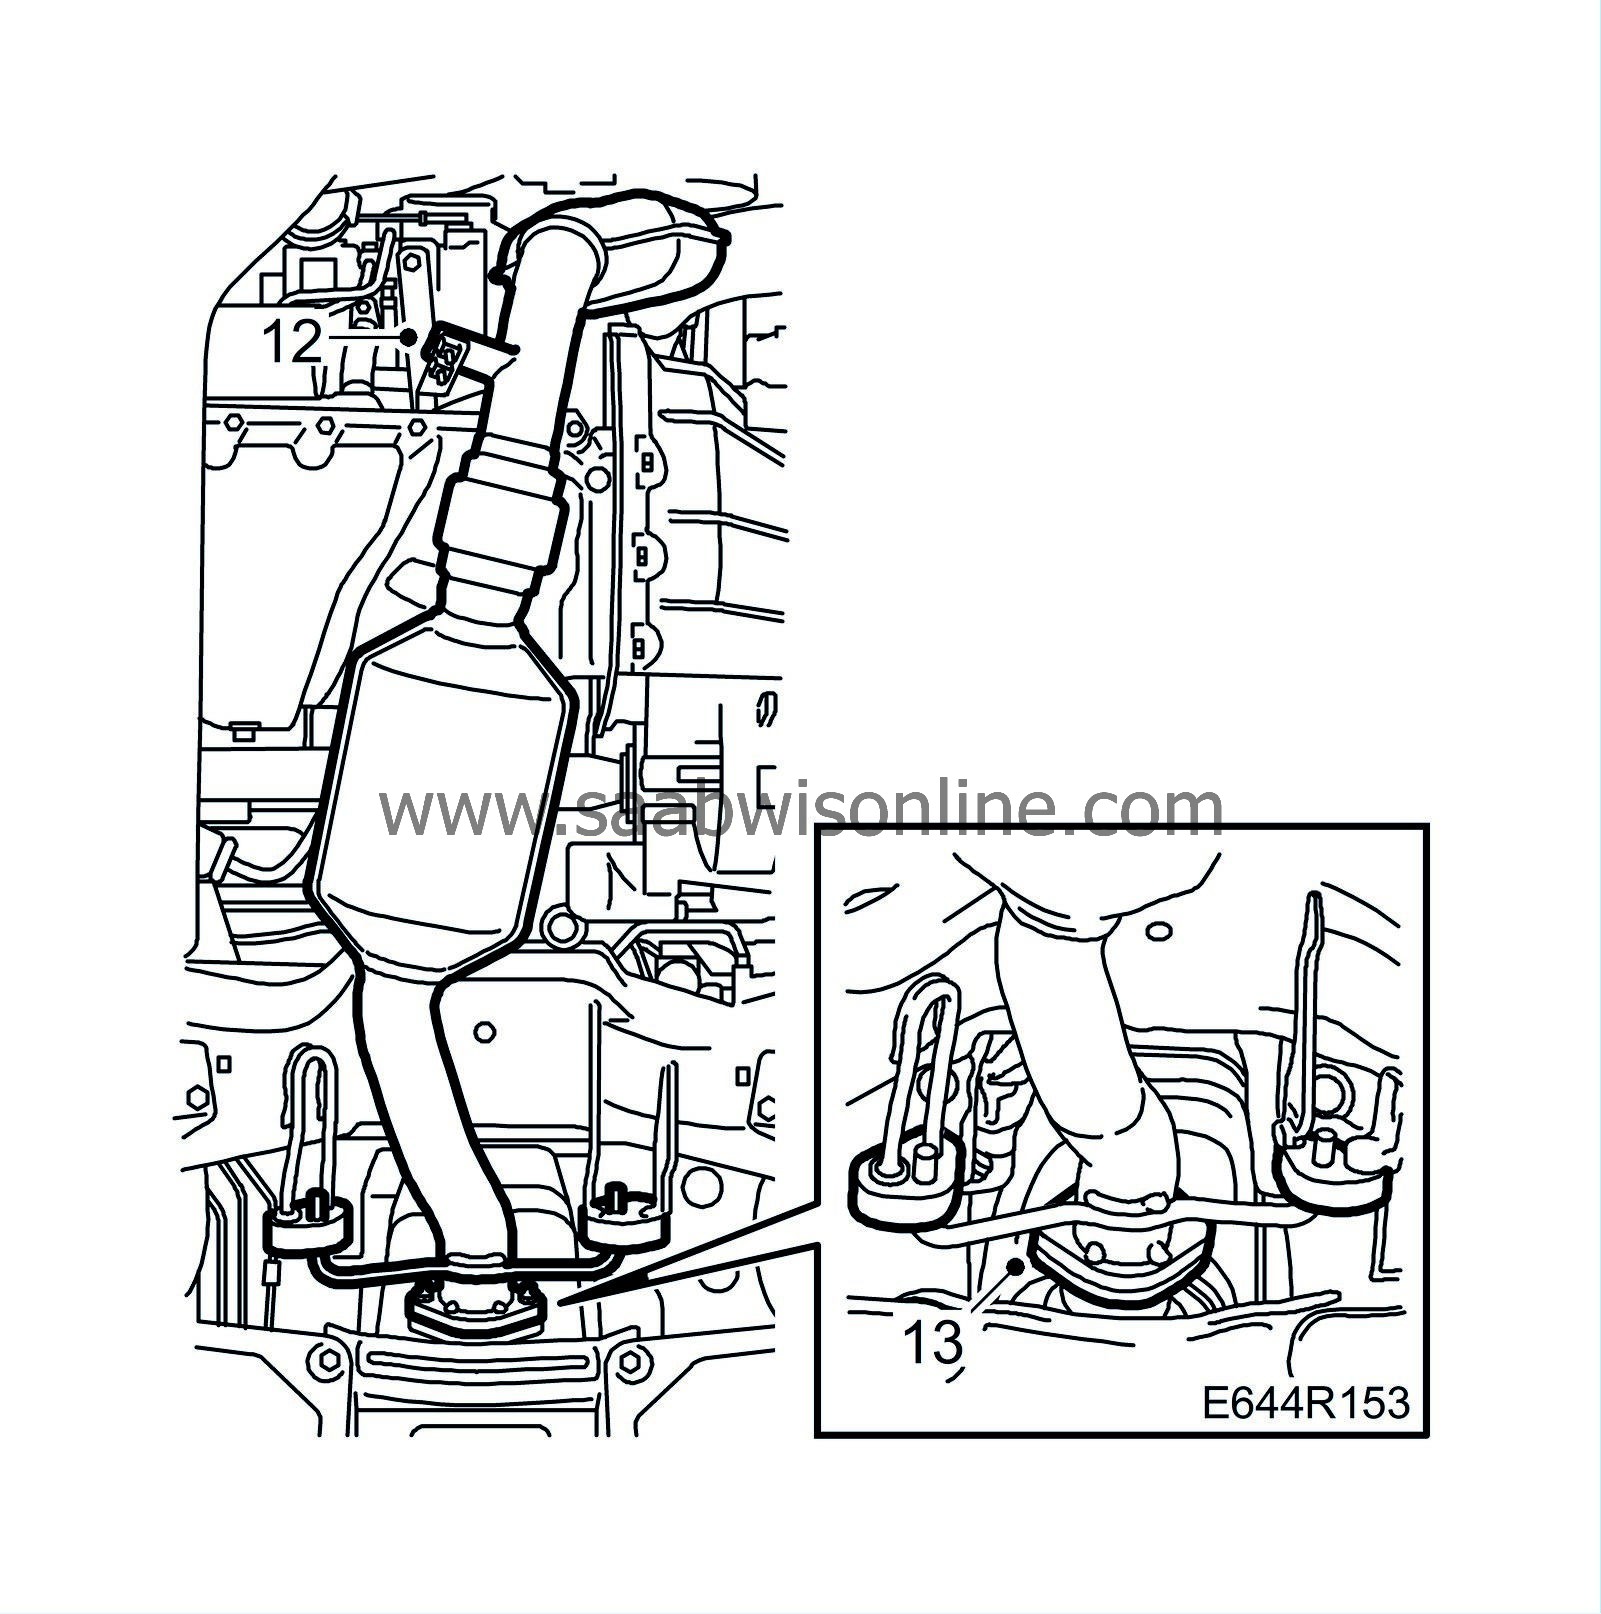
|
|
| 13. |
Petrol:
Fit the exhaust pipe to the catalytic converter.
Tightening torque 22 Nm (16 lbf ft) |
|
| 14. |
Fit the pipe into the clamps.

|
|
| 15. |
Fit a new tie with holder to the pressure hose. Fit the return hose to the holder.
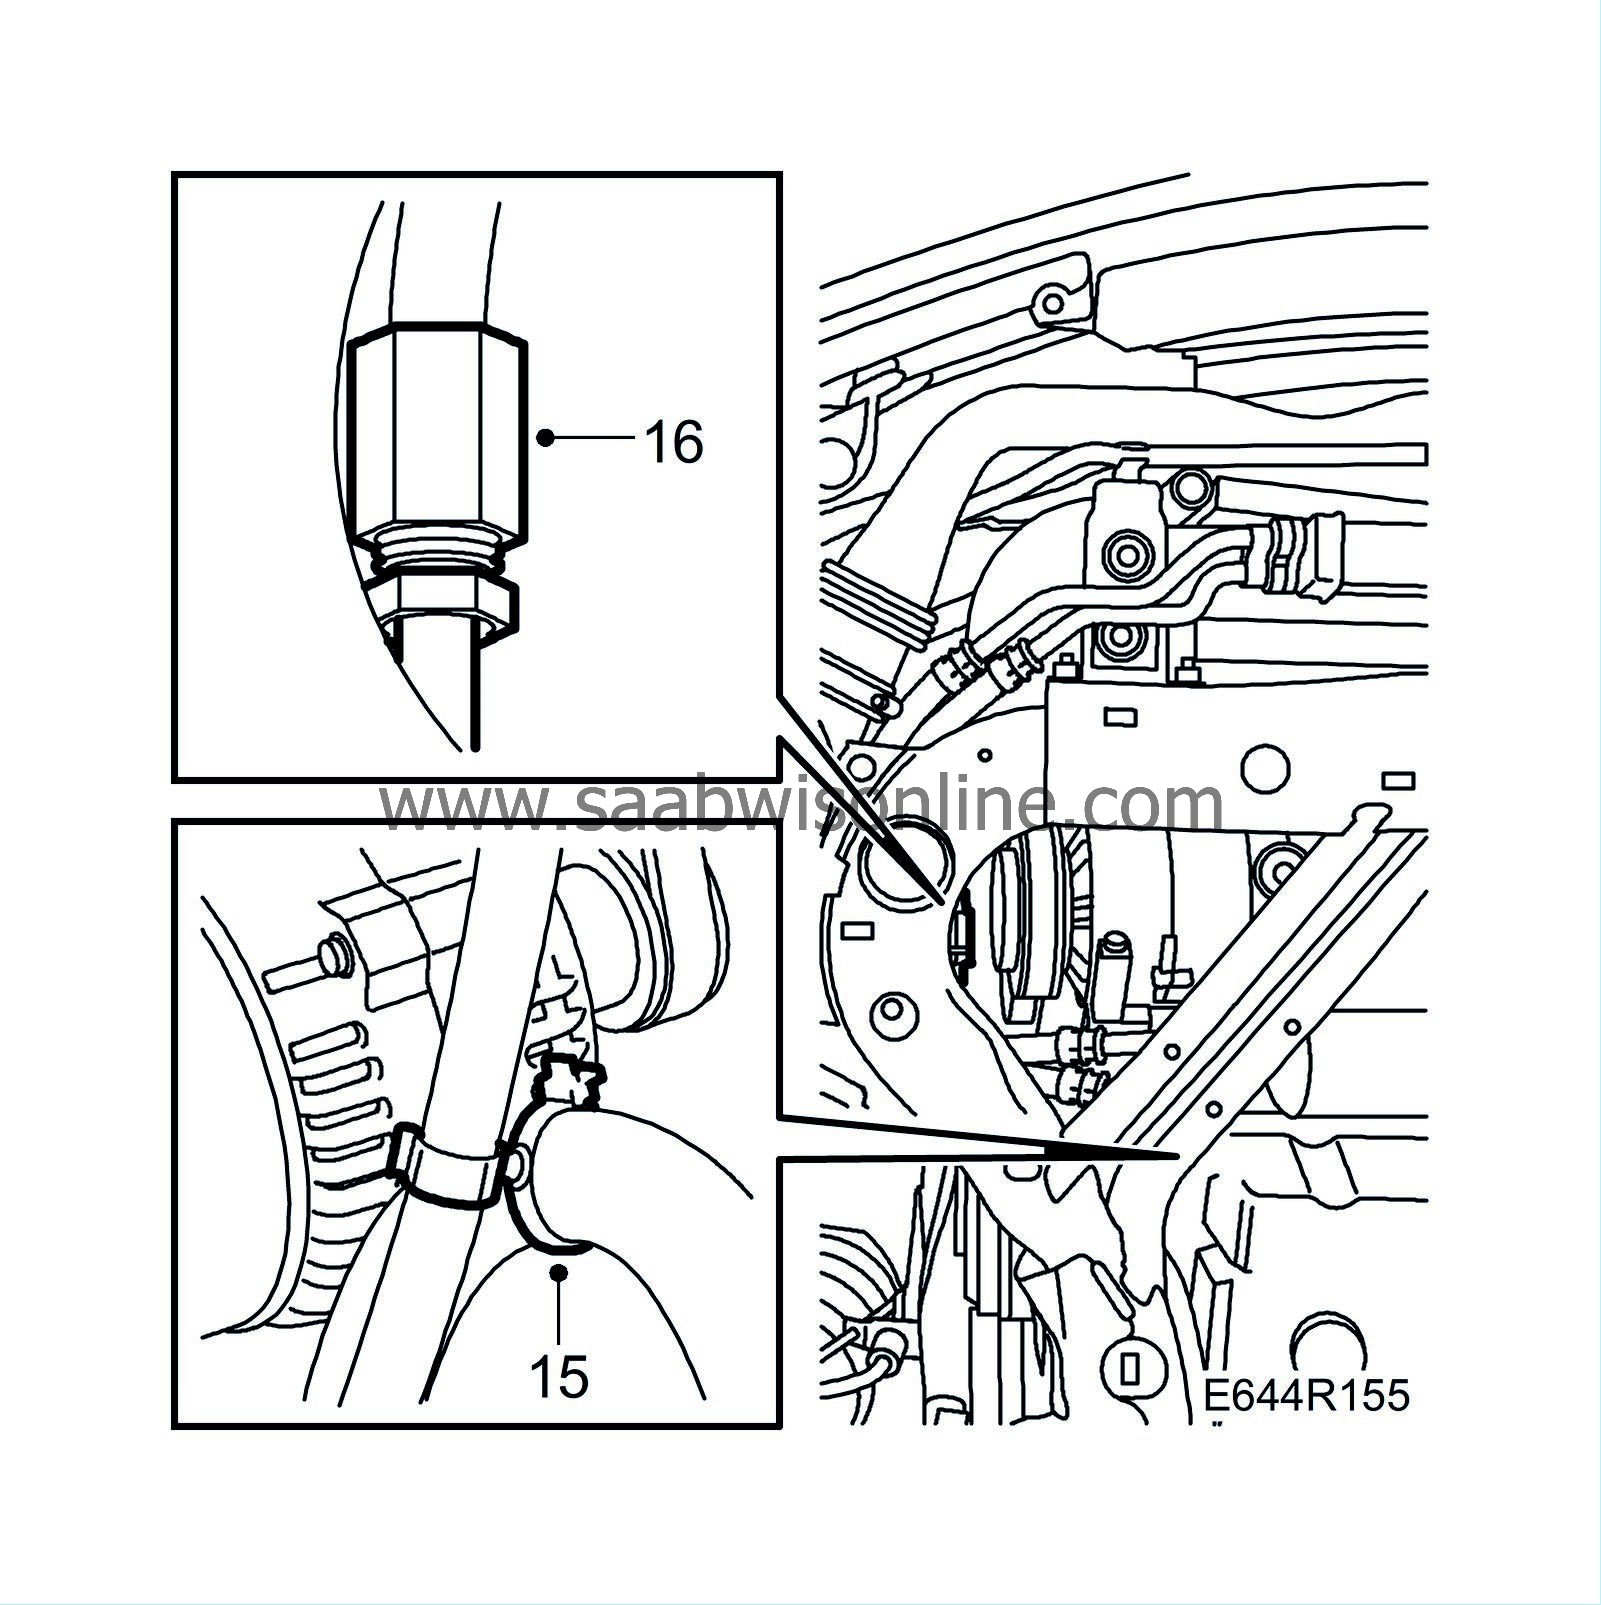
|
|
| 16. |
Tighten the front pipe union. Check that the rear pressure line hose connection is at least 5 mm from the subframe.
|
|
| 17. |
Fit the RH side-cover.

|
|
| 18. |
Diesel
: Fit the lower engine cover.
|
|
| 19. |
Lower the car to the floor.
|
|
| 20. |
Remove the pinch-off pliers.
|
|
| 21. |
Fit the nut to the rear engine mount.
Tightening torque 50 Nm (37 lbf ft) 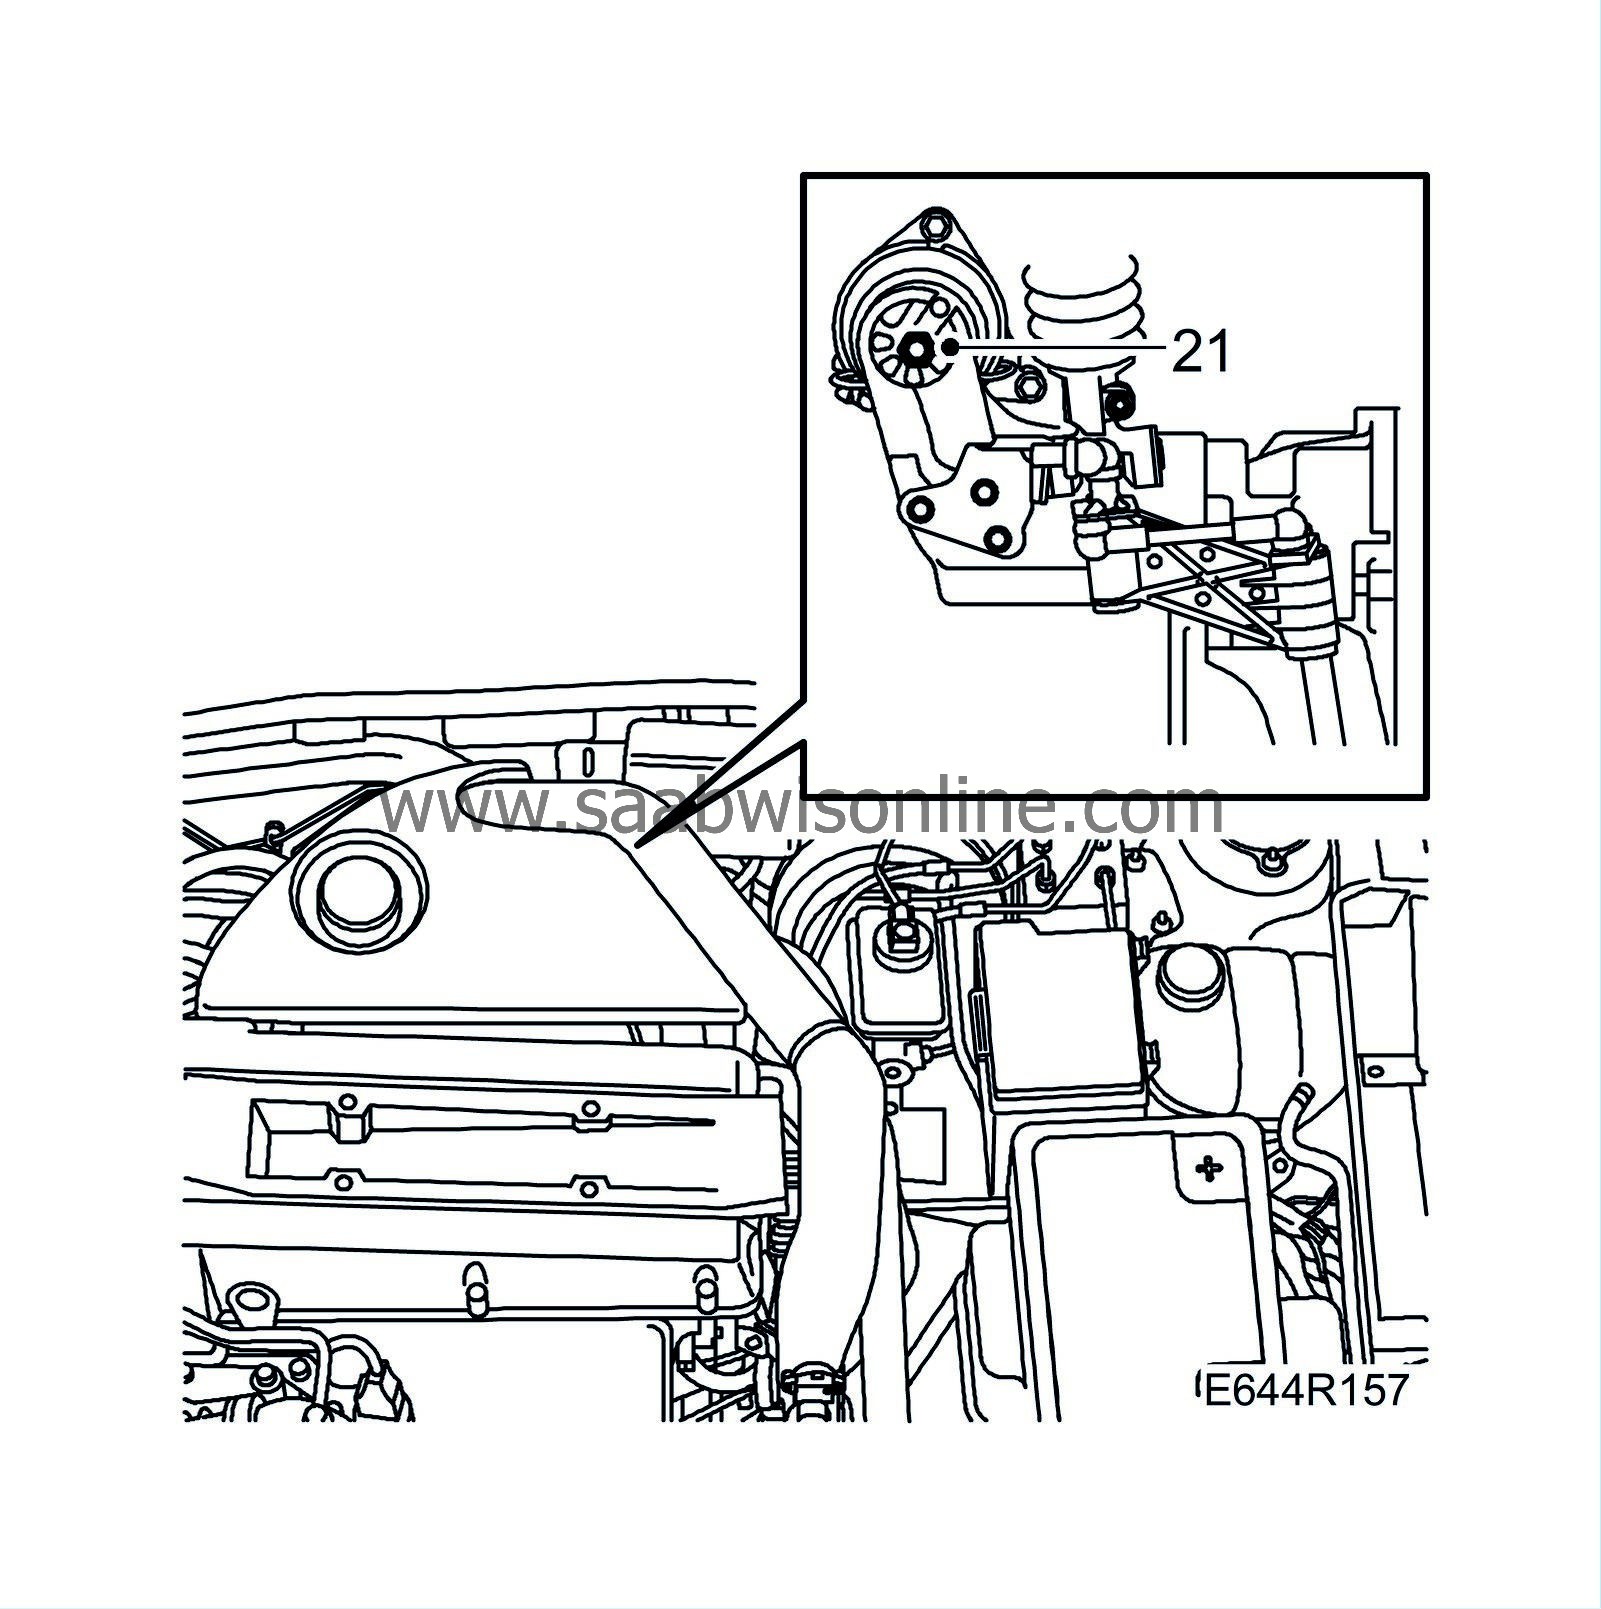
|
|
| 22. |
Petrol
: Tighten the bolts securing the exhaust pipe to the turbo.
Tightening torque 25 Nm (18 lbf ft) 
|
|
| 23. |
Check that the wheels and steering wheel are in the straight-ahead position and attach the steering shaft to the steering gear. Remove the tape from the steering wheel.
Tightening torque 30 Nm (22 lbf ft) 
|
|
| 24. |
Fill the system with fluid and bleed as described in
Bleeding the power steering system
.
|
|
| 25. |
Check for any leakage at the hose connections.
|
|
| 26. |
Check the steering wheel position when driving straight ahead on a level road. Adjust if necessary.
|
|


