Head unit
| Head unit |
| Removal |
| 1. |
Connect Tech 2.
|
|
| 2. |
Establish communication with the audio system.
|
|
| 3. |
Select “
Programming ” from the system menu.
|
|
| 4. |
Press “
ENTER”.
|
|
| 5. |
Select
DIVORCED with the change button and press “
OK ”.
|
|
| • |
“
DIVORCED ” must be selected when removing the head unit (to be installed in another car or to be returned for warranty repair).
|
| 6. |
The radio should no mute after a short delay and “TheftLock is activated” appear on the unit's screen.
|
|
| 7. |
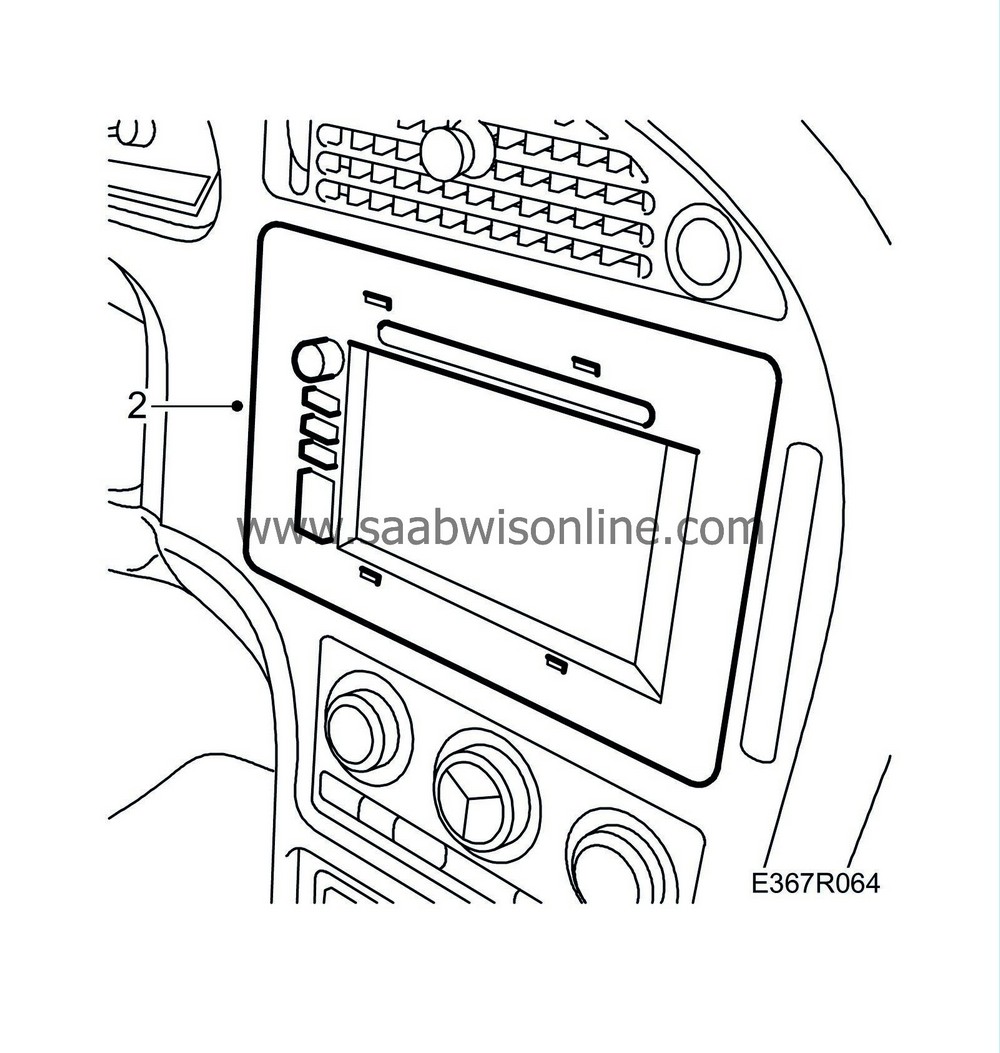
Press the special tools into the holes provided for them in the head unit. Press the tools in until they lock, at which point a click will be heard.

|
|
| 8. |
Extract the head unit using the tool handles. Remove the special tools.
|
|
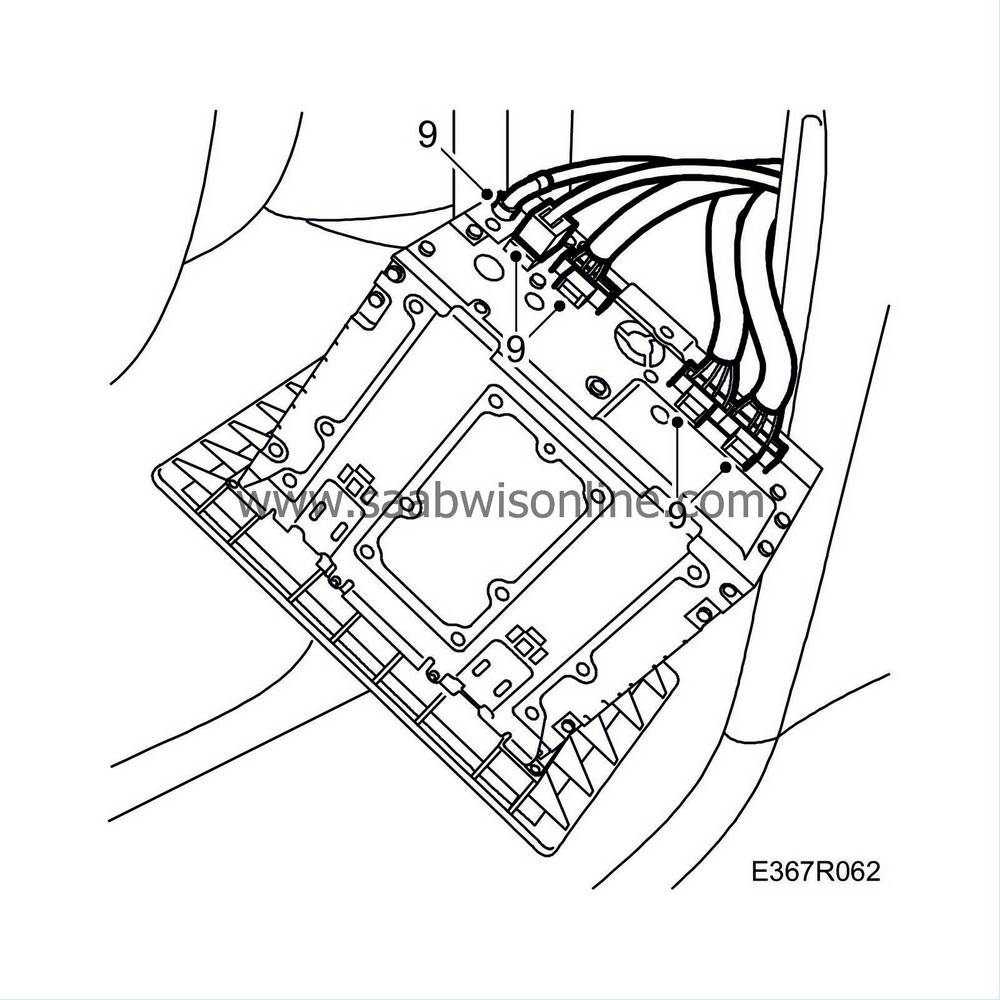
| 9. |
Unplug the connectors from the unit.

|
|
| Refitting |
| Note | ||
|
Check that the retaining catches on the head unit are not damaged (bent inwards). |
| 1. |
Plug in the unit's connectors.

|
|
| 2. |
Push the head unit into the space provided for it in the centre console until a click is heard.

|
|
| 3. |
While Tech 2 is connected and communicating with the audio system, select “
Programming ” from the system menu.
|
|
| 4. |
Press “
ENTER”.
|
|
| 5. |
Select
MARRIED with the change button and press “
OK”.
|
|
| • |
“
MARRIED ” must be selected when installing a head unit into a Saab 9-5.
|
| 6. |
“TheftLock is activated” disappears from the unit's screen and the sound returns after a short delay.
|
|
| 7. |
Carry out spare parts programming using Tech 2.
|
|
|
|||||||||||||

 Warning

