Tyco/AMP Connectors (Seat)
| Tyco/AMP Connectors (Seat) |
Special Tools
For equivalent regional tools, refer to Special Tools .| Removal Procedure |
| 1. |
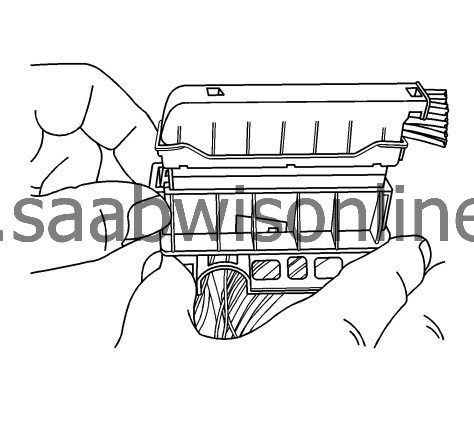
Grasp the locking slide lever and pull outward from the end of the connector.
|
|
| 2. |
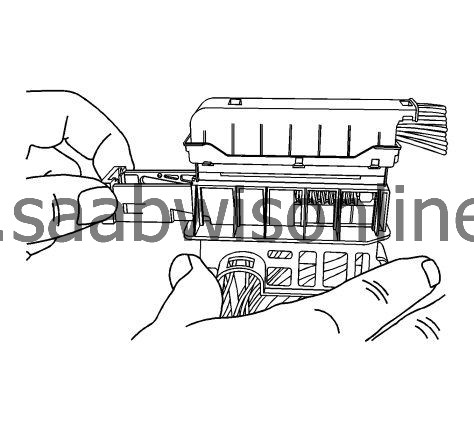
As the slide lever is pulled out the mating connector is lifted from the seated position.
|
|
| 3. |
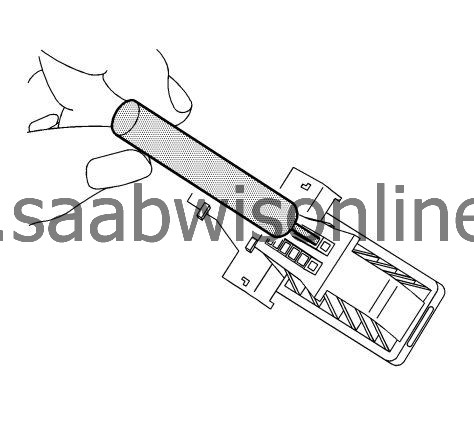
Using terminal release tool J-38125-11A or equivalent, push the TPA tabs into the connector body. 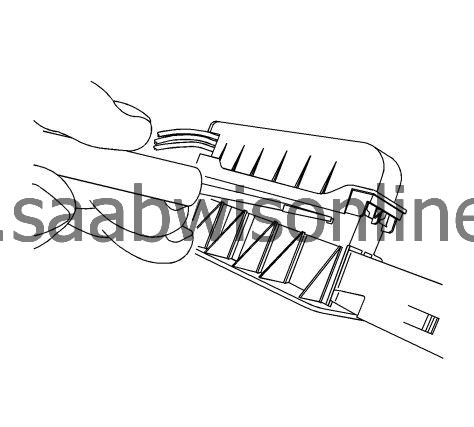
|
|||||||
| 4. |
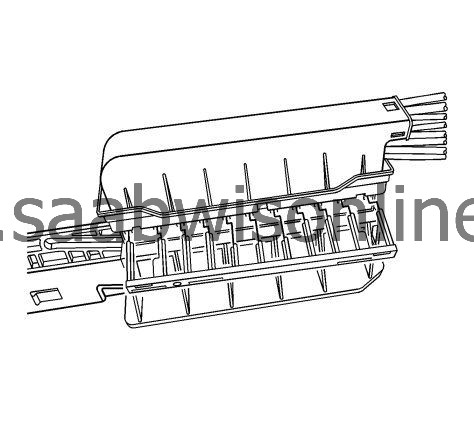
Pull the TPA from the connector body.
|
|
| 5. |
Using terminal release tool J-38125-11A or equivalent, release the connector wire dress cover locking tab.
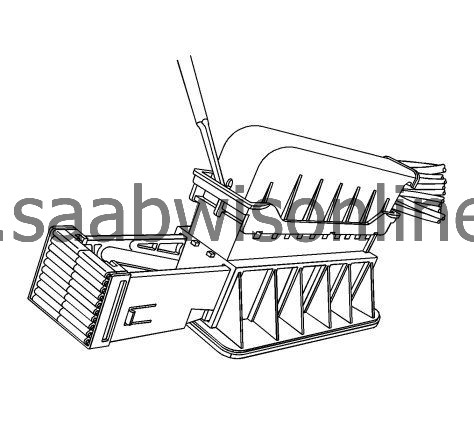
|
|
| 6. |
With the lock tab released, lift the connector wire dress cover from the connector body.
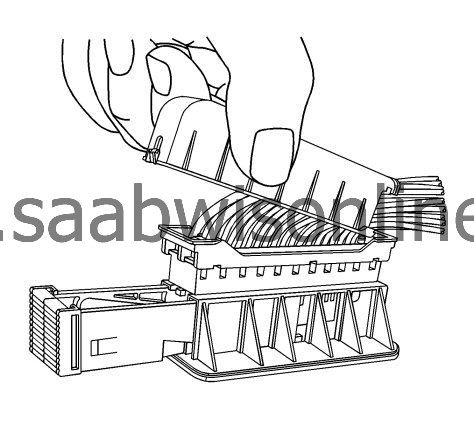
|
|
| 7. |
Using terminal release tool EL-38125-212, press the prongs into the holes each side of the terminal to be removed to release the lock tabs and pull the terminal out of the connector body.
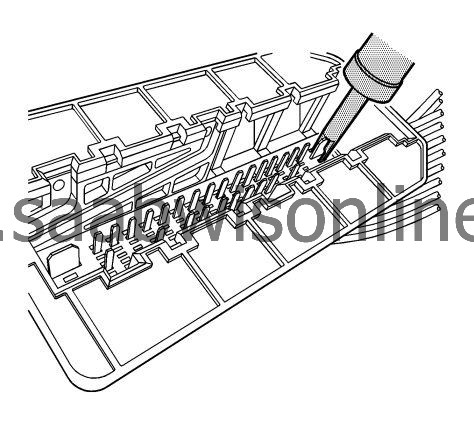
|
|
| 8. |
Using terminal release tool EL-38125-560, press the prongs into the holes on each side of the terminal to be removed to release the lock tabs and pull the terminal out of the connector body.
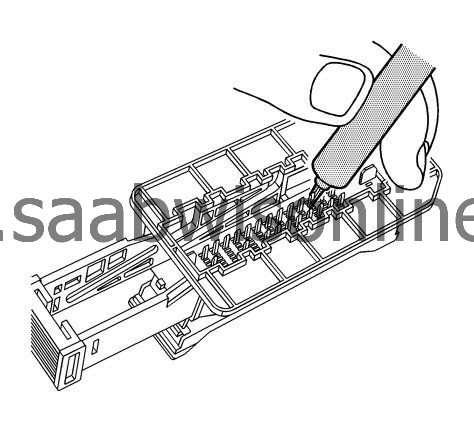
|
|
| 9. |
Using terminal release tool EL-38125-556, press the prongs into the holes on each side of the terminal to be removed to release the lock tabs and pull the terminal out of the connector body.
|
|
| Terminated Lead Repair |
| 1. |
Remove the terminal.
|
|
| 2. |
Find the appropriate terminated lead.
|
|
| 3. |
Use the appropriate splice sleeves depending on the gauge size.
|
|
| 4. |
Refer to
Splicing Copper Wire Using Splice Sleeves
|
|


