Inside Rearview Mirror Bracket Installation
| Inside Rearview Mirror Bracket Installation |
Special Tools
| • |
Inside Mirror Adhesive 2-Component
|
|
| • |
Safety Razor or Utility Knife
|
|
| 1.1. |
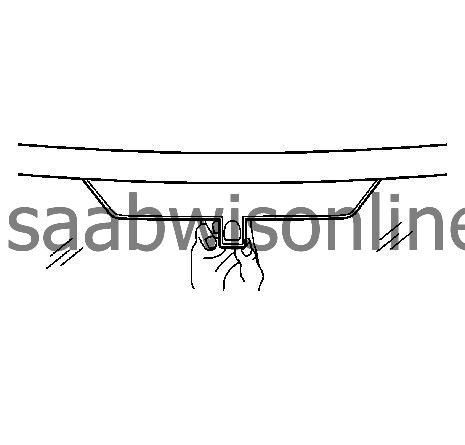
Using a measuring tape, measure the distance between the windshield pillars from the base of the shade line.
|
| 1.2. |
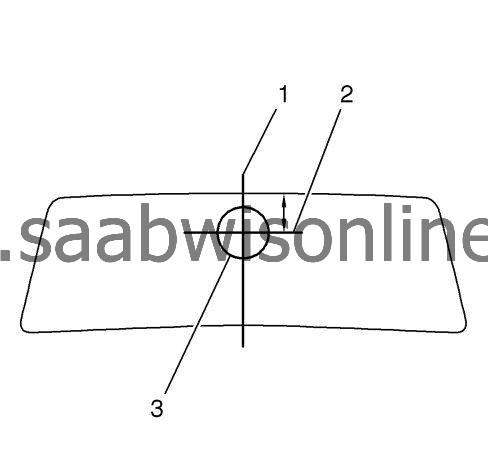
Using a marking pencil, halfway between the windshield pillars, draw a centerline (1) on the windshield from the roof panel to the windshield base.
|
| 1.3. |
Draw a perpendicular line intersecting the centerline (2) at that location.
|
| 2. |
The top center of the mirror mounting base will be at the intersection of these lines.
|
|
| 3. |
Scrape the inside windshield thoroughly with a safety razor or utility knife in order to remove all old adhesive.
|
|
| 4. |
If reinstalling the original mounting base, place the mirror mounting base in a suitable holding device, such as a vice.
|
|
| 5. |
Scrape the mirror mounting base thoroughly with a safety razor or utility knife in order to remove all old adhesive.
|
|
| 6. |
Clean the inside windshield and the mounting surface of the mirror mounting base thoroughly with a clean cloth saturated with naphtha or a 50/50 mixture (by volume) of clean water and isopropyl alcohol.
|
|
| 7. |
Use Inside Mirror Adhesive 2-Component (see package instructions) to apply a small amount of activator to the mounting surface of the mirror mounting base.

|
|
| 8. |
Apply a small amount of activator to the windshield where the mounting base is to be installed.
|
|
| 9. |
Allow the activator to dry 5 minutes.
|
|
| 10. |
Apply 1 drop of adhesive to the center of the mirror mounting base. |
|||||||
| 11. |
Immediately apply the mounting base to the windshield, ensuring that the mounting base aligns correctly to the marks made on the outside of the windshield.

|
|
| 12. |
Hold the mounting base firmly in place for 1 minute.
|
|
| 13. |
Allow the adhesive to set for 15 minutes.
|
|
| 14. |
Install the mirror to the mirror mounting base and fasten, if necessary.
|
|
| 15. |
Connect the electrical connector and install the wire cover, if equipped.
|
|


