Camshaft Cover Cleaning and Inspection
| Camshaft Cover Cleaning and Inspection |
| Cleaning Procedure |
| 1. |
Clean the camshaft covers in solvent.
|
|
| 2. |
Refer to
Safety Glasses and Compressed Air Warning
.
Dry the camshaft covers with compressed air. |
|
| Inspection Procedure |
| 1. |
Inspect each camshaft cover for the dents or damage to the exterior. A dented or damaged camshaft cover may:
|
|
| • |
Leak engine oil
|
| • |
Affect crankcase ventilation
|
| • |
Interfere with the camshafts
|
| • |
Interfere with the ignition coil sealing
|
| • |
Allow water or condensation to enter the engine
|
| 2. |
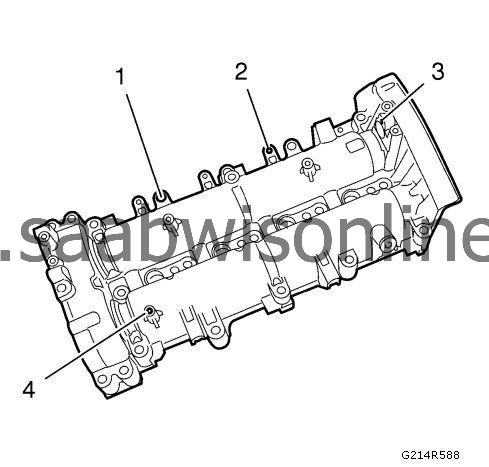
Inspect the exterior of the camshaft cover for the following conditions:

|
|
| • |
Damage to the camshaft cover bolt holes (1 and 2)
|
| • |
Damage to the camshaft sensor mounting hole (3)
|
| • |
Damage to the under pressure hose bracket bolt holes (4)
|
| 3. |
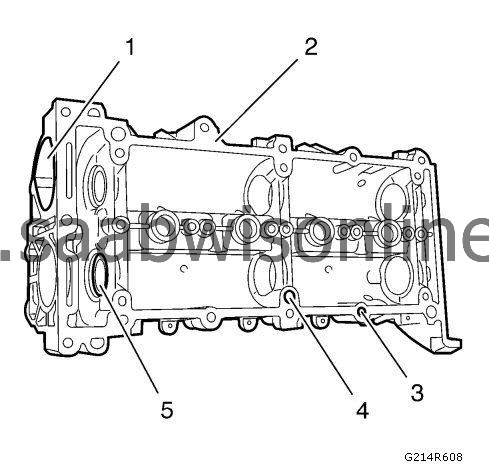
Inspect the interior of the camshaft cover for the following conditions:

|
|
| • |
Inspect the camshaft cover bolt holes (3 and 4)
|
| • |
Inspect the camshaft cover for cracks, casting imperfections or damage (1, 2 and 5).
|
| PVC Orifice Replacement |
| 2. |
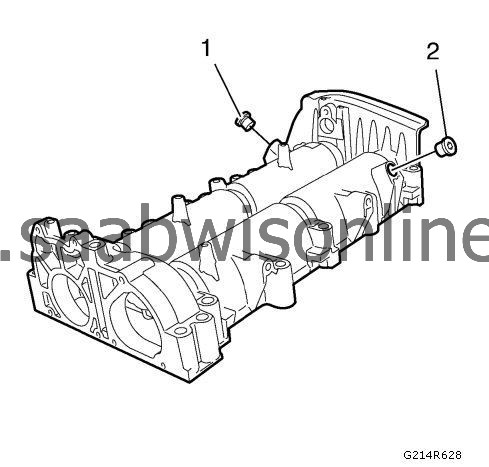
Install the NEW PCV orifices (1, 2) into the right camshaft cover. After insertion, twist the PCV orifice in order to eliminate any vertical leak paths in the sealant.
|
|
| PVC Fitting Replacement |
| 1. |
Remove the old PCV fitting. 
|
|||||||
| 2. |
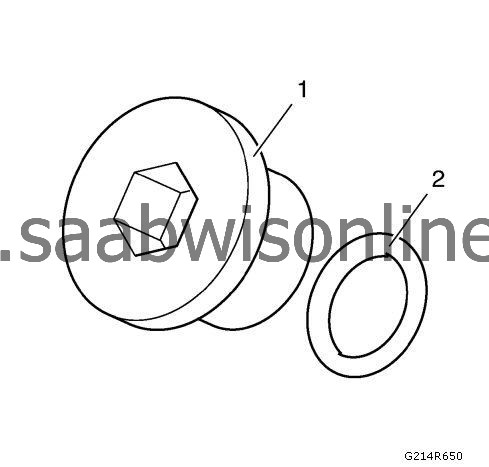
Install the new PCV fitting (1) with a NEW O-ring (2).
|
|


