FCI Connectors (Lever Lock)
|
|
FCI Connectors (Lever Lock)
|
Special Tools
|
•
|
EL-38125-580
Terminal Release Tool Kit
|
|
•
|
J-38125-556
Terminal Release Tool
|
|
•
|
J-38125-560
Terminal Release Tool
|
For equivalent regional tools, refer to
Special Tools
.
|
Terminal Removal Procedure
|
Follow the steps below in order to remove terminals from the connector.
|
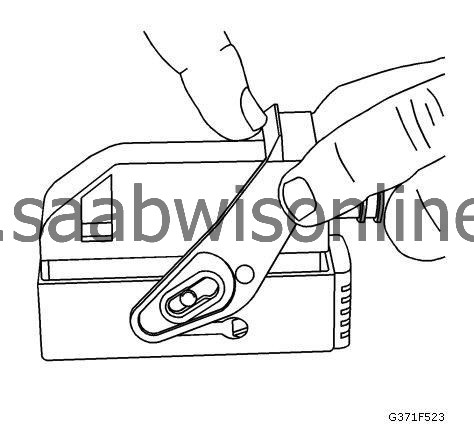
1.
|
Slide the lever lock forward while pressing down on the lever lock release tab.
|
|
2.
|
The release tab is located on the top of the wiredress cover.
|
|
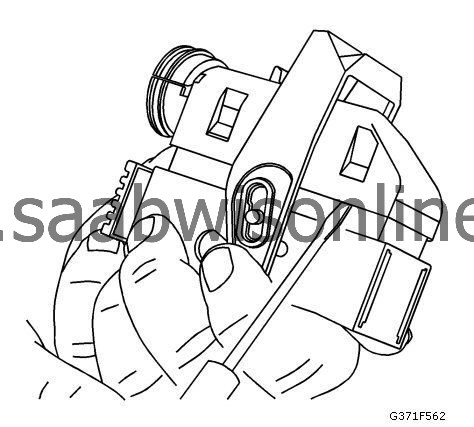
3.
|
View of connector in released position.

|
|
4.
|
Disconnect the connector from the component.
|
|
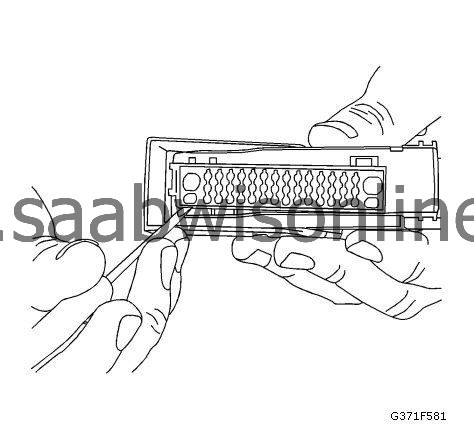
5.
|
Locate the dress cover locking tabs at the corners of the dress cover. Use a small flat-blade tool to release the locking tabs and remove the dress cover.
|
|
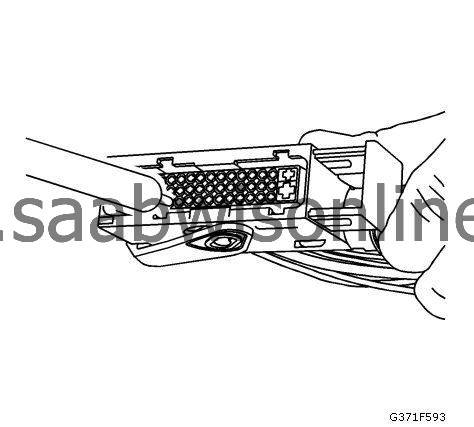
6.
|
Use a small flat-blade tool to slide the terminal position assurance (TPA) up one notch on both ends of the connector. The TPA is located underneath the wire dress cover.
|
|
7.
|
For the larger terminals insert the J-38125-556 tool to release the terminals by inserting the tool into the terminal release cavity. For the smaller terminals insert the J-38125-560 tool to release the terminals by inserting the tool into the terminal release cavity.
|
|
8.
|
While holding the removal tool in place, gently pull the wire out of the back of the connector. Always remember never use force when pulling a terminal out of a connector.
|
|
10.
|
Insert the repaired terminal back into the cavity. Repeat the diagnostic procedure to verify the repair and reconnect the connector bodies.
|
