Tyco/AMP Connectors (Seat)
| Tyco/AMP Connectors (Seat) |
Special Tools
| • |
EL-38125-580
Terminal Release Tool Kit
|
|
| • |
J-38125-11A
Terminal Release Tool
|
|
| • |
J-38125-212
Terminal Release Tool
|
|
| • |
J-38125-556
Terminal Release Tool
|
|
| • |
J-38125-560
Terminal Release Tool
|
|
For equivalent regional tools, refer to Special Tools .
| Terminal Removal Procedure |
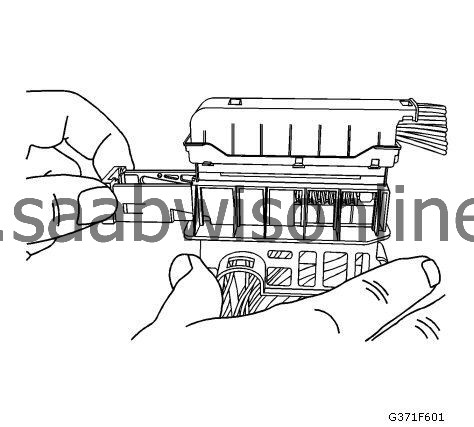
| 1. |
Grasp the locking slide lever and pull outward from the end of the connector.

|
|
| 2. |
As the slide lever is pulled out the mating connector is lifted from the seated position.
|
|
| 3. |
Using terminal release tool J-38125-11A or equivalent, push the TPA tabs into the connector body. 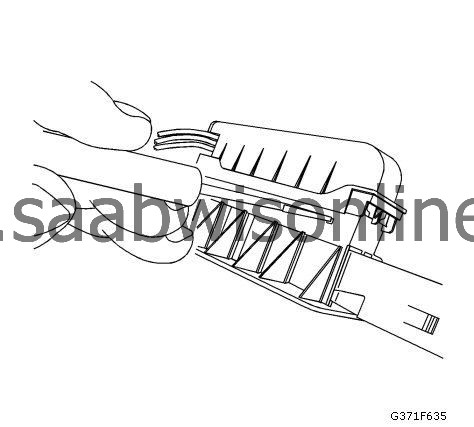
|
|||||||
| 4. |
Pull the TPA from the connector body.
|
|
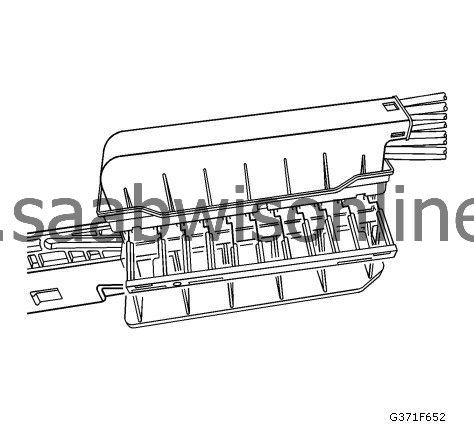
| 5. |
Using terminal release tool J-38125-11A or equivalent, release the connector wire dress cover locking tab.
|
|
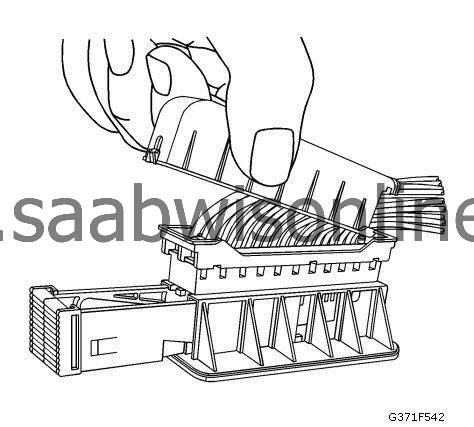
| 6. |
With the lock tab released, lift the connector wire dress cover from the connector body.
|
|
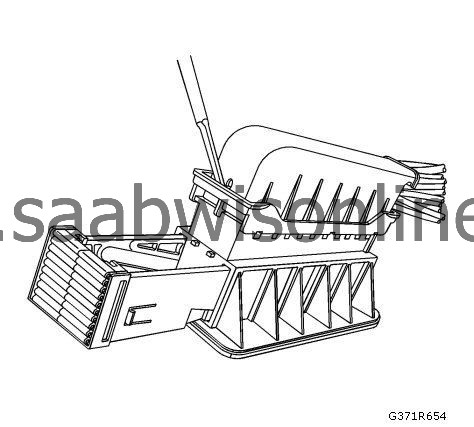
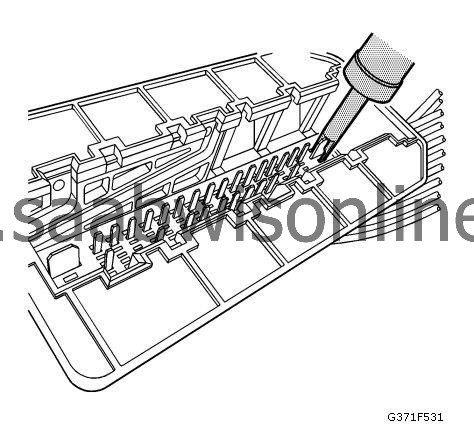
| 7. |
Using terminal release tool J-38125-212, press the prongs into the holes each side of the terminal to be removed to release the lock tabs and pull the terminal out of the connector body.
|
|
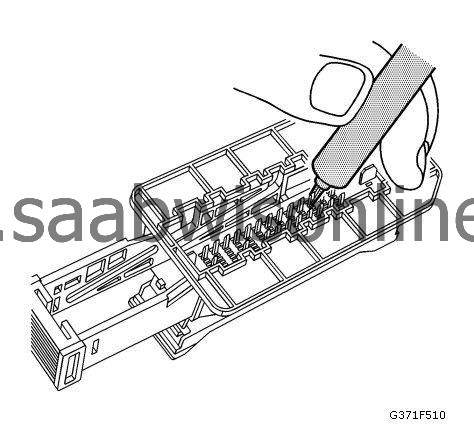
| 8. |
Using terminal release tool J-38125-560, press the prongs into the holes on each side of the terminal to be removed to release the lock tabs and pull the terminal out of the connector body.
|
|
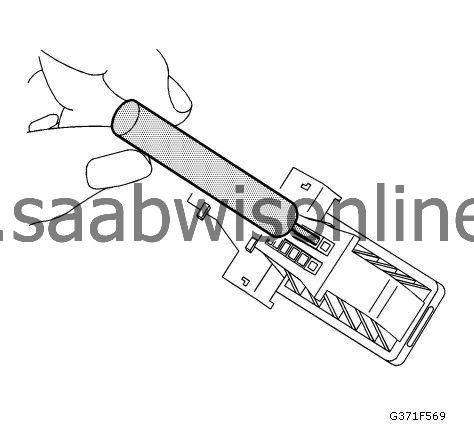
| 9. |
Using terminal release tool J-38125-556, press the prongs into the holes on each side of the terminal to be removed to release the lock tabs and pull the terminal out of the connector body.
|
|
| 10. |
Repair the terminal by following the
Repairing Connector Terminals
procedure.
|
|
| 11. |
Insert the repaired terminal back into the cavity. Repeat the diagnostic procedure to verify the repair and reconnect the connector bodies.
|
|
This project is supported by memberships and donations. If you use this site, please consider Joining SCNA and/or making a donation.
Our Friends
