Fan control unit
| Fan control unit |
| To remove |
| 1. |
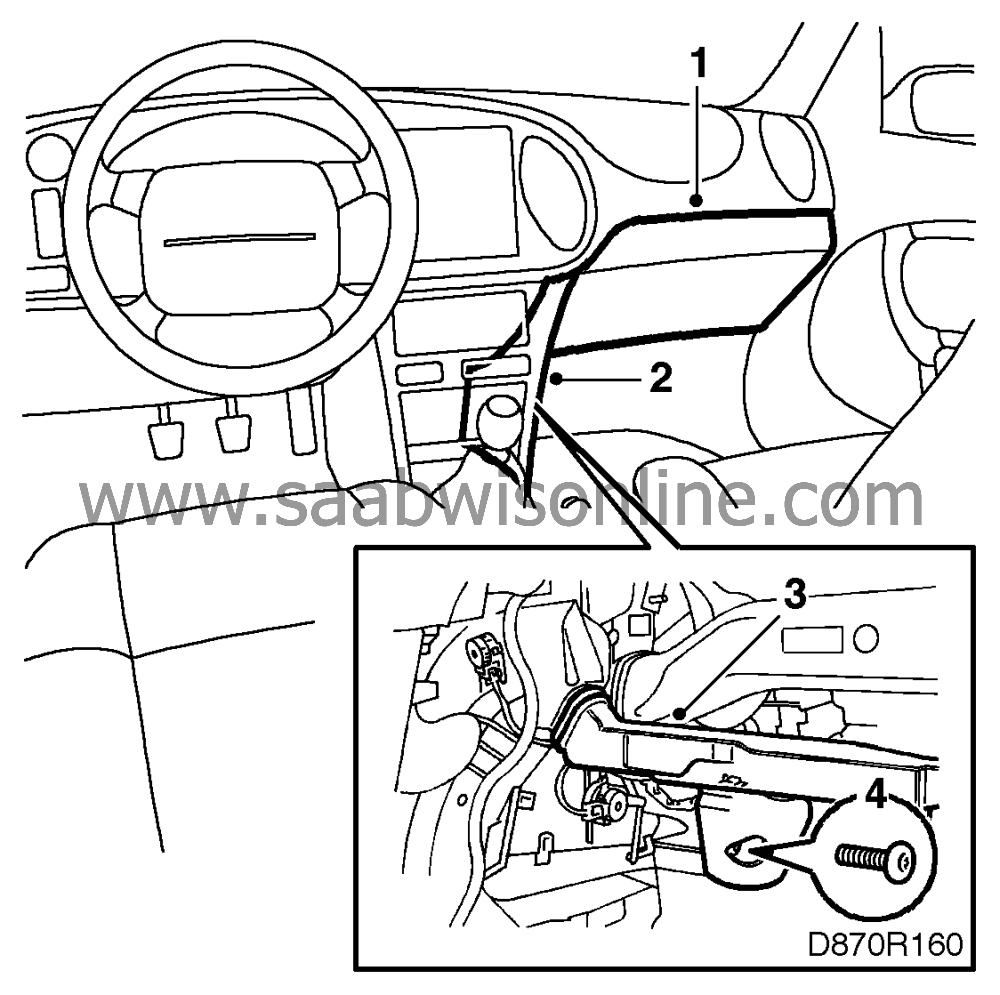
Remove the glove box.

|
|
| 2. |
Remove the panel from the side of the centre console.
|
|
| 3. |
Remove the air duct on the floor.
|
|
| 4. |
Remove the protective cover.
|
|
| 5. |
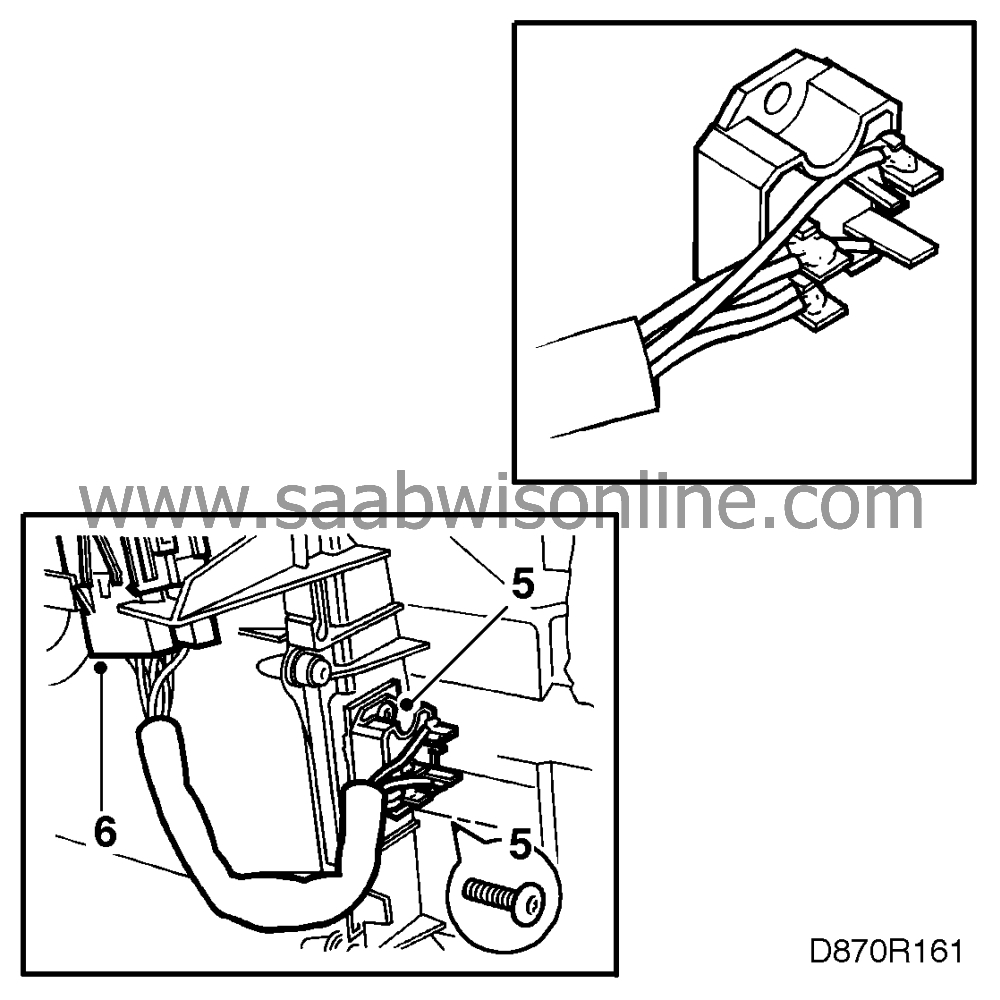
Remove the two fan control unit retaining screws.

|
|
| 6. |
Unplug the connector.
|
|
| To fit |
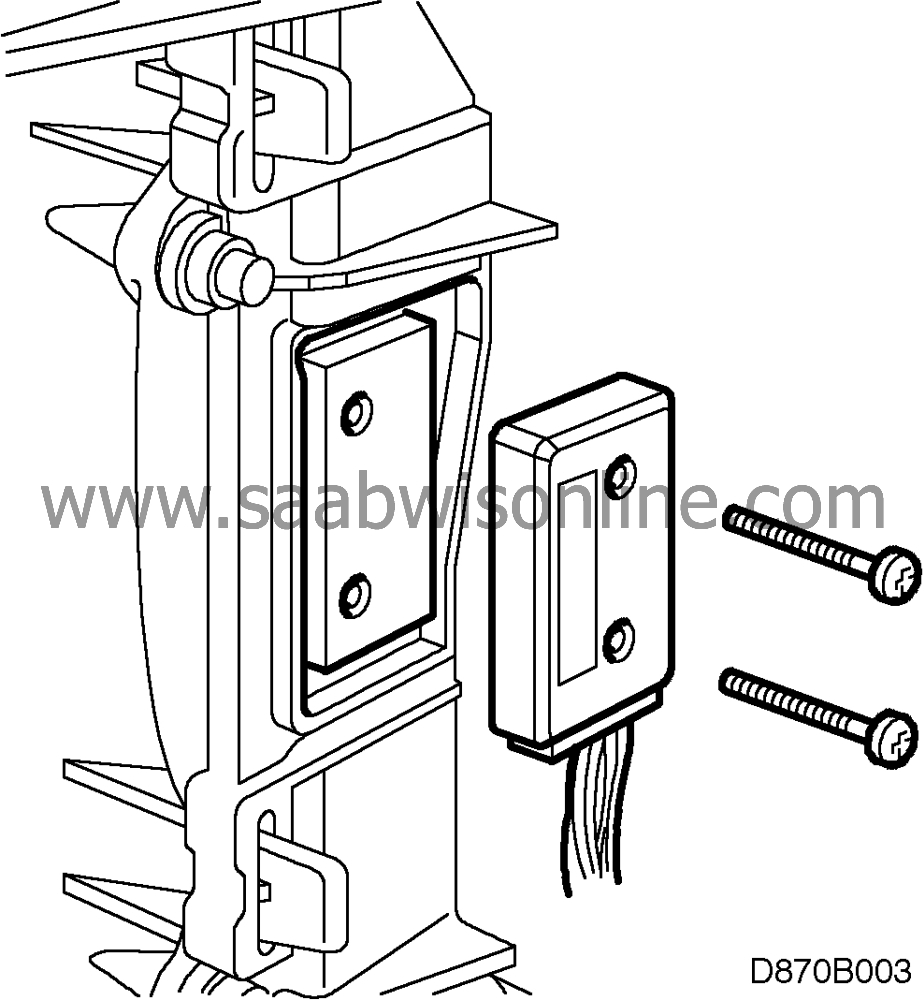
On Harrison evaporators, the cooling plate on which the fan control unit is mounted is welded to the evaporator.
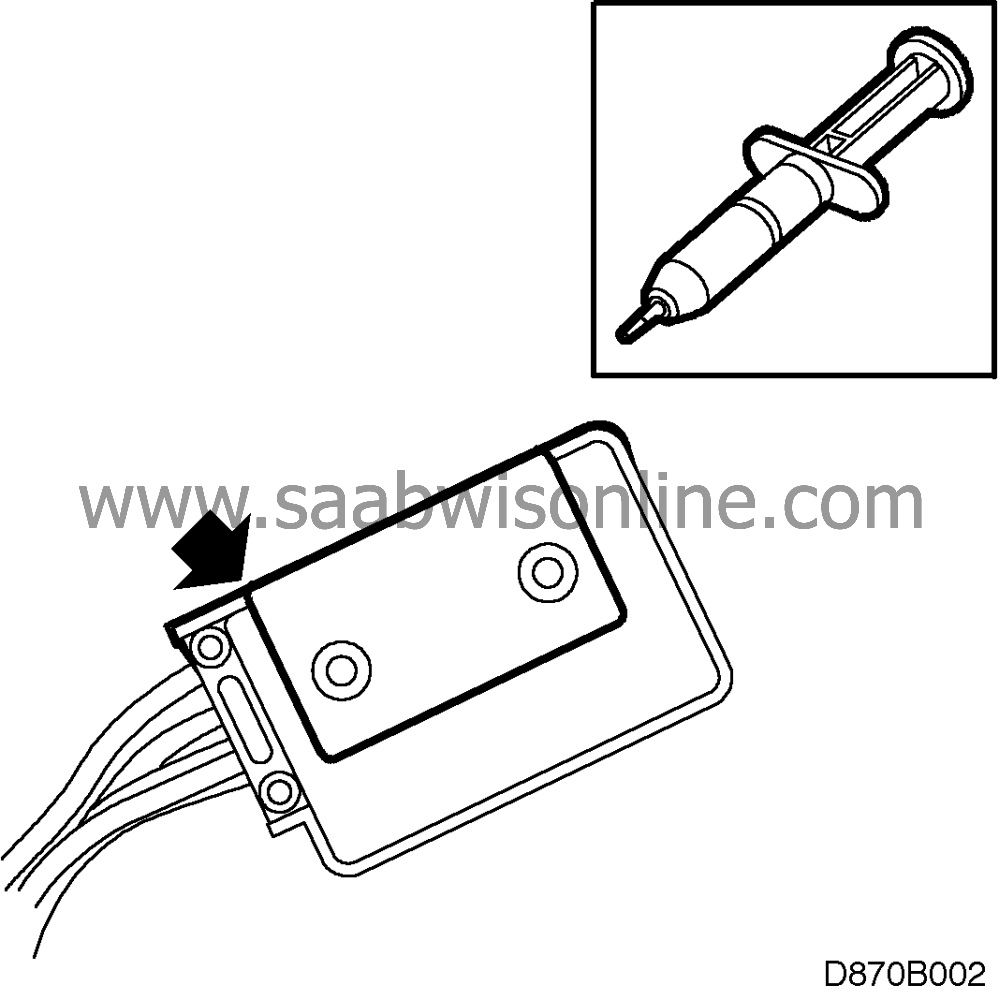
An aluminium spacer (supplied together with the fan control module) must be fitted between the fan control unit and the cooling plate.
| 1. |
Wipe old silicon paste off the evaporator's mounting surface.
|
|
| 4. |
Refit the protective cover.

|
|
| 5. |
Refit the floor air duct.
|
|
| 6. |
Refit the panel on the side of the centre console.
|
|
| 7. |
Refit the glove box.
|
|
| 8. |
Calibrate the ACC system by pressing the "AUTO" and "OFF" buttons simultaneously.
|
||||||||||


