Ventilation fan, faulty speed control
| SERVICE INFORMATION | |
| Bulletin Nbr: | 871-1847 |
| Date: ........... | JANUARY 1998 |
| Market: | ALL |
| Ventilation fan, faulty speed control |
| Cars concerned |
All Saab 900 M94- with ACC.
| Background |
If the ventilation fan controls do not work or if the fan does not work at all, it could be caused by the fan control unit.
A new version of the fan control unit has been introduced in production. It is very important that when replacing it, the new fan control unit is fitted correctly to ensure good heat transfer to the cooling plate/bracket in the evaporator. If it is fitted incorrectly, malfunctions can occur, limiting the service life of the fan control unit.
Take measures in connection with customer complaint if the fault can be established to be located in the fan control unit.
| Materials |
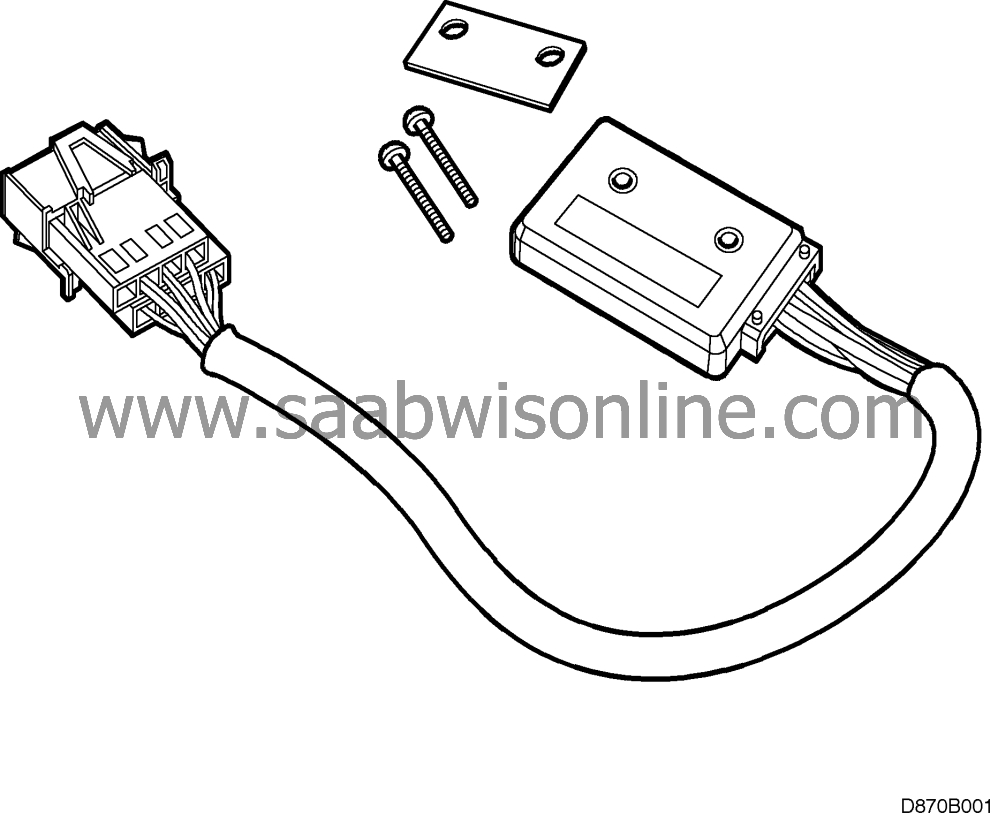
(10) 74 95 930 Fan control unit (including bolts and aluminium spacers) (CA: 30564067)
(16) 30 07 895 Silicon paste (Heat diverting) (CA: 30559795)
| Diagnostic procedure |
The way in which the new fan control unit is fitted depends on the type of evaporator the car is fitted with:
| • |
Harrison evaporator, M94- up to and including VIN T2007708 (3D/5D) or T7003485 (CV).
|
|
| • |
Showa evaporator, from VIN T2007709 (3D/5D) or T7003486 (CV).
|
|
Refer to
 ”8. Climate control, Adjustment/replacement, Fan control unit”. For fitting the new fan control unit, refer to this service information.
| Harrison evaporator |

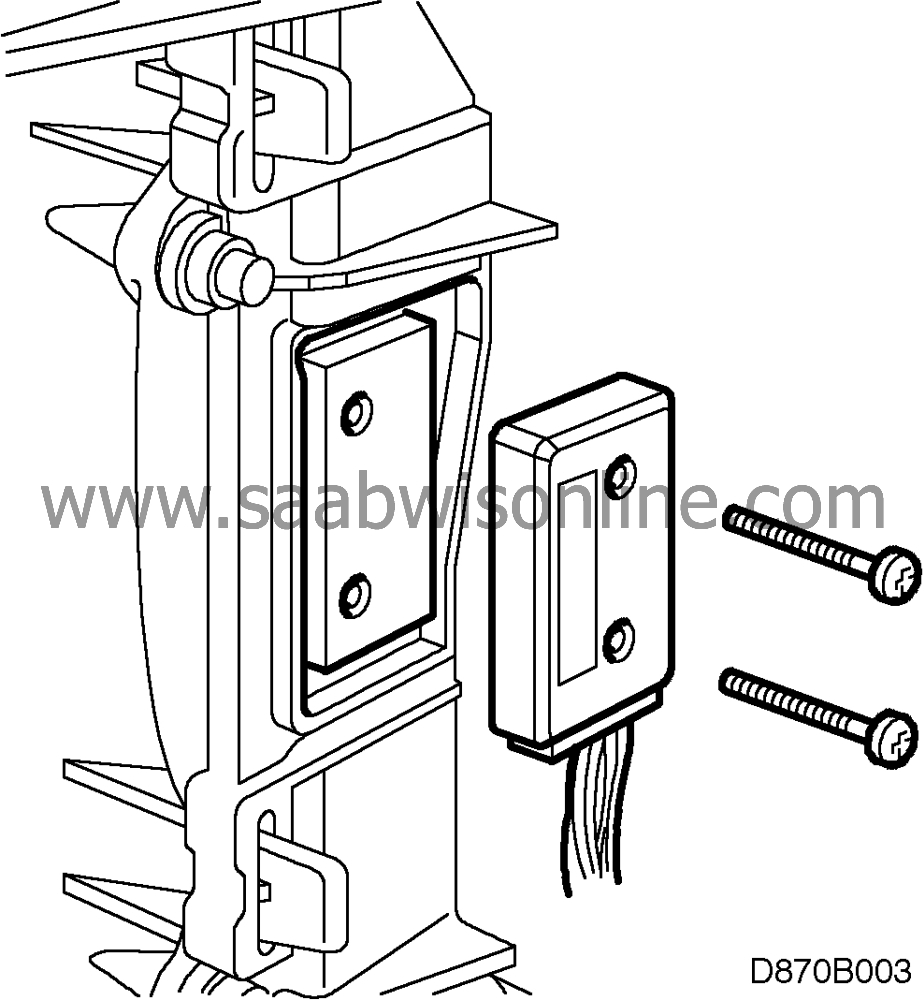
On Harrison evaporators, the cooling plate on which the fan control unit is mounted is welded to the evaporator.
An aluminium spacer (supplied together with the fan control module) must be fitted between the fan control unit and the cooling plate.
| Important | ||
|
Wipe old silicon paste off the evaporator's mounting surface. |
||
|
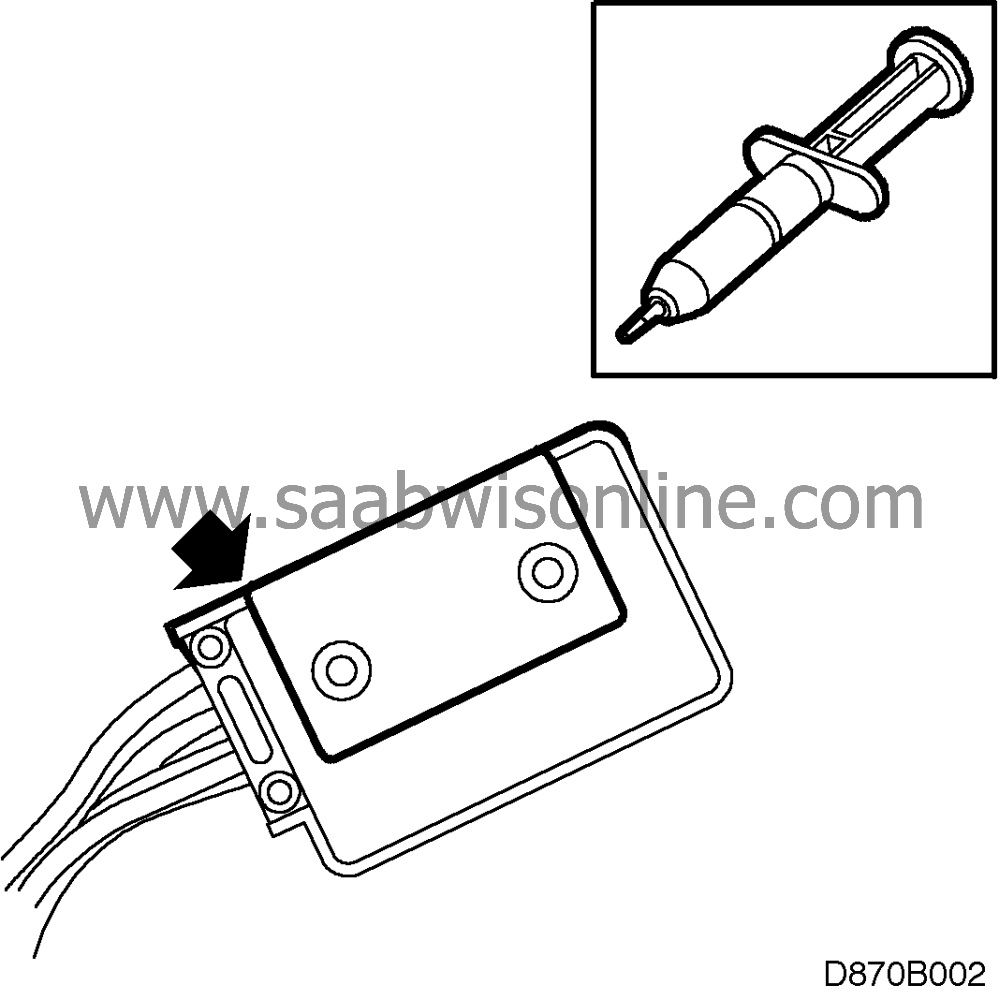
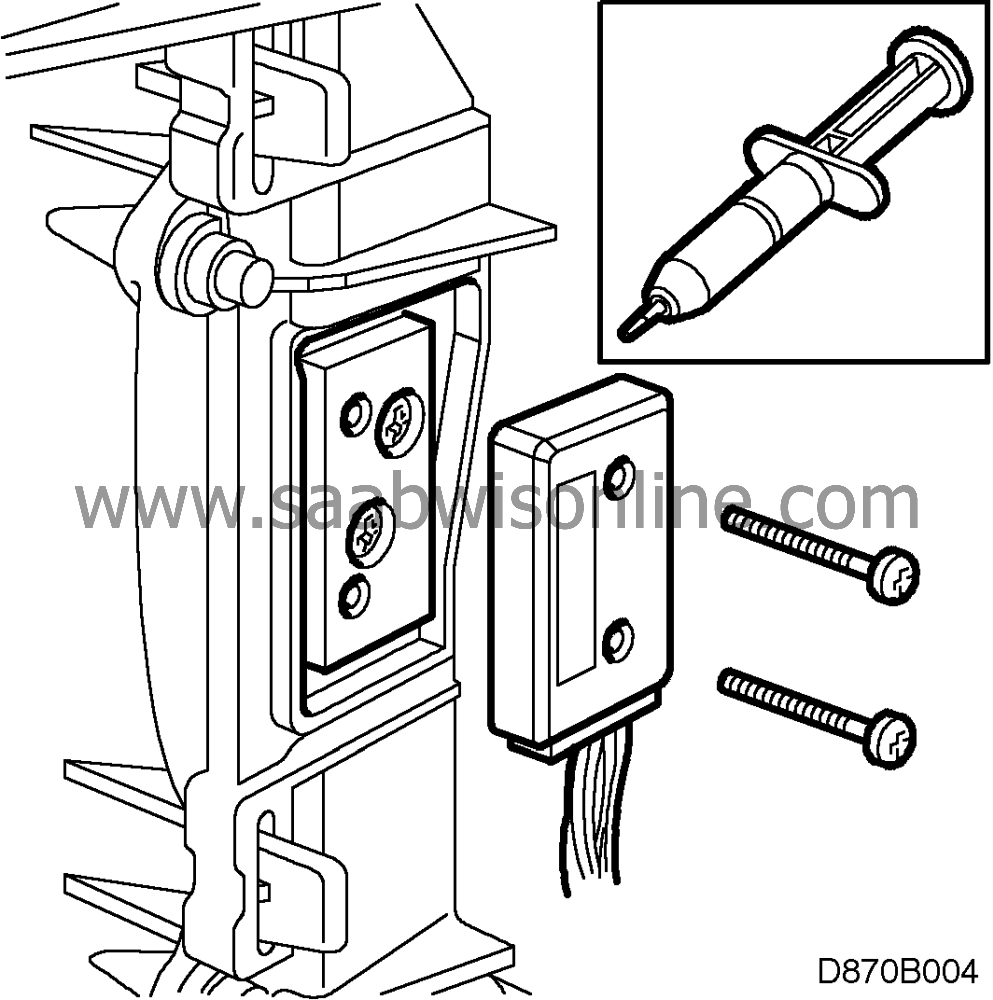
Apply a thin layer of silicon paste part no. (16) 30 07 895 (CA: 1974984) on the fan control unit metal plate and on the mounting surface on the evaporator. This is important to ensure correct function and service life. |
||
Place the aluminium spacer on the fan control unit. Turn the spacer so that it is lying edge to edge with the side of the fan control unit, see illustration. Make sure the two sleeves on the fan control unit fit into the holes in the aluminium spacer.
Screw the fan control unit to the evaporator. Plug in the connector.

Check the fitting and replace all removed parts, see
 ”8. Climate control, Adjustment/replacement, Fan control unit”.
| Showa evaporator |

On Showa evaporators, the cooling plate on which the fan control is mounted is screwed to the evaporator.
| Important | ||
|
The aluminium spacer supplied with the fan control unit is to be used. |
||
|
Wipe old silicon paste off the evaporator's mounting surface. |
||
|
Apply a thin coat of silicon paste, part no. (16) 30 07 895 on the metal plate on the fan control unit and the screwed plate on the evaporator. This is important for the function and service life. |
||
Make sure the two sleeves on the fan control unit fit into the holes in the mounting surface of the evaporator. Screw the fan control unit to the evaporator. Plug in the connector.
Check the fitting and replace all removed parts, see ”
 8. Climate control, Adjustment/replacement, Fan control unit”.
| Warranty/Time information |
Failed Object: 87076
Fault/Reason code: 71
Location code: 09
Warranty type (US): 01
Repair/Action code: 02
Labour Operation (US): 87076
Time: 0.2


