Fuel filler pipe
| Fuel filler pipe |
|
|||||||
| • |
Work only in a well-ventilated area.
If approved equipment for the
extraction of fuel vapour is available, be sure to use it.
|
|
| • |
Wear suitable gloves. Prolonged contact with fuel may give rise to skin
irritation or dermatitis.
|
|
| • |
Keep a class BE fire extinguisher near at hand. Be mindful of the
danger of sparks caused by short-circuits and when connecting and
disconnecting leads, etc. in electrical circuits.
|
|
| • |
No smoking anywhere in the vicinity.
|
|
| To remove |

| 1. |
Place the car on a lift.
|
|
| 2. |
Raise the car and remove the right-hand rear wheel.
|
|
| 3. |
Clean the area round the filler pipe so that no dirt or the like will
get into the pipe or tank.
|
|
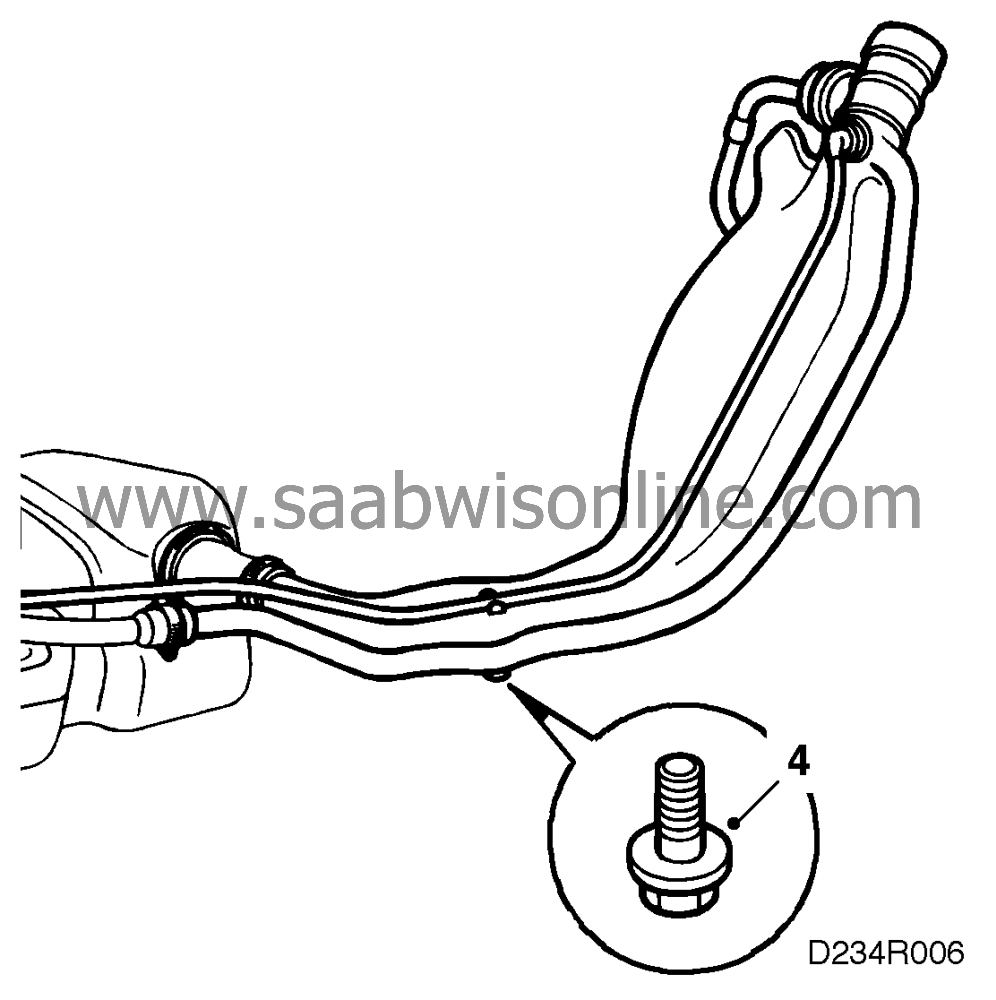
| 4. |
Remove the plastic bolt securing the filler pipe to the car body.
|
|
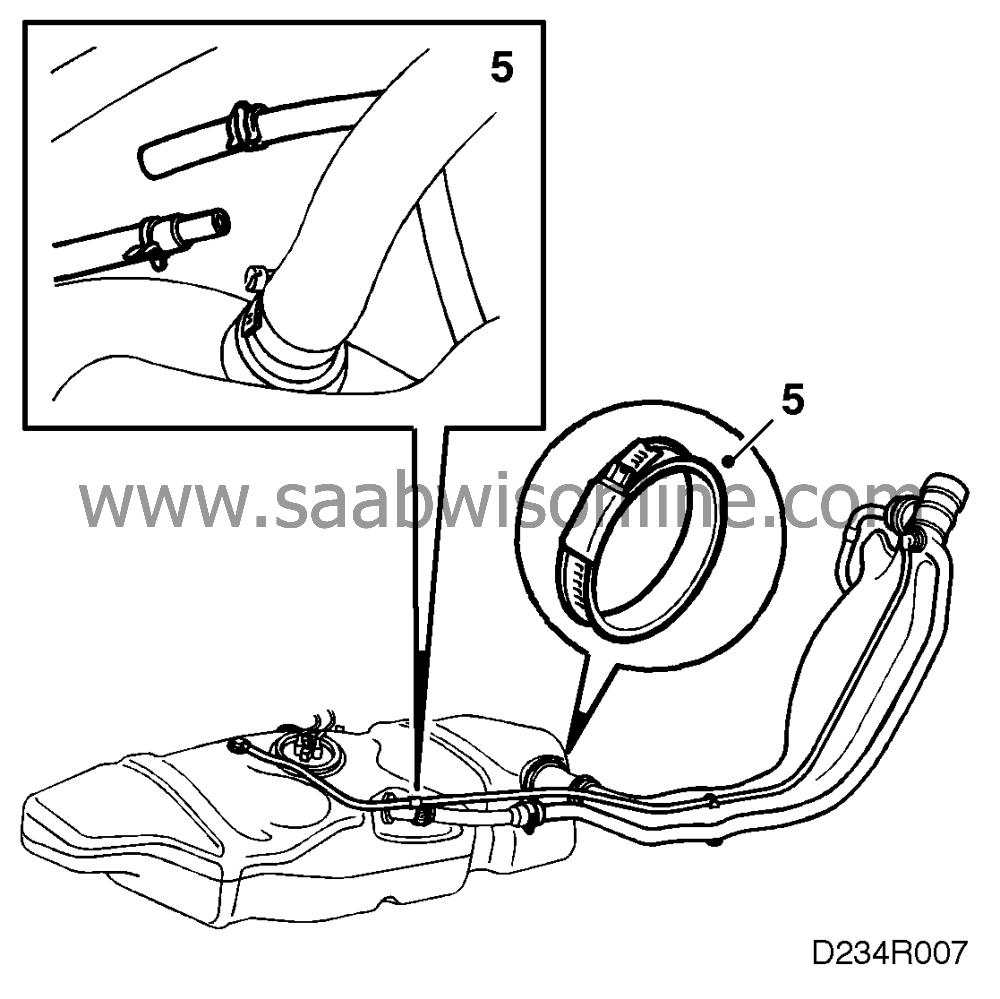
| 5. |
Remove the rubber hoses and the plastic hose between the filler pipe
and the tank's fixed pipe.
|
|
| 6. |
Lower the car.
|
|
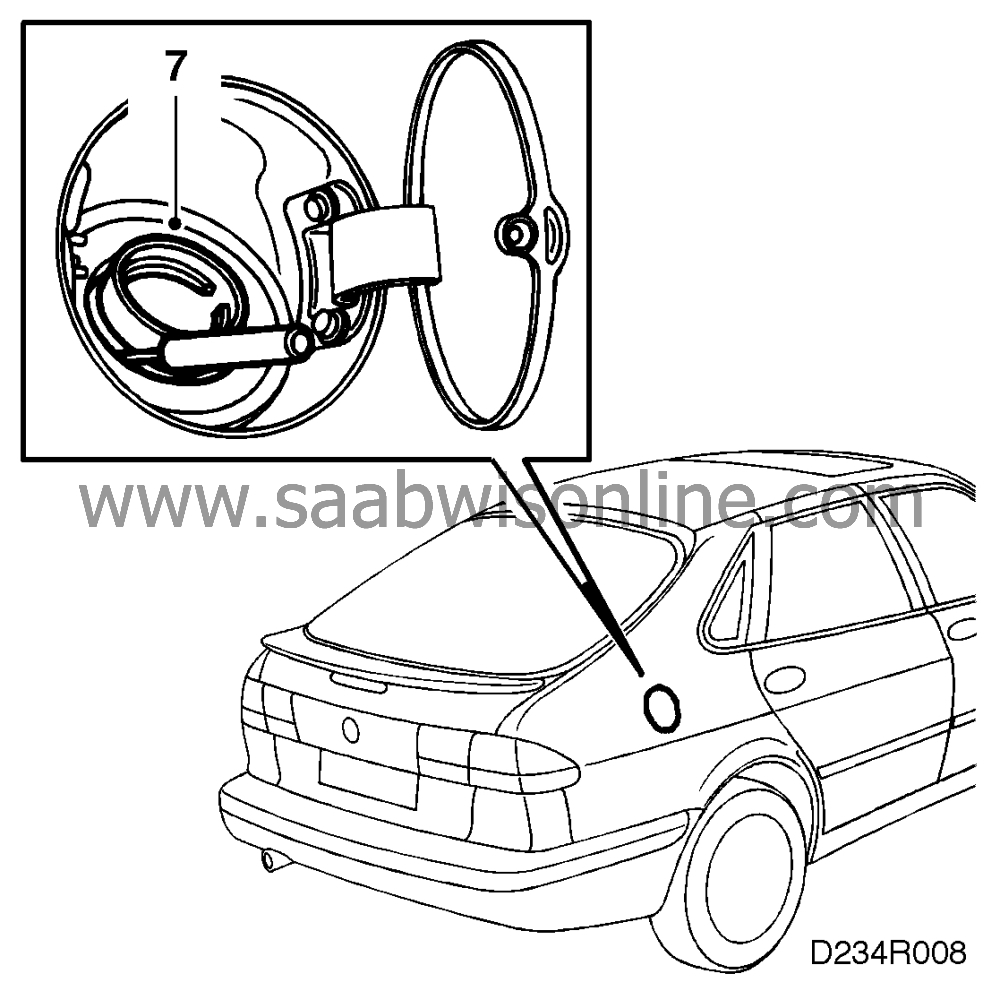
| 7. |
Grasp the pipe under the rear wing with one hand and remove the fuel
filler pipe from the filler cap collar, using a screwdriver.

|
|
| 8. |
Pull out the pipe slightly to provide better accessibility for removing
the fuel tank breather hose.
|
|
| 9. |
Withdraw the filler pipe.
|
|
| To fit |
Fit in reverse order.
Tightening torque for plastic bolt:
1.8 Nm (1.3 lbf ft)
Tightening torque for hose clips:
2.2 Nm (1.6 lbf ft)
| Important | ||
|
When fitting a replacement plastic bolt it is important to fit a new bolt of plastic. In the event of a collision, the plastic bolt must give way so that the filler pipe, which is also made of plastic, will not be damaged. |
||


 Warning

