Trim, headlining
| Trim, headlining |
| Note | ||
|
Lift the detached headlining out of the car through the tailgate opening. |
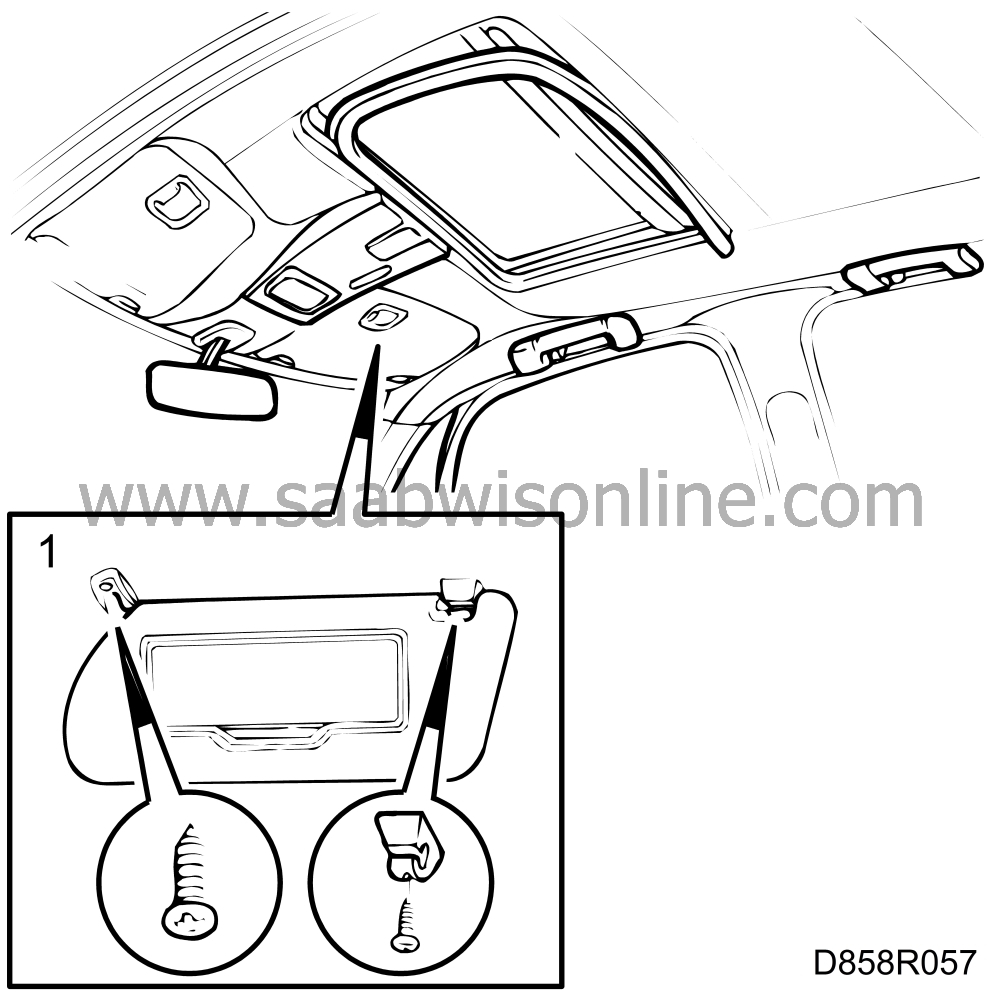
| 1. |
Remove the sun
visors.
|
|
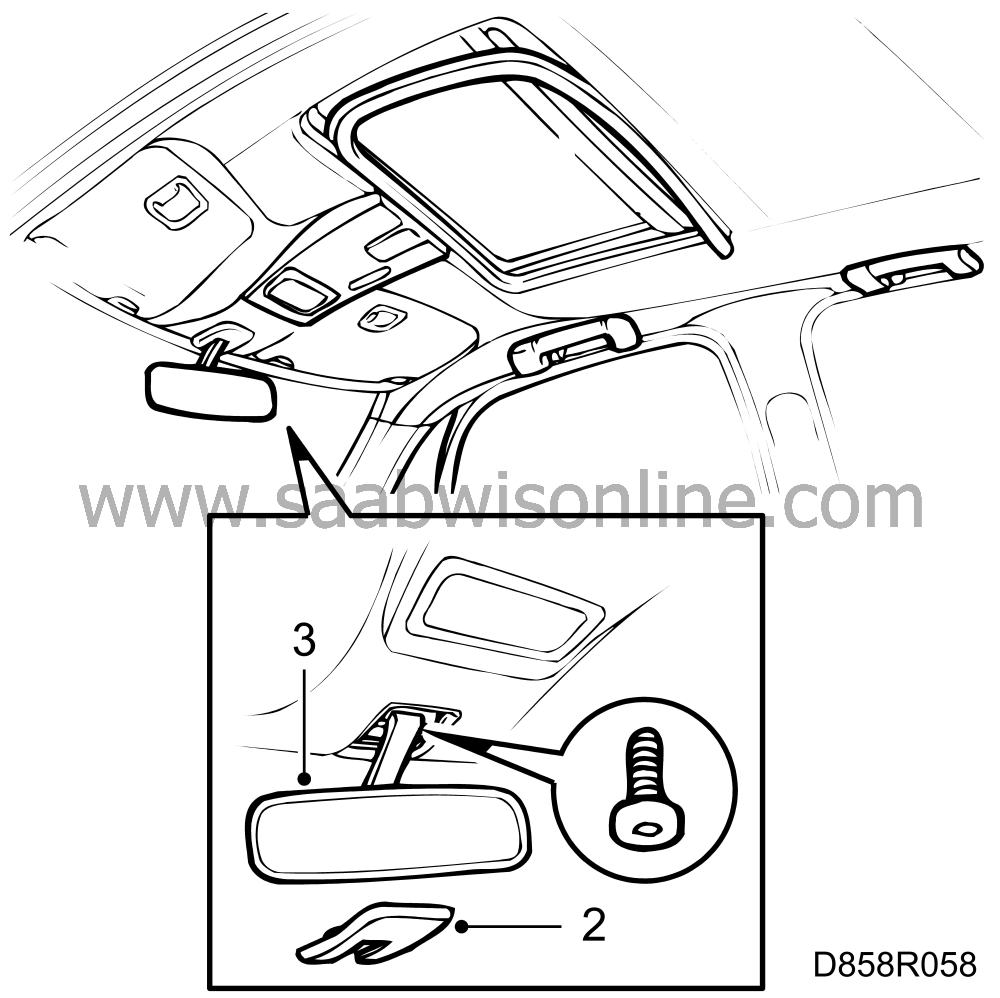
| 2. |
Remove the cover plate from the roof-mounted rearview mirror bracket (fastened
with clips).
|
|
| 3. |
Remove the rearview mirror.
Cars with a sunroof: |
|
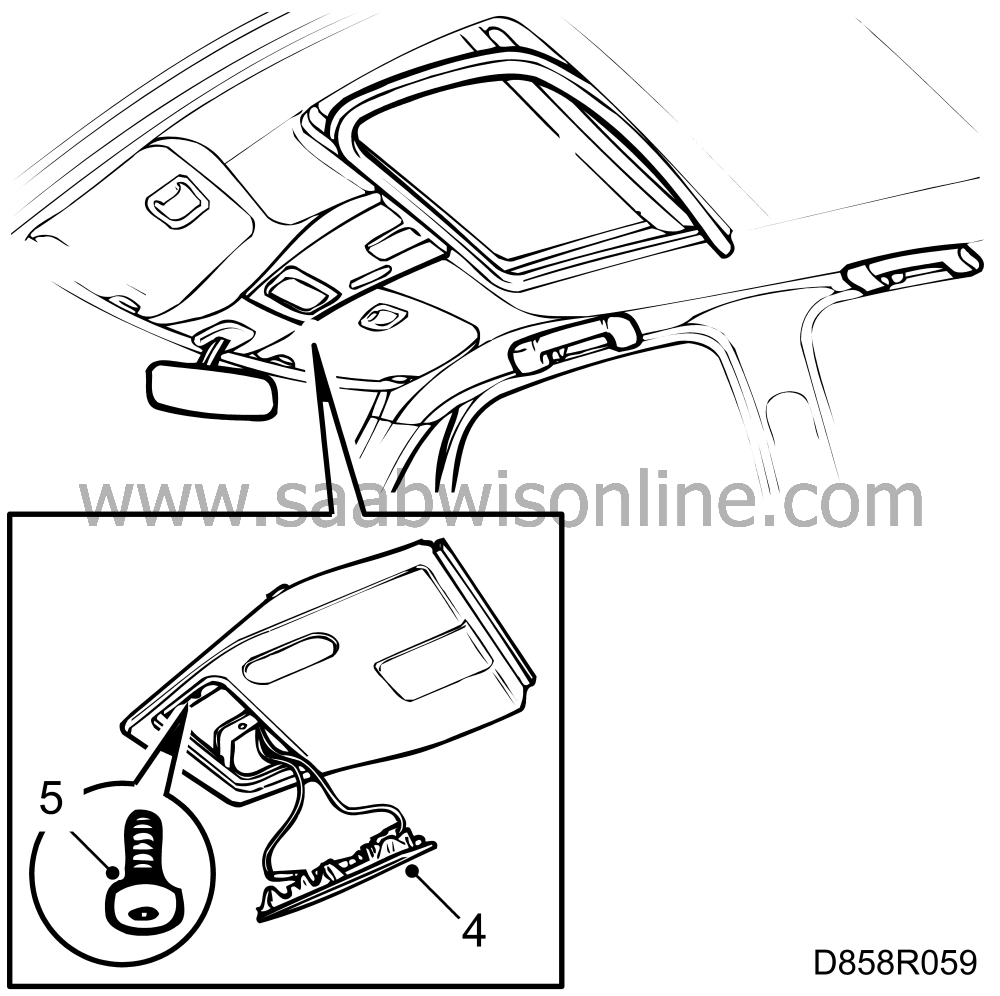
| 4. |
Remove the lamp from the motor bracket (fastened with two clips) and remove
the bulb from the connector.
|
|
| 5. |
Undo the screws retaining the bracket and pull it away.
|
|
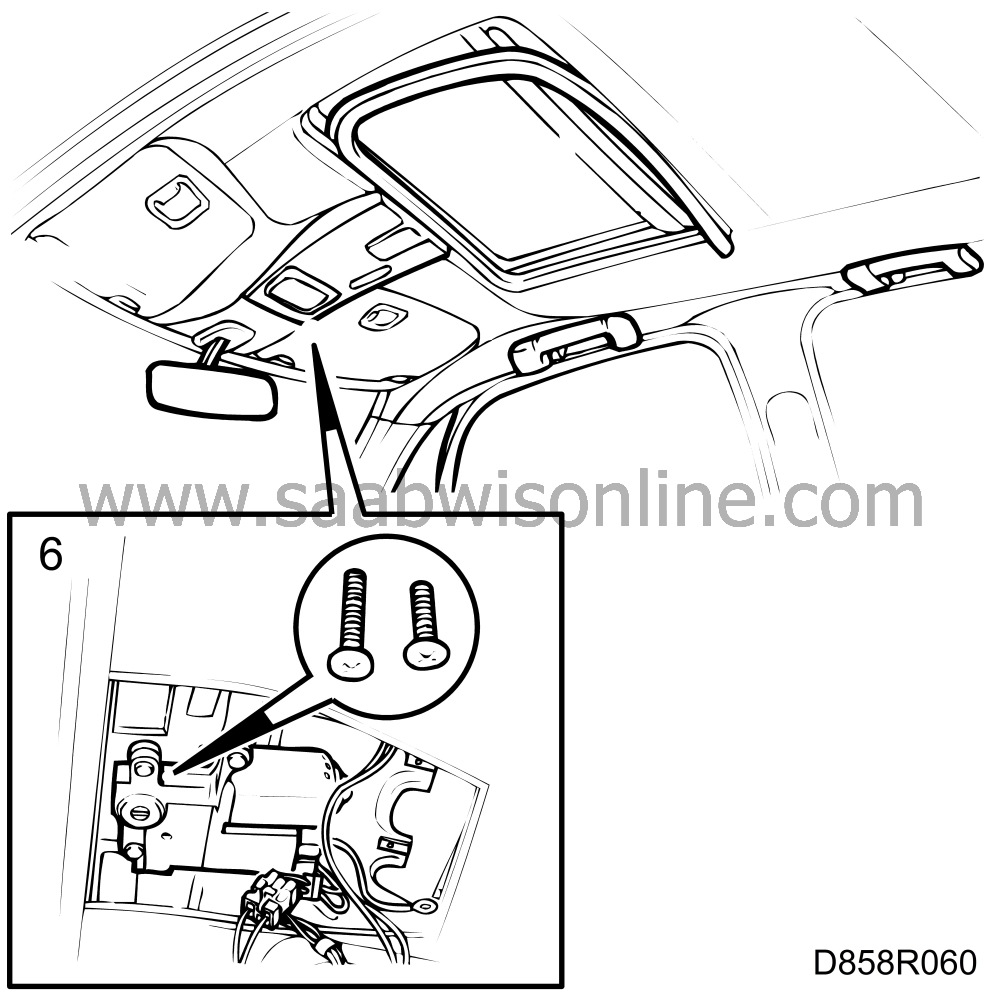
| 6. |
Remove the moulding round the sunroof aperture. Unplug the sunroof motor
connector.
|
|
| 7. |
Remove the interior lighting bracket.
|
|
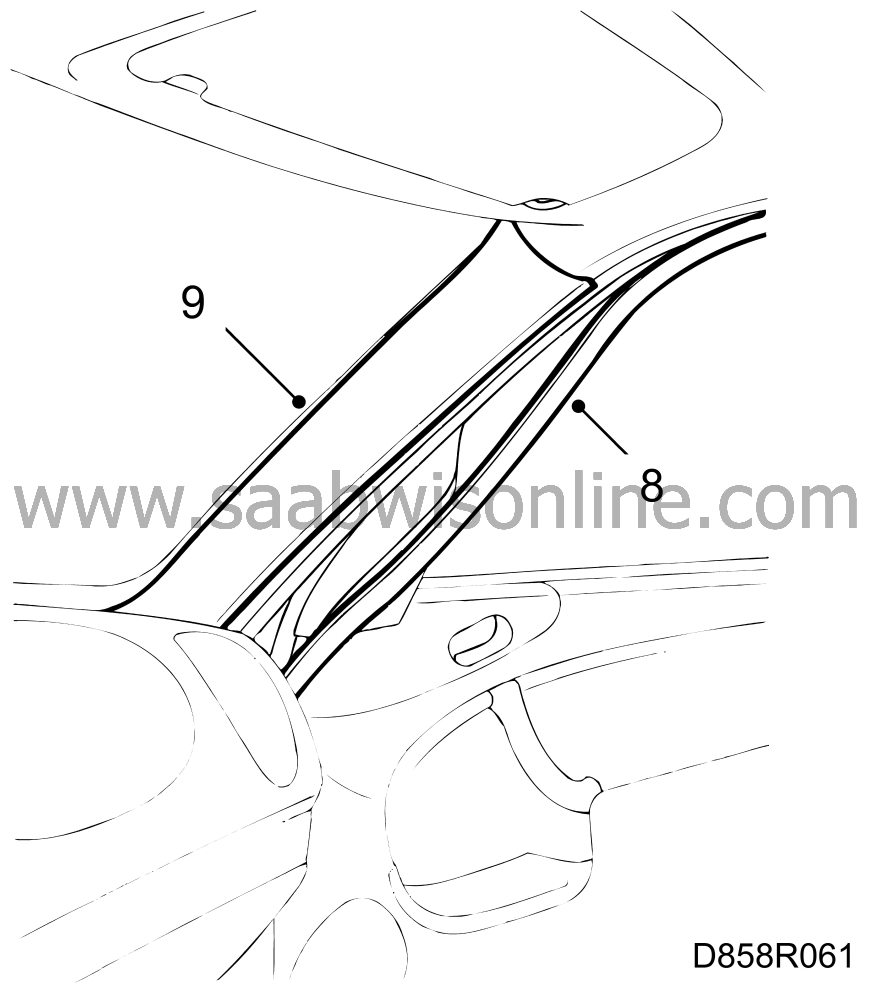
| 8. |
Remove the A-pillar's door weatherstrips.
|
|
| 9. |
Pull the A-pillar trim away (fastened with clips).
|
|
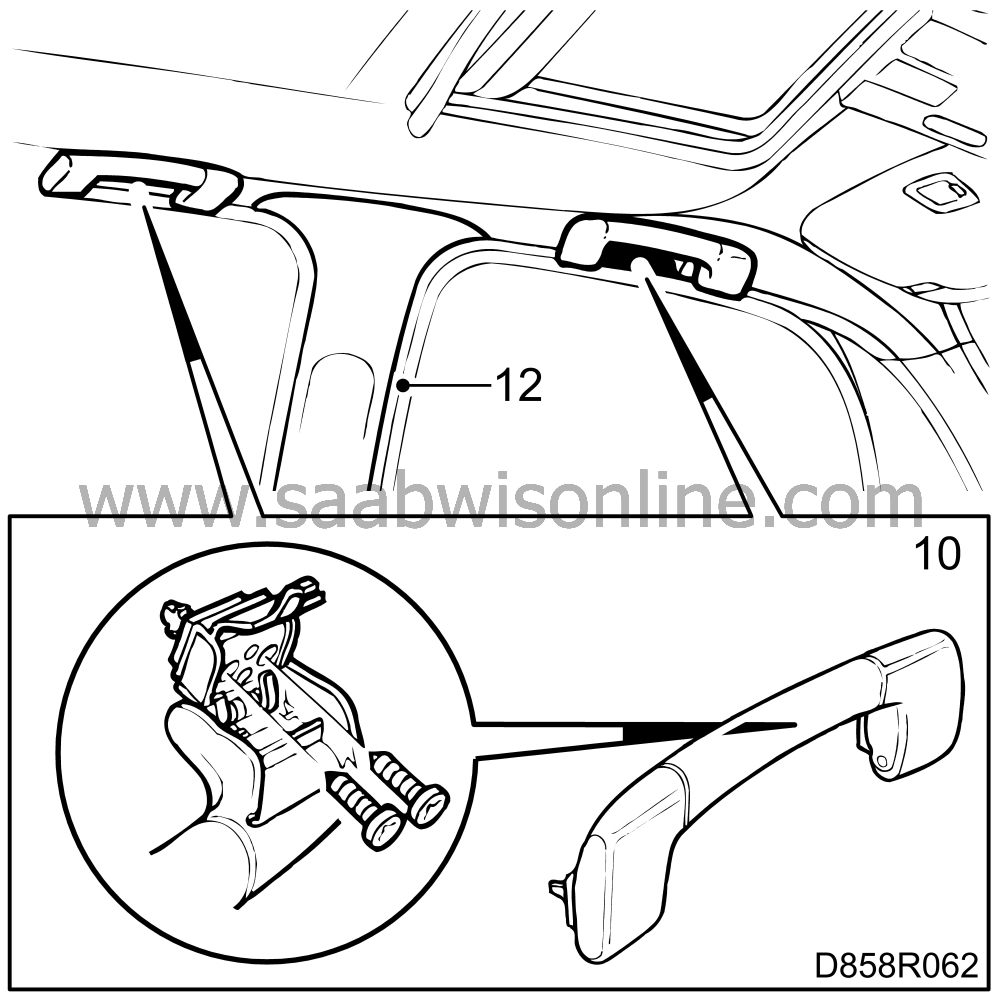
| 10. |
Remove the grab handle.
Three-door cars: |
|
| 11. |
Remove the B-pillar trim
 .
.
Five-door cars:Left-hand B pillar |
|
| 12. |
Remove the left-hand B-pillar's upper inner trim (fastened with
clips).
|
|
| 13. |
Remove the top clip from the left-hand B-pillar's upper outer trim.
Right-hand B pillar. |
|
| 14. |
Remove the pillar trim
 .
.
|
|
| 15. |
Remove the trim from the C pillars
 .
.
|
|
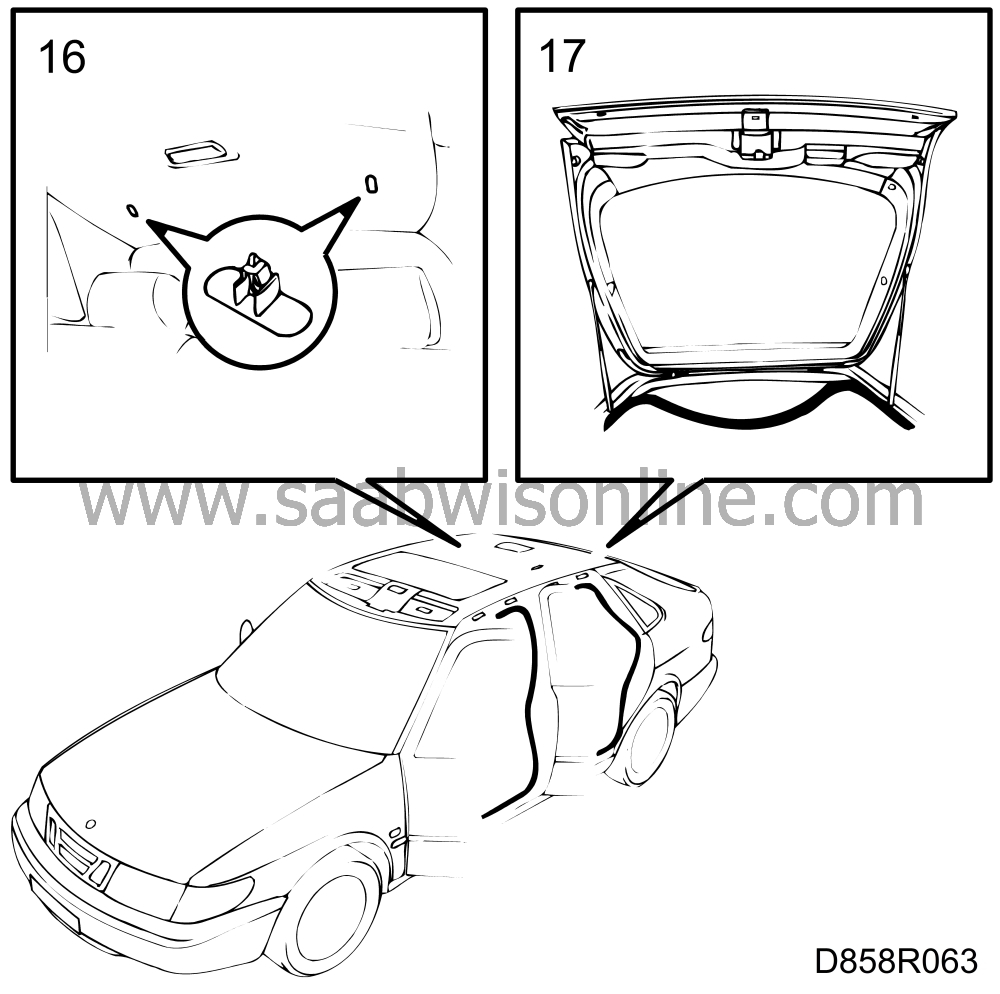
| 16. |
Remove the retaining clips at the rear edge of the headlining. Turn the
clips through 90° (quarter-turn).
|
|
| 17. |
Remove the door weatherstrips securing the headlining.
|
|
| 18. |
Bend down the headlining.
|
|
| 19. |
Remove the wiring from the headlining (secured with tape).
|
|
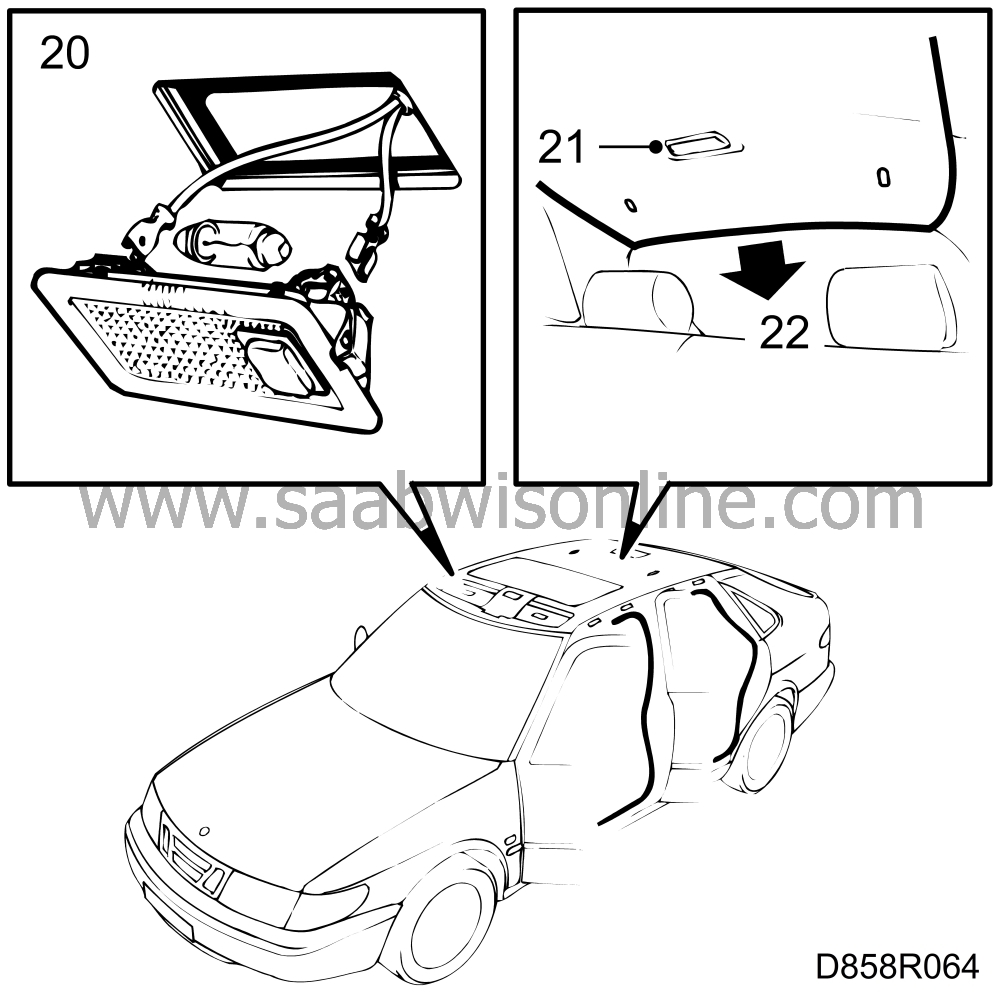
| 20. |
Unplug the reading lamp connectors above the front seats.
|
|
| 21. |
Unplug the rear reading lamp connector.
|
|
| 22. |
Lift the headlining out through the tailgate opening.
|
|
| To fit |
Fit in reverse order.
Tightening torque:
Belt adjuster screws: 24 Nm (18 lbf ft)

