Brake lights
| Brake lights |
| 1. |
Check that the fuse is intact and live.
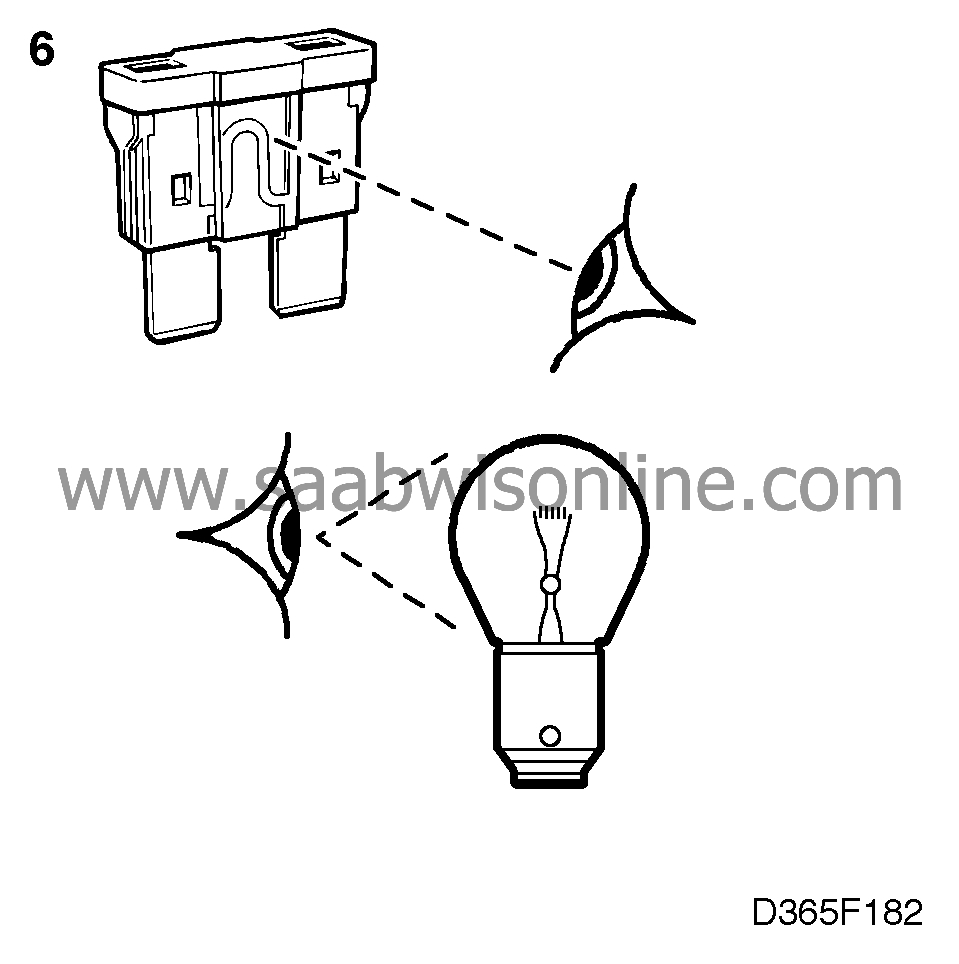
Check that the brake light bulbs are in working order. |
|
| 2. |
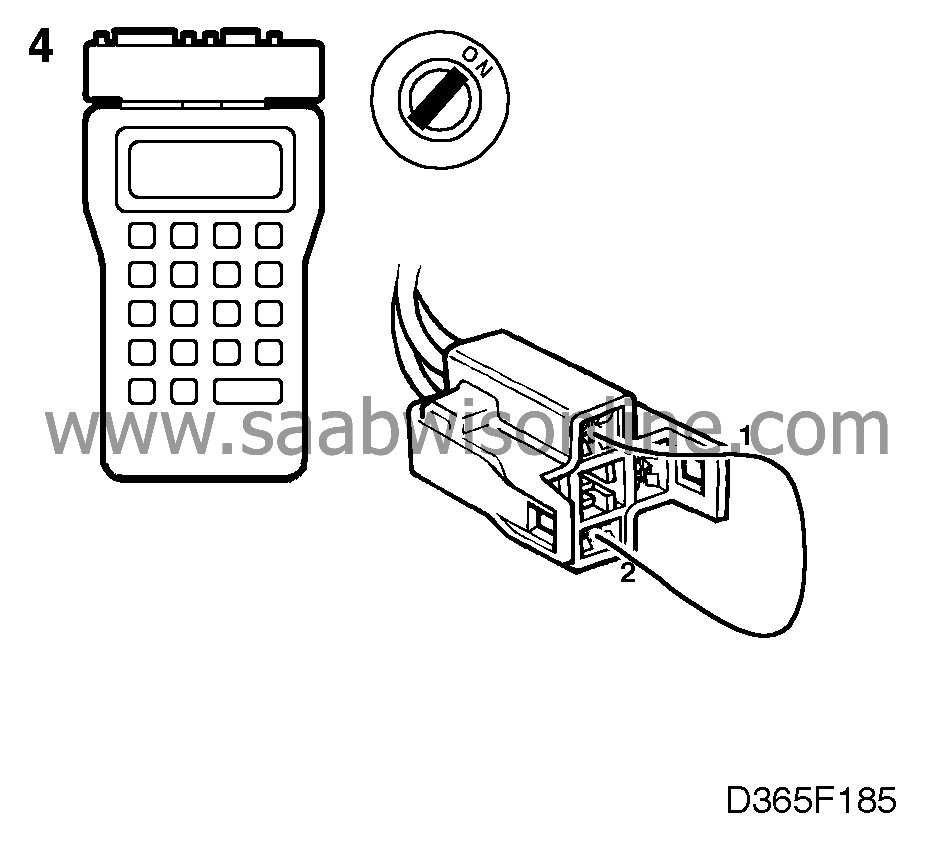
Plug in the scan tool and select "READ VALUES" and then "BRAKE LIGHT SWITCH".
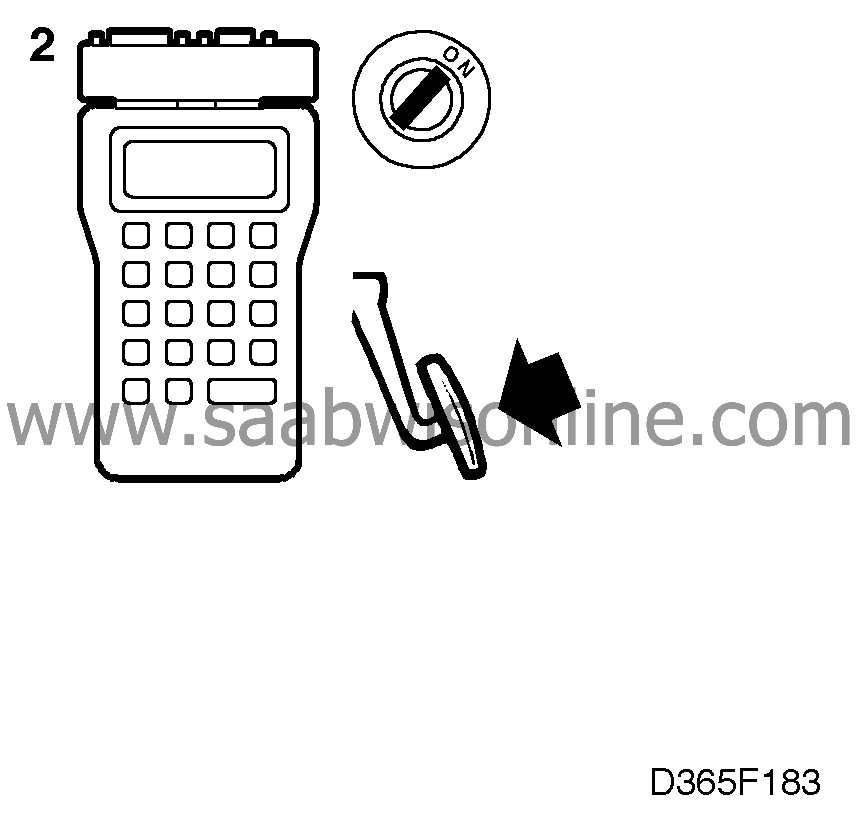
Read the scan tool display as follows: |
|
| • |
Brake pedal activated >
"ON"
.
|
| • |
Brake pedal not activated >
"OFF"
.
If this is the case, proceed to point 6. |
| 5. |
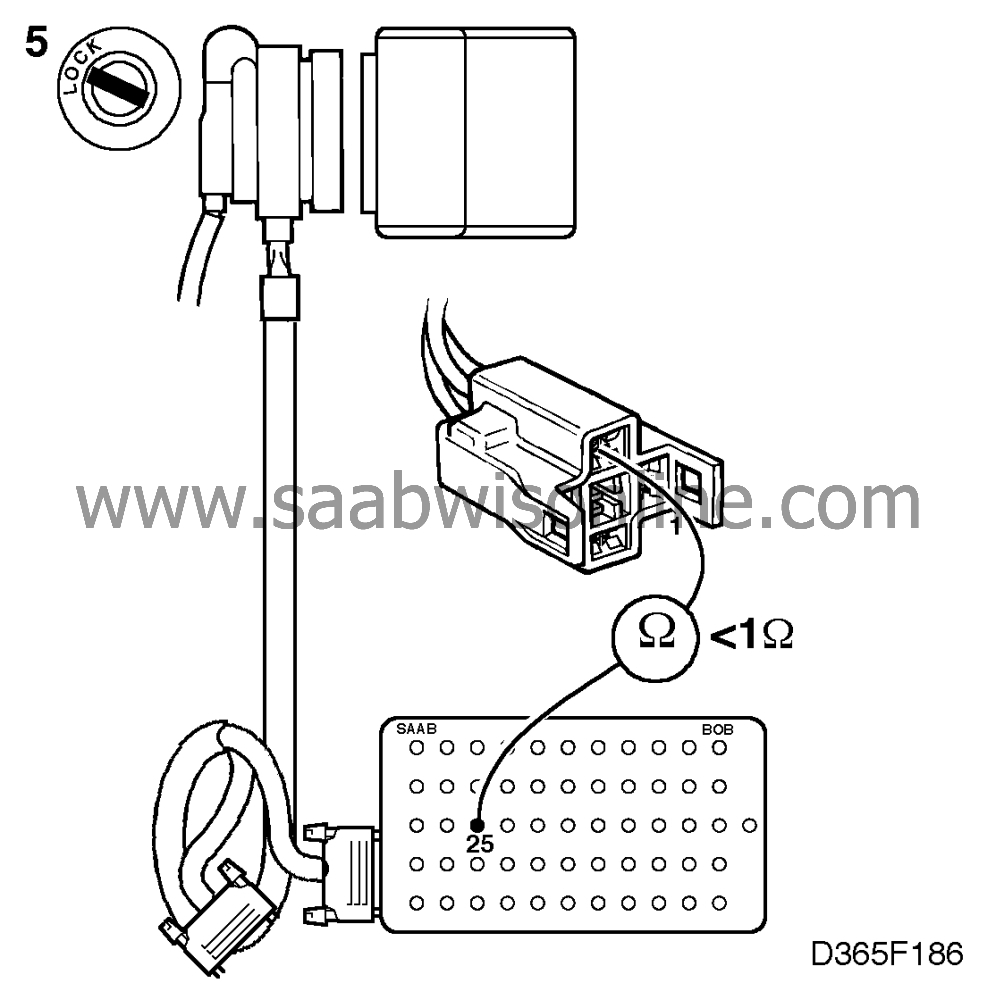
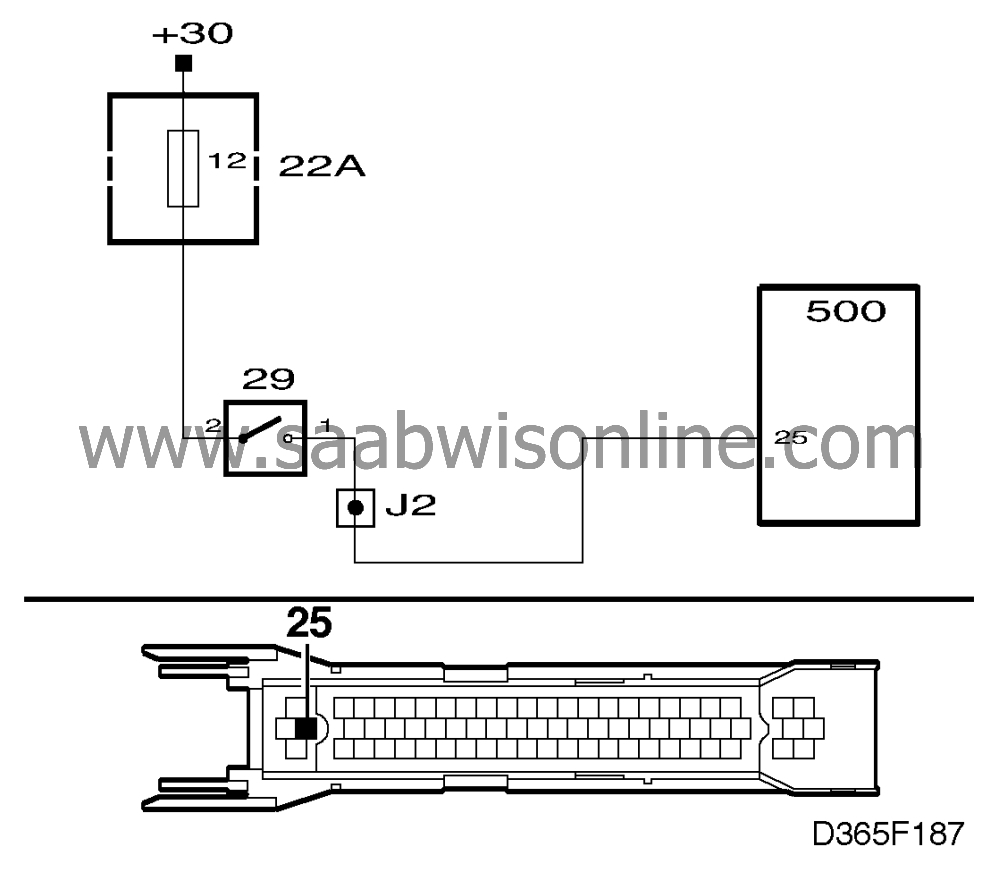
Connect a BOB and check the lead between ICE module connector pin 25 and brake light switch pin 1 for breaks/shorting.
|
|
| 7. |
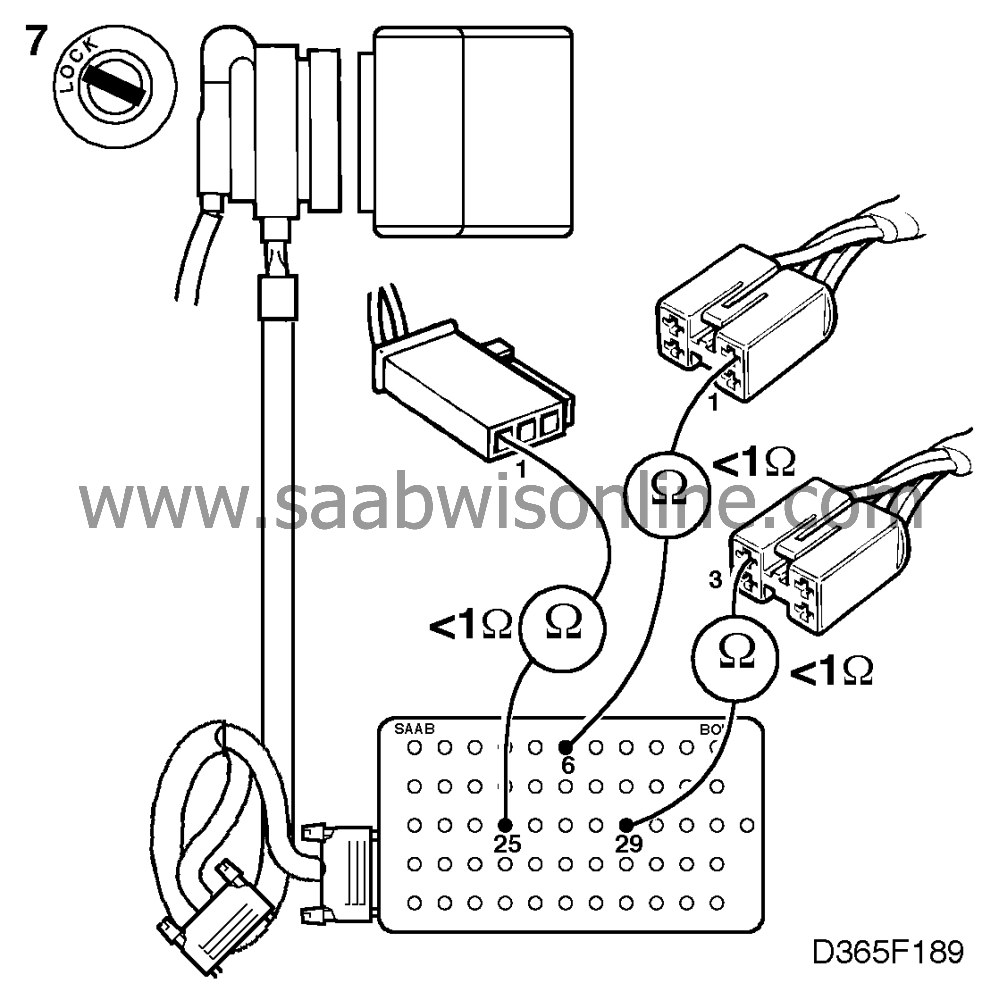
Check the lead between the lamp in question and the ICE module for breaks/shorting as follows:
|
|
| • |
Left
: between pin 29 of the ICE module connector and pin 4 of the rear brake lights.
|
| • |
Right
: between pin 6 of the ICE module connector and pin 1 of the rear brake lights.
|
| • |
High-level brake light
: between pin 26 of the ICE module connector and pin 1 of the high-level brake light.
|
| 8. |
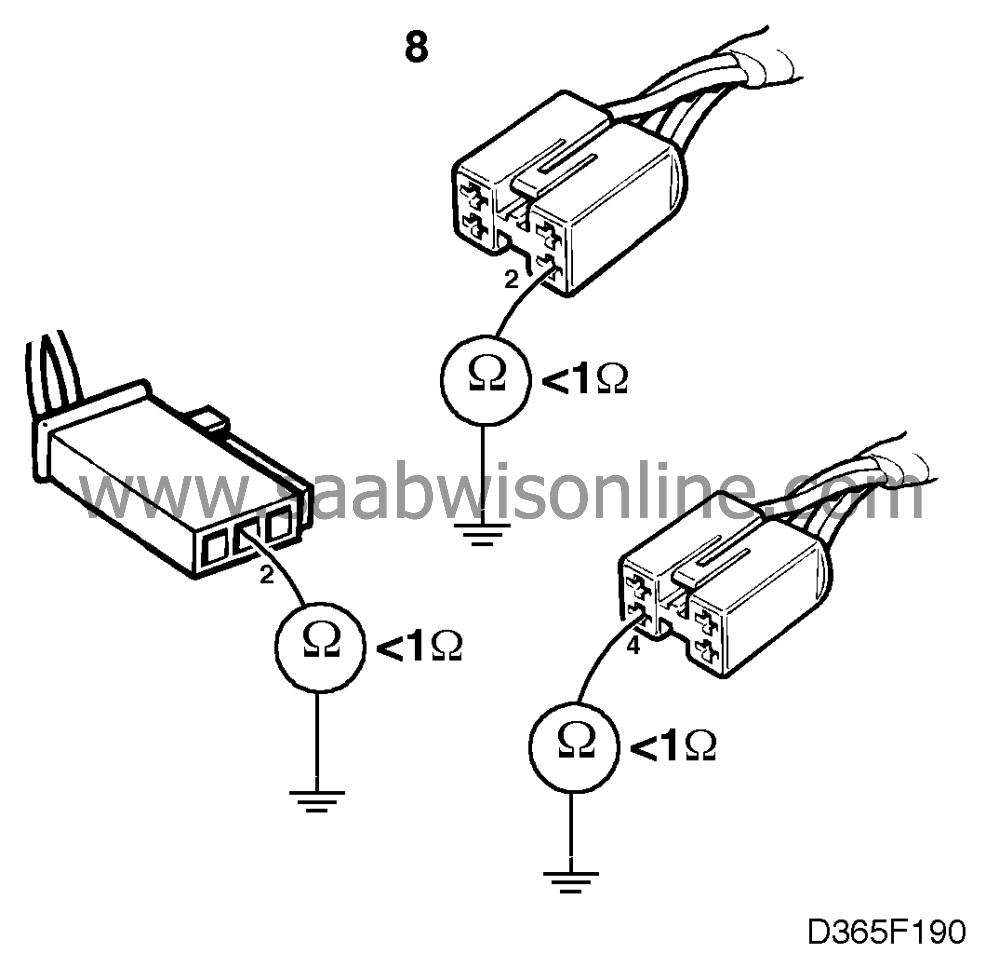
Check that the lamps are properly grounded.
|
|
| 9. |
If there is still a problem after the above checks have been carried out, proceed to
 .
.

|
|


