Sealing of connectors
| SERVICE INFORMATION | |
| Bulletin Nbr: | 371-1602 |
| Date: ........... | JUNI 1995 |
| Market: | ALL |
| Sealing of connectors |
| Background |
Bosch connectors used in the engine bay may in certain cases have corroded cable terminals as a result of moisture penetrating the connector housing.
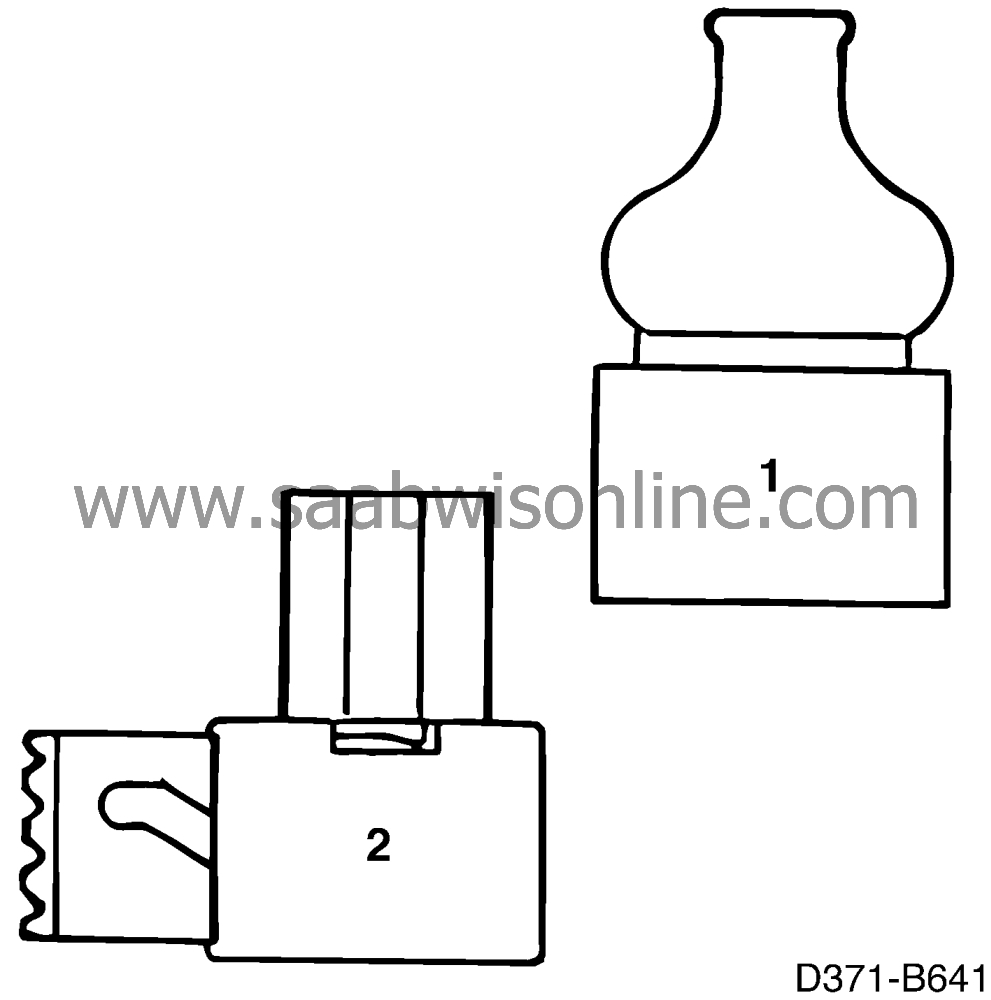
To prevent moisture penetration, a special repair kit containing crimp hose and adhesive has been developed. This kit can be used for Bosch connectors (1) from 2-pin up to 7-pin (but not for the new type of scat-sealed (2) connectors).
| Cars affected |
All 900 M94- where moisture problems are suspected.
| Parts required |
46 68 737 Kit containing crimp hose and adhesive.
| Diagnostic procedure |
| 1. |
Unplug the connector from the component.
|
|
| 2. |
Pull back the connector rubber shroud along the wiring harness.
|
|
| 3. |
Mark the leads and withdraw them from the connector.
|
|
| 4. |
Pull the rubber shroud off the wiring harness.
|
|
| 5. |
Inspect the cable terminals for moisture and corrosion. If the cable terminals show effects of corrosion they must be changed. Otherwise it is sufficient to blow them clean and spray them with Kontakt 61.
|
|||||||||||||
| 6. |
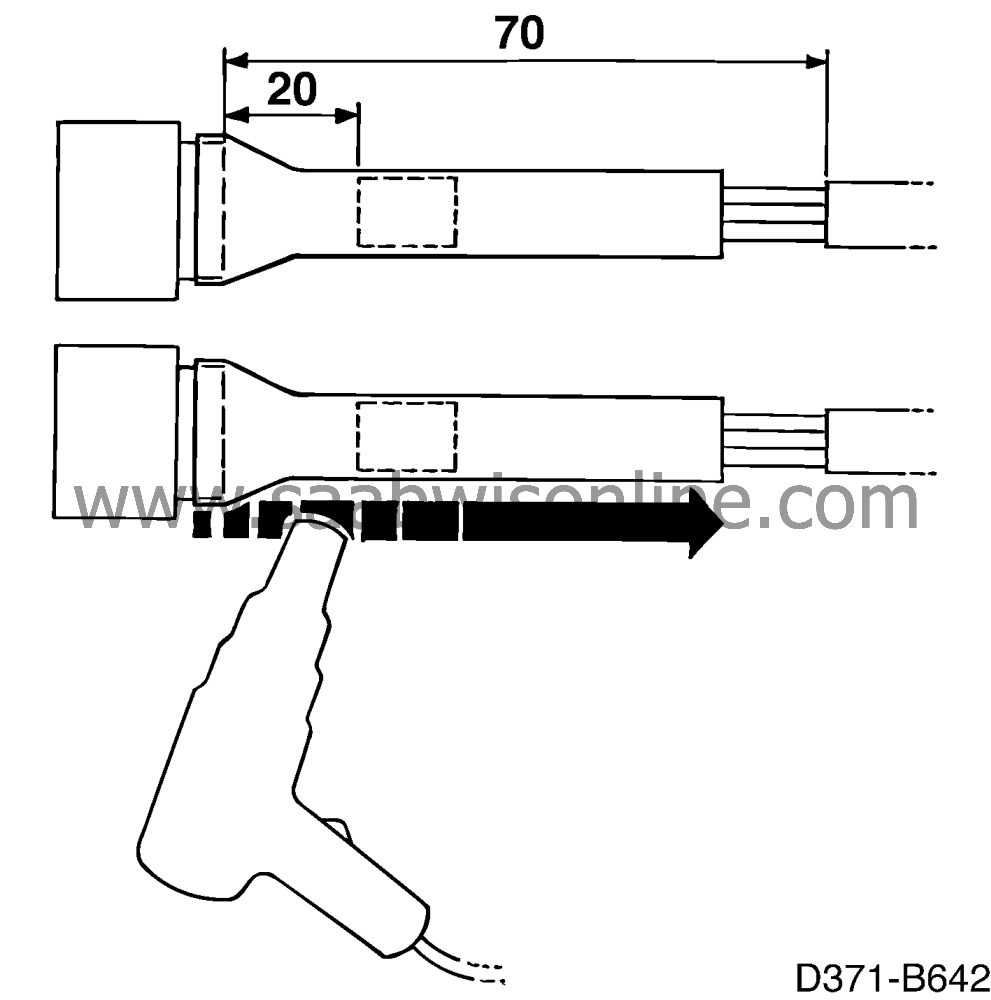
If the cable has PVC sheathing, cut away 70 mm of it.

|
|
| 7. |
Fit crimp hose over the wiring harness.
|
|
| 8. |
Refit the leads in the connector.
|
|
| 9. |
Position the adhesive sleeve approx. 20 mm from the rear edge of the connector and pull the crimp hose forwards so that it covers the edge (there should be a space between the crimp hose and any PVC sheathing at the other end).
|
|
| 10. |
Using a
hot air gun
, carefully heat the crimp hose until it has shrunk onto the leads and the adhesive has melted. Start heating at the edge of the connector so that the crimp hose will be correctly positioned and seals over the edge.
|
|||||||||
| 11. |
Plug the connector into the component.
|
|
| Standard time information |
Failed Object: 371 10 / 371 19
Fault/Reason code: 66
Location code: 00
Repair/Action code: 05
Time: 0.2 hrs
| Warranty conditions |
Standard warranty conditions apply.
Damage report according to standard time schedule and "wiring harness, engine compartment".


 Warning

