Clutchdisengages while car is being driven
|
MODIFICATION INSTRUCTION
|
|
Bulletin Nbr:
|
411-1698
|
|
Date:
...........
|
OKTOBER 1996
|
|
Market:
|
ALL
|
|
|
Clutch
disengages while car is being driven
|
Cars in stock should be rectified before delivery.
Cars already delivered should be rectified next time they are brought in for regular
servicing or repairs.
Saab 900 M96- with Sensonic and a chassis number up to and
including:
T2043742 (3/5-d) and
T7011819
(Cabriolet)
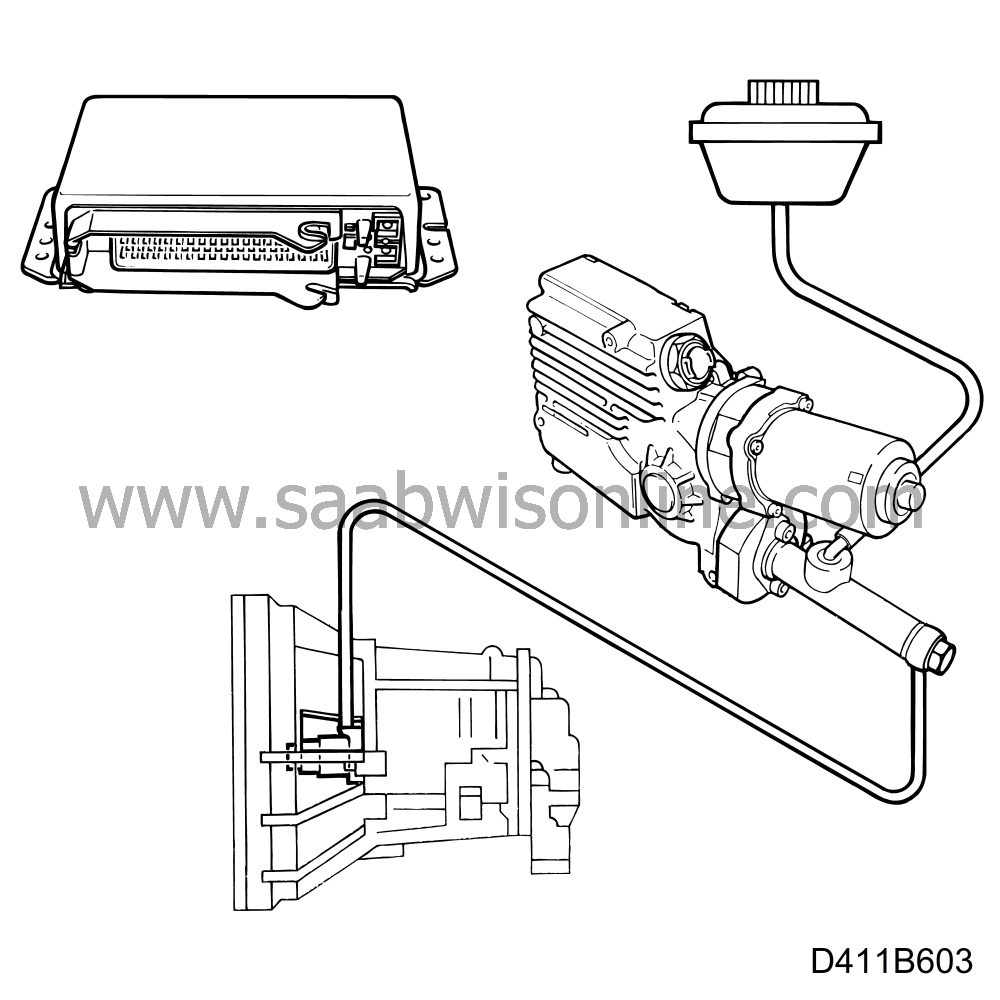
Some cars may suffer from loss of power to the wheels due to the clutch disengaging.
This fault may occur while the car is being driven but it is of an intermittent nature, which
means that if the ignition switch is turned to the OFF position and then to the START position,
the fault may disappear.
The fault is caused by a defective control module.
44 91 577 Control module
|
1.
|
Check box B4 on the modification identity plate.
If it is not marked, continue as described below.
|
|
2.
|
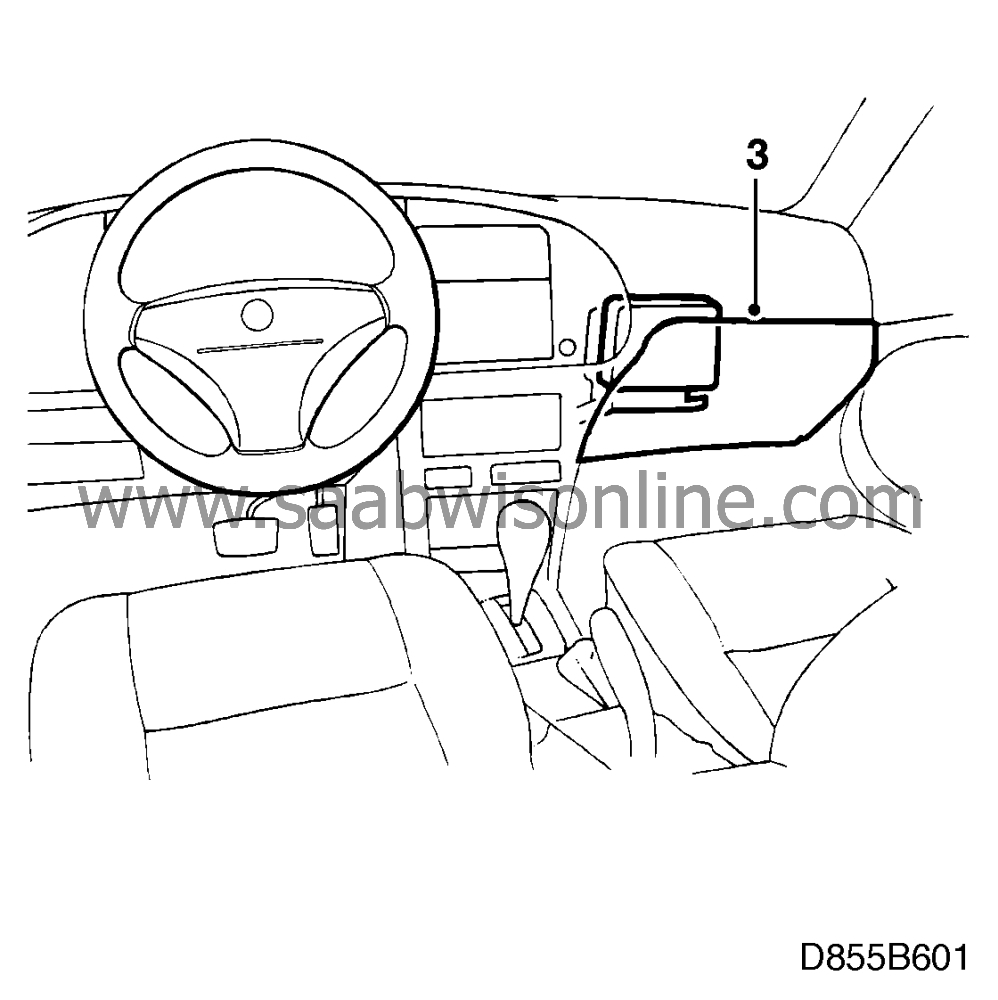
Turn the ignition switch to the OFF position.
|
|
4.
|
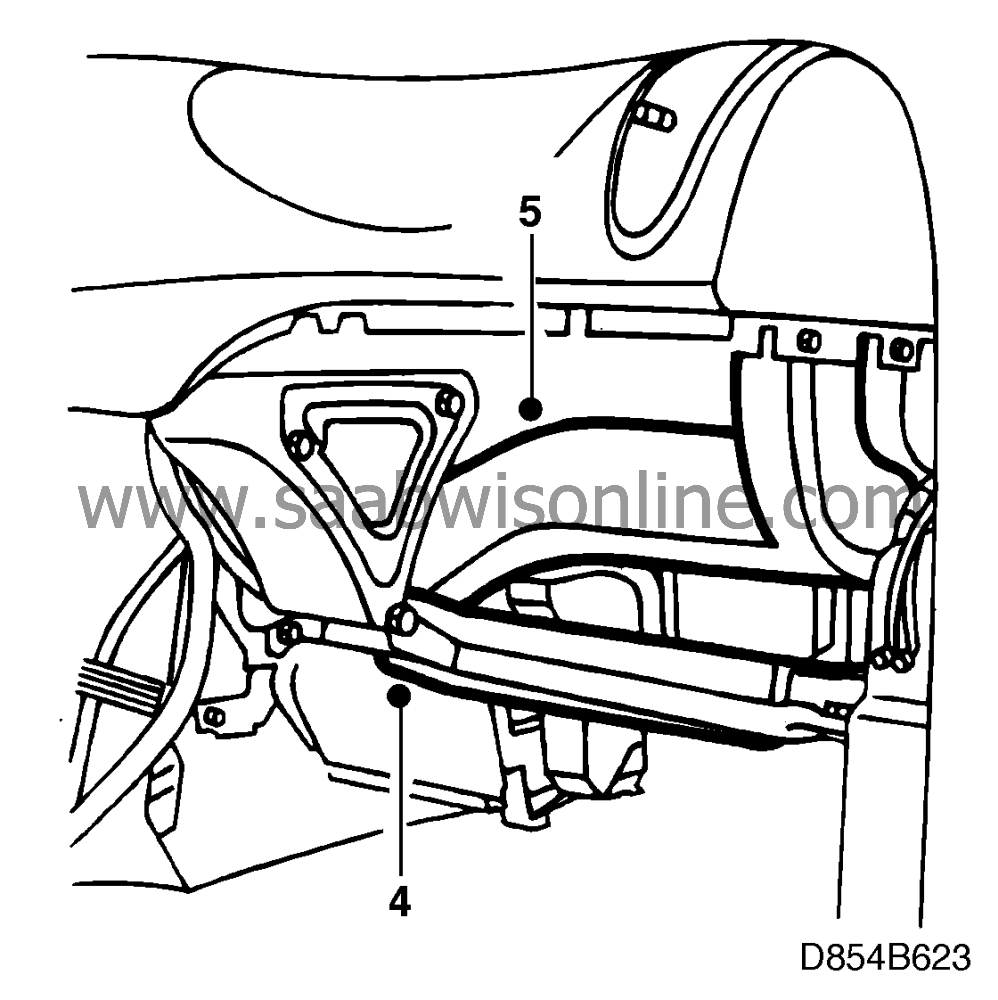
Remove the floor duct on the passenger side.
|
|
5.
|
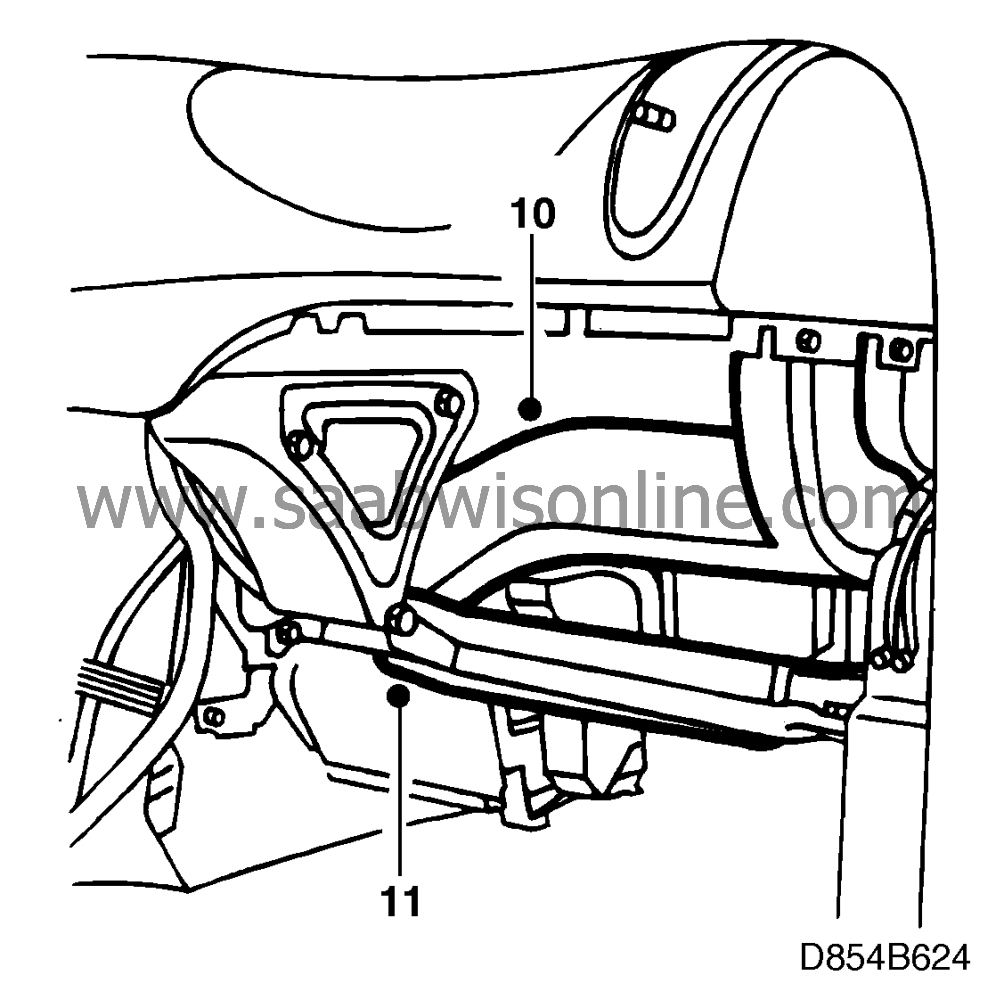
Remove the demister duct on the passenger side.
|
|
6.
|
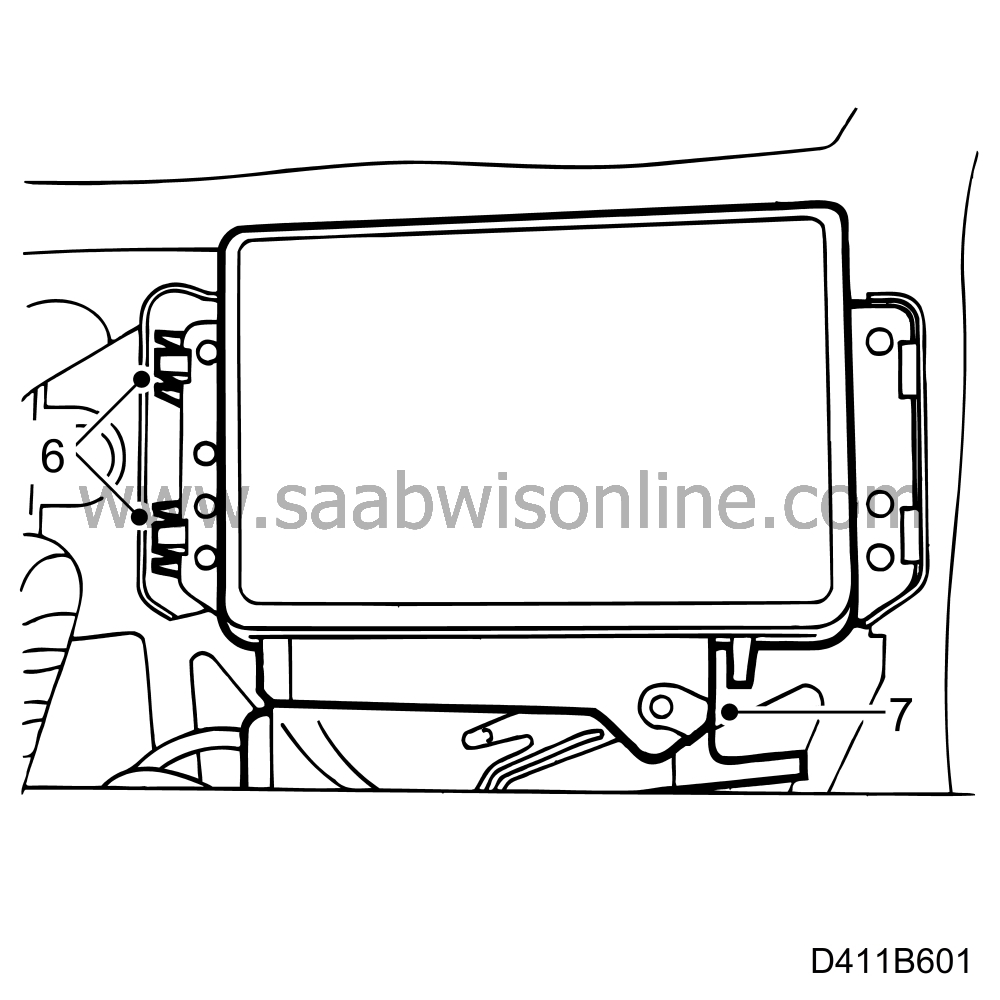
Withdraw the control module from the clips on the left-hand side.
|
|
7.
|
Unplug the connector and lift out the control module.
|
|
8.
|
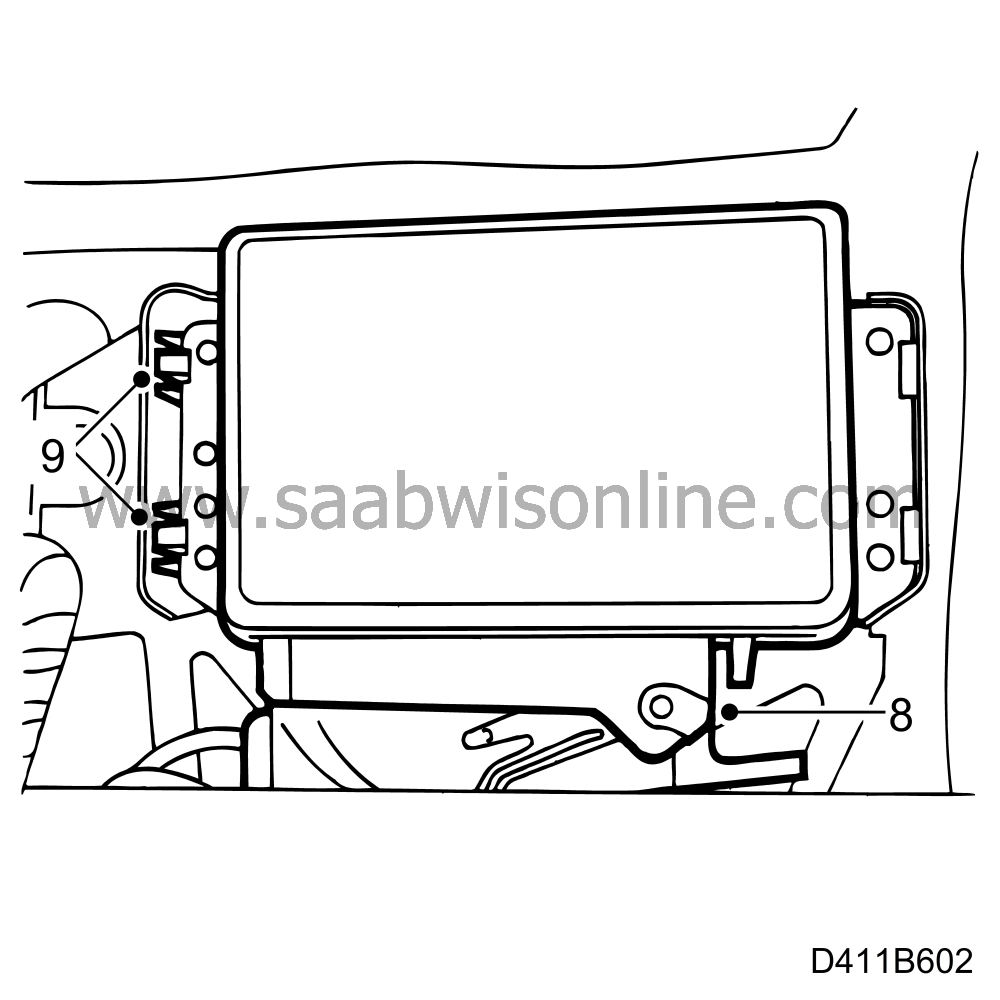
Plug the connector into the new control module and fit the module in
place.
|
|
9.
|
Press the control module into the clips.
|
|
10.
|
Refit the demister duct on the passenger side.
|
|
11.
|
Refit the floor duct on the passenger side.
|
|
12.
|
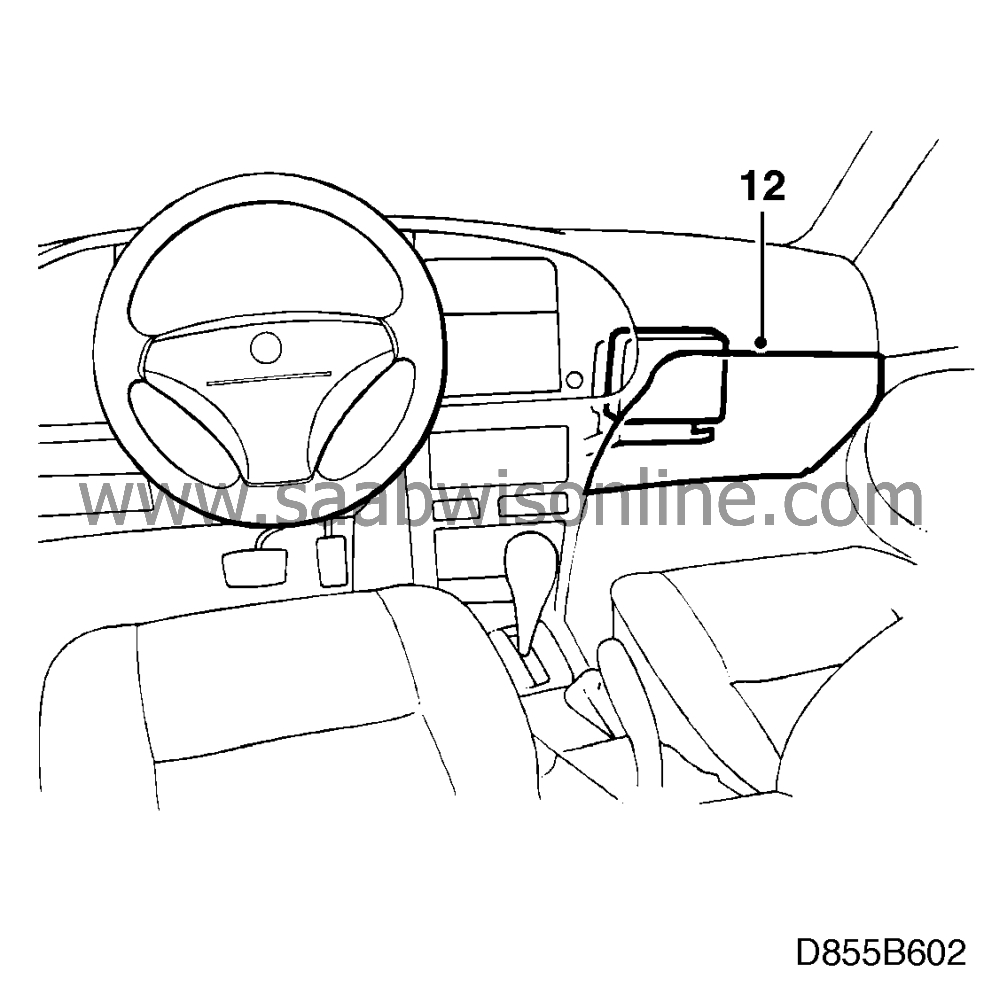
Refit the glove box.
|
|
13.
|
Program the control module, see
 .
.
|
|
14.
|
Drive the car on test and adapt the slip point (position at which the clutch begins
to engage), see
 .
.
|
|
Command menu ”TEACH-
IN”.
|
|
Note
|
|
The “TEACH-IN” menu has a submenu consisting of two
commands:
|
|
-GEAR POSITION
|
|
-SLIP POINT
|
|
|
|
|
|
When a replacement transmission range sensor
or control module is fitted, the control module must be calibrated.
Teach-in of the gear
position should be carried out with the engine running.
Move the gearlever through the
sequence 1, 2, 3, 4, 5, R, N.
Note that it is important to release the gearlever in each
position and then press ON/ENTER on the ISAT scan tool.
If the teach-in is
accepted, the ISAT scan tool will display:
TEACH-IN COMPLETED.
If the teach-in
is not accepted, the ISAT scan tool will display:
TEACH-IN FAILED.
In production,
individual calibration of each car is carried out before delivery.
|
|
ENGAGE GEAR 1
THEN
PRESS
ON/ENTER
|
|
ENGAGE GEAR 2
THEN
PRESS
ON/ENTER
|
|
ENGAGE GEAR 3
THEN
PRESS
ON/ENTER
|
|
ENGAGE GEAR 4
THEN
PRESS
ON/ENTER
|
|
ENGAGE GEAR 5
THEN
PRESS
ON/ENTER
|
|
ENGAGE GEAR R
THEN
PRESS
ON/ENTER
|
|
ENGAGE NEUTRAL
THEN
PRESS
ON/ENTER
|
|
|
Not implemented, see
 for manual
adjustment of the slip point.
|
|
1.
|
Start the engine and use the ISAT scan tool to
check that the speed of the input shaft is 0 when the gearlever is in neutral. If it is not, it will be
necessary to bleed the system, see “Automatic clutch operation, Saab
Sensonic”.
|
|
2.
|
Drive the car for at least 4 minutes and change gear frequently.
Do
switch off the engine.
|
|
3.
|
Stop the car and move the gearlever to the N position.
|
|
4.
|
Wait 20 seconds without touching the gearlever or accelerator.
|
|
5.
|
Engage 1st gear and drive the car a few metres.
|
|
6.
|
Repeat points 3-5 two more times.
|
|
7.
|
Drive the car on test.
|
|
Marking of the modification identity plate
|
On completion of the necessary measures, box B4 of the modification identity
plate should be marked. If the work was carried out by the importer, mark the box with a
“7”. If done by a dealer, mark it with an
“8”.
|
Standard time information
|
See separate information.


 .
.
 .
.

