Replacement of frontseat belts with belt tensioner
|
MODIFICATION INSTRUCTION
|
|
Bulletin Nbr:
|
853-1675
|
|
Date:
...........
|
APRIL 1996
|
|
Market:
|
ALL
|
|
|
Replacement of front
seat belts with belt tensioner
|
|
Safety-related campaign 10703
|
Cars in stock should be rectified before delivery.
Owners of the cars in question must be informed of the fault by means of a personally
addressed communication in which they are requested to visit their nearest Saab garage as
soon as possible to have the fault rectified.
Saab 900 M1996 5-door models having the following chassis
numbers:
T2029000-T2032932 US/CA
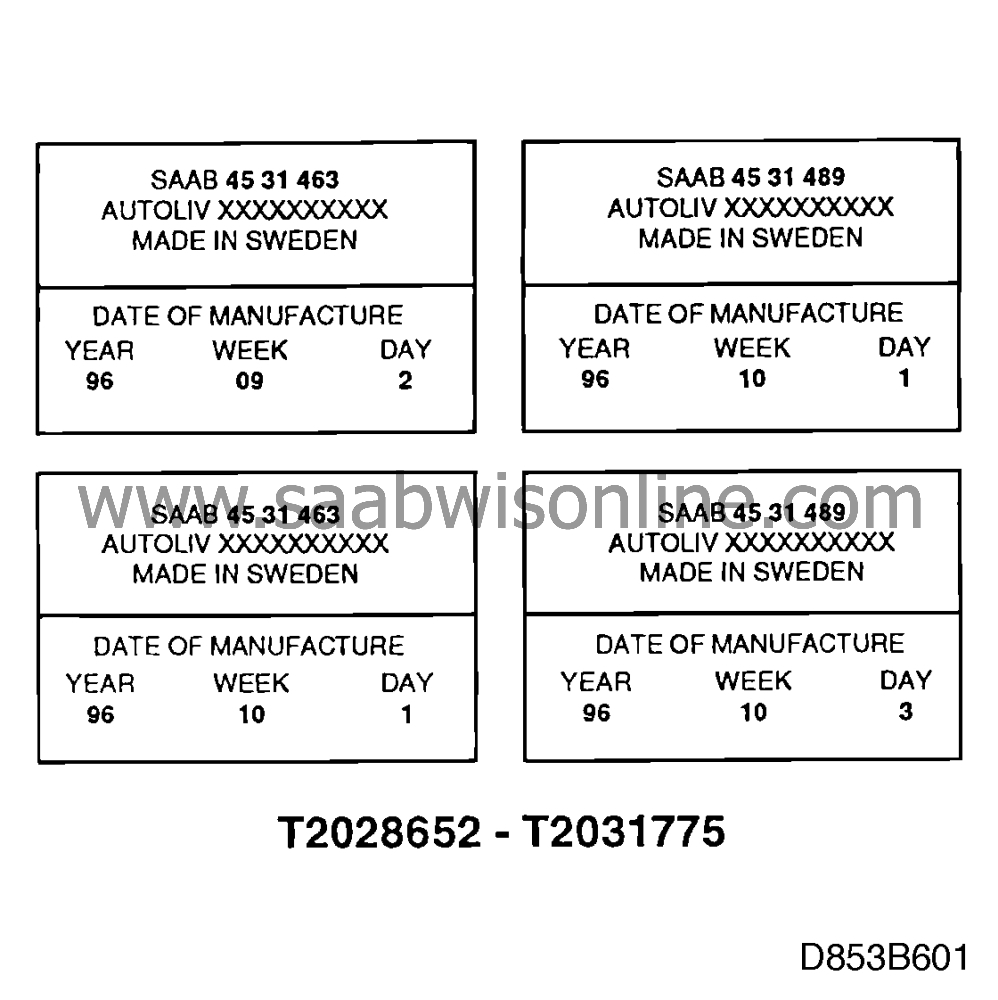
T2028652-T2031775 other markets.
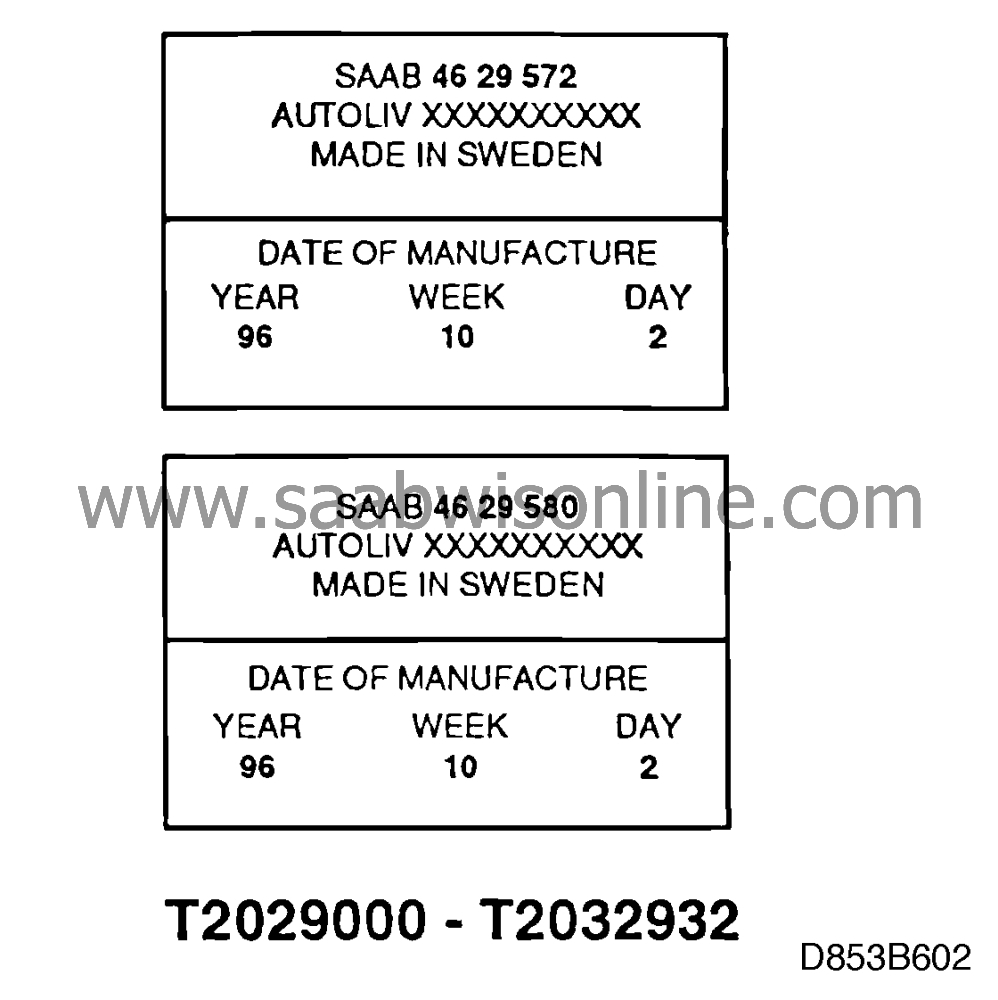
Affixed to the belt strap is a decal with the part number (Saab genuine part) and date of
manufacture. Belts having the indicated Saab part numbers and manufacturing dates must be
changed (see Fig. above).
An end-tongue is sewn onto the end of the belt where it is anchored to the car
seat. On assembly, this tongue is snapped into place on the outer side of the seat. The seat
belt is not completely and correctly mounted until this has been done.
To comply with legal strength requirements, this end-tongue should be of hardened
type. Anomalies have occurred in the production process and for this reason the seat belts,
complete with belt tensioner, must be replaced.
46 29 572 and 46 29 580 for chassis numbers T2029000-T2032932
45 31 463 and 45 31 489 for chassis numbers T2028652-
T2031775
Before starting to do anything, check box “A5” of the modification
identity plate. If this box is not marked in any way, proceed as follows:
When changing the seat belt with belt tensioner, the applicable safety rules and
handling instructions must be observed. See Service Manual 8:6
 .
.
|
1.
|
Ignition switch in the OFF position.
|
|
2.
|
Slide the seat forward as far as it will go.
|
|
3.
|
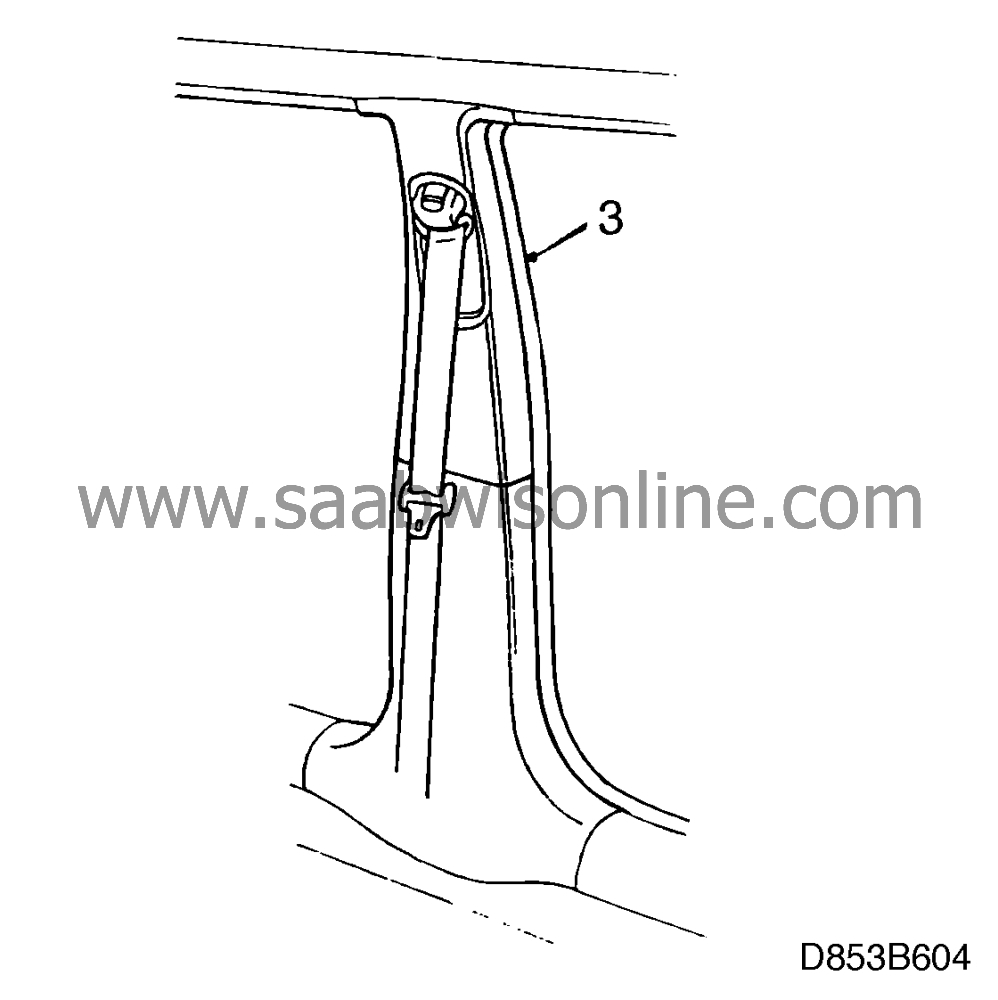
Remove the door weatherseals round the B pillar.
|
|
4.
|
Remove the scuff plates from the front and rear door sills (secured with
clips).
|
|
5.
|
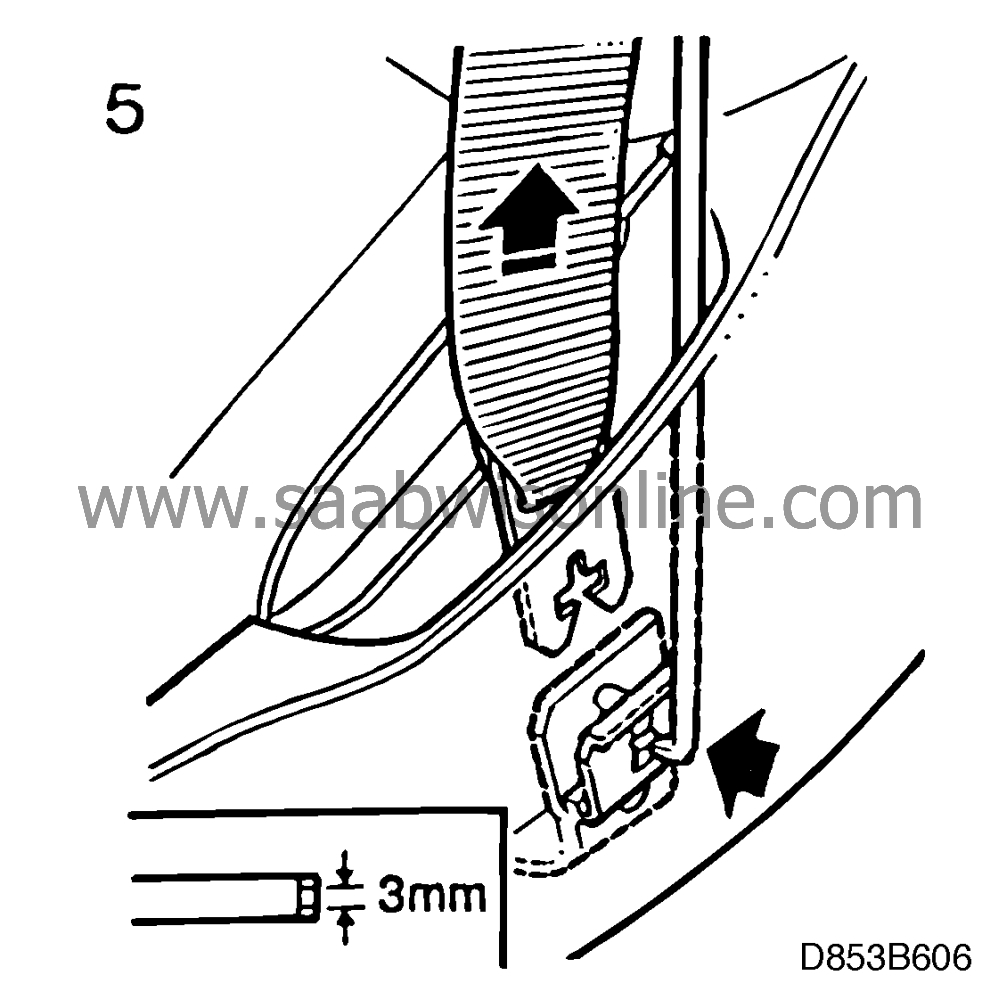
Release the seat belt from the front seat anchorage by depressing the catch,
using a screwdriver with the tip bent at right angles. See illustration with
dimensions.
|
|
6.
|
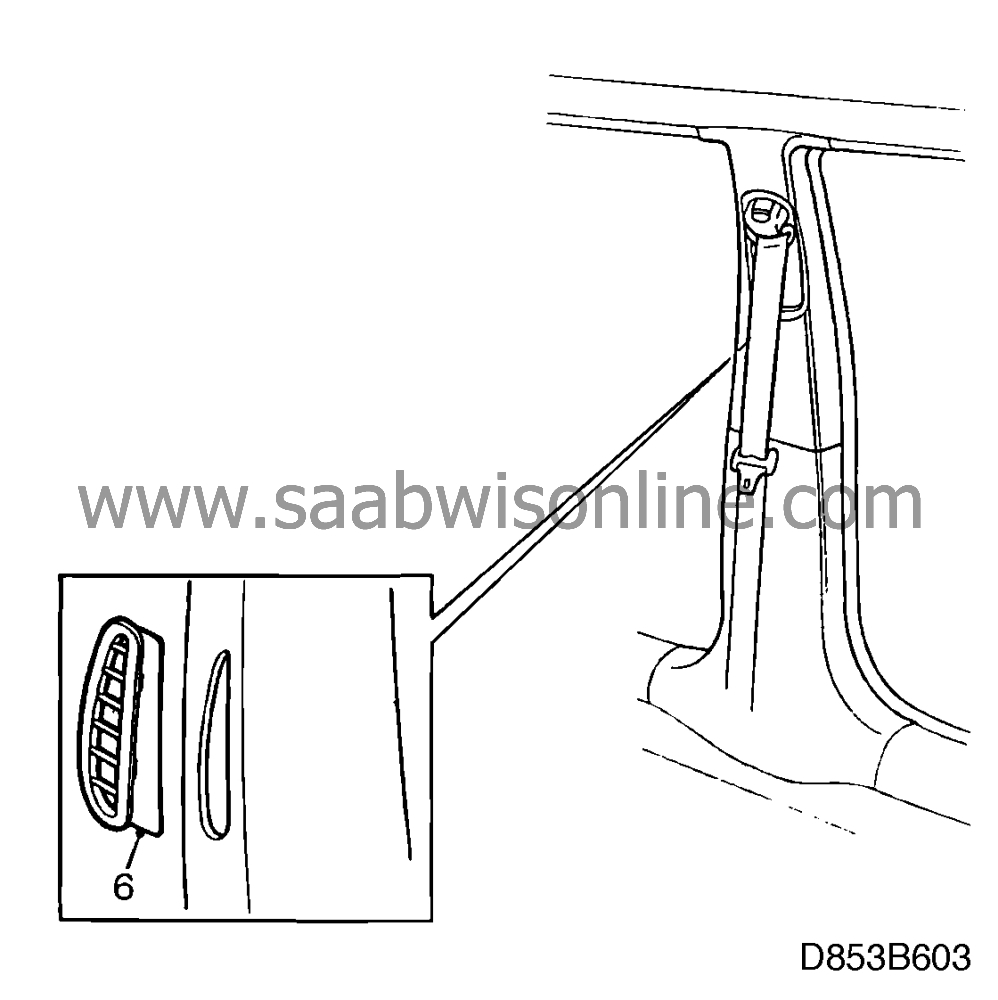
Remove the air vent grille (spring clips).
|
|
7.
|
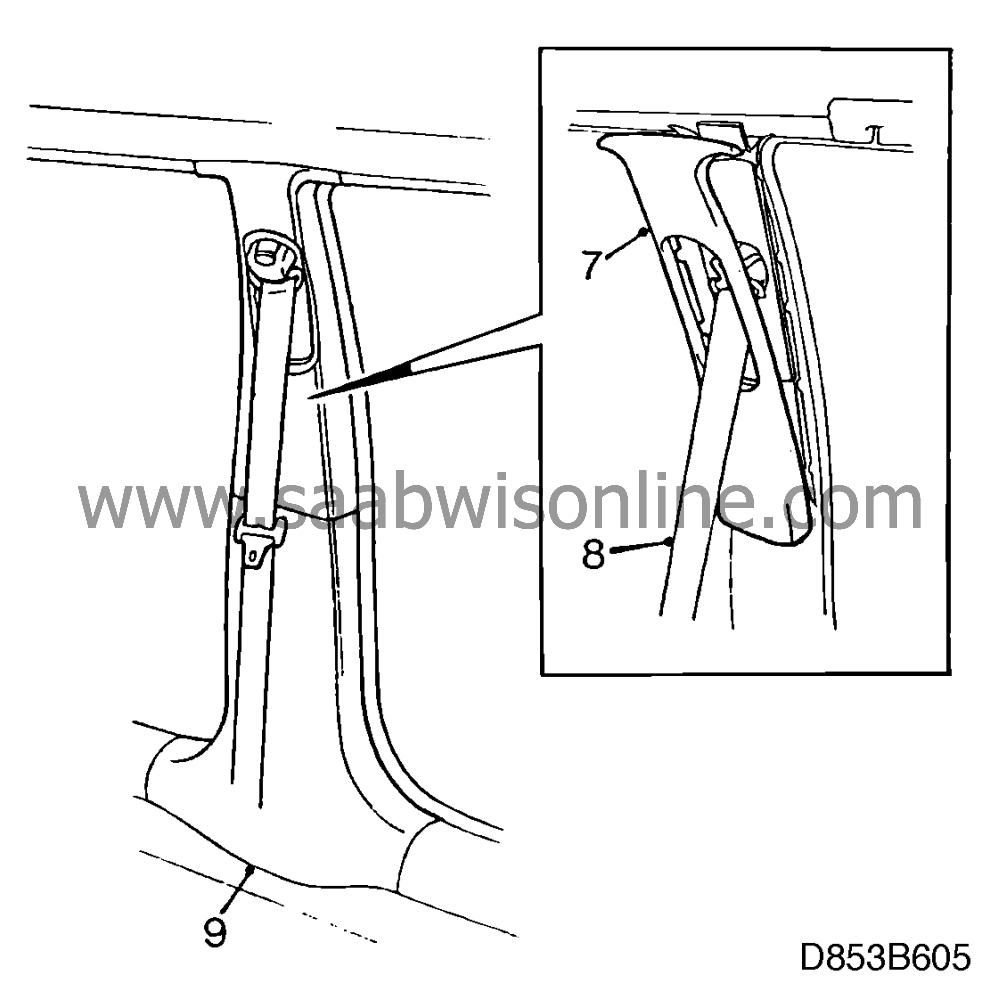
Remove the upper part of the inner pillar trim (secured with clips) by grasping it
at the top and pulling downwards while bending the clips with a screwdriver. Exercise care
when performing these operations.
|
|
8.
|
Withdraw the seat belt through the hole in the trim.
|
|
9.
|
Remove the lower part of the pillar trim (secured with clips).
|
|
10.
|
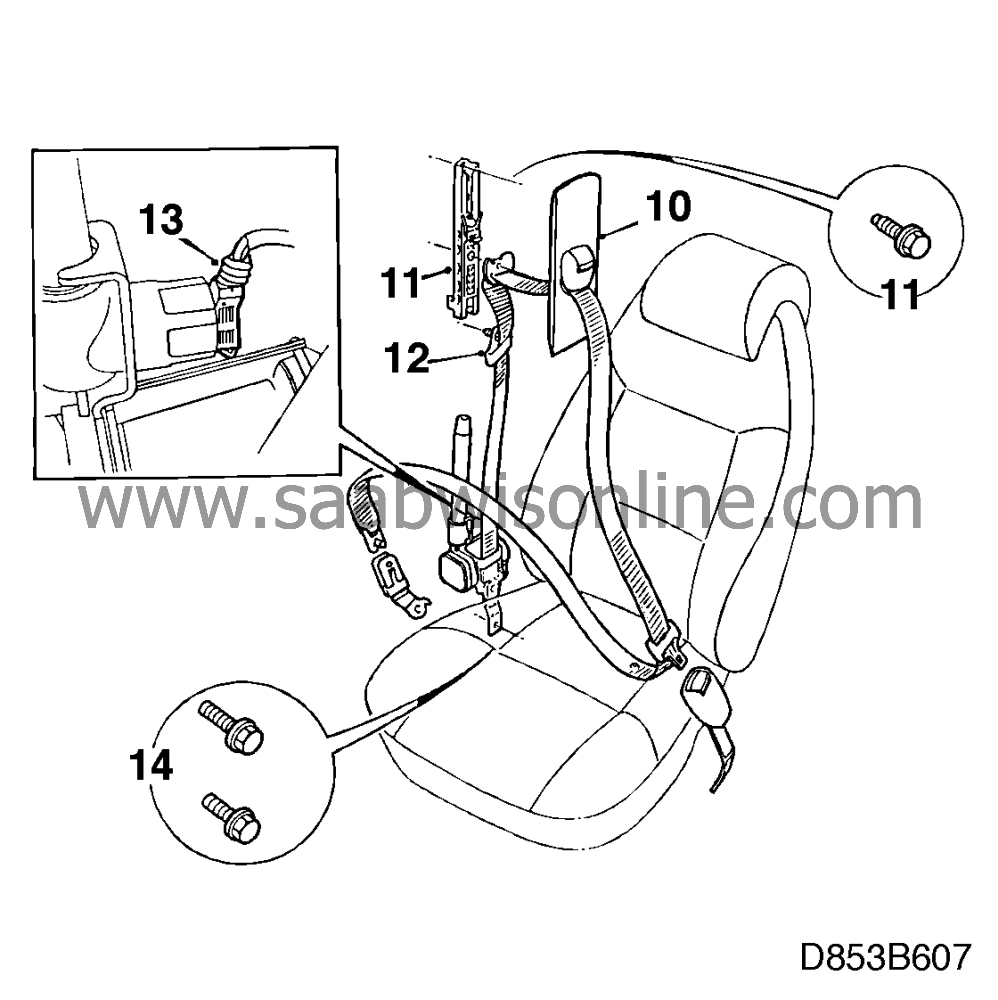
Remove the upper part of the outer pillar trim (secured with
clips).
|
|
11.
|
Remove the belt adjuster plate by undoing the bolt at the top and withdrawing the
plate at the bottom.
|
|
12.
|
Remove the seat belt guide.
|
|
13.
|
Unplug the connector from the belt tensioner.
|
|
14.
|
Remove the belt reel, 1 bolt.
|
|
15.
|
Extract the belt reel and belt tensioner.
|
|
16.
|
Insert the new belt reel with belt tensioner.
|
|
17.
|
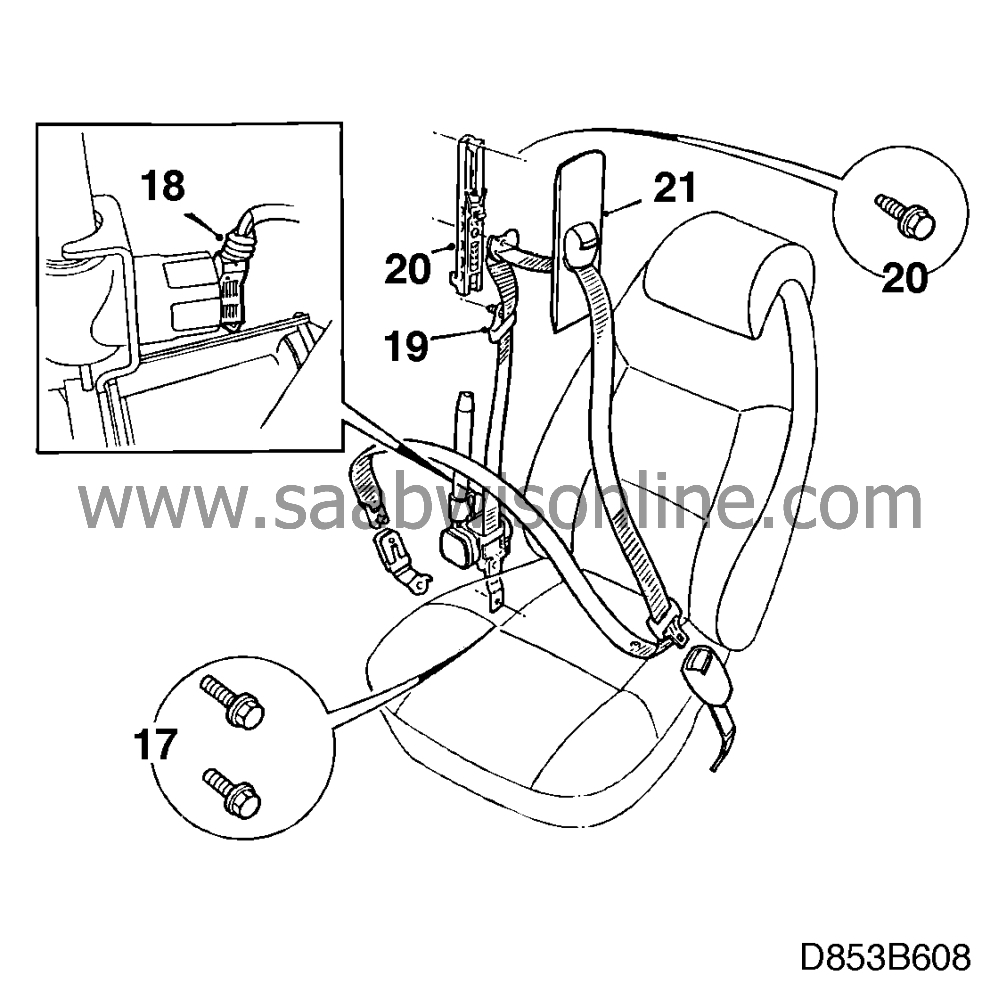
Fit the belt reel, 1 bolt.
|
|
18.
|
Plug the connector into the belt tensioner.
|
|
19.
|
Fit the seat-belt guide.
|
|
20.
|
Fit the belt adjuster plate by locating it at the bottom and bolting it in place at the
top.
|
|
21.
|
Fit the upper part of the outer pillar trim.
|
|
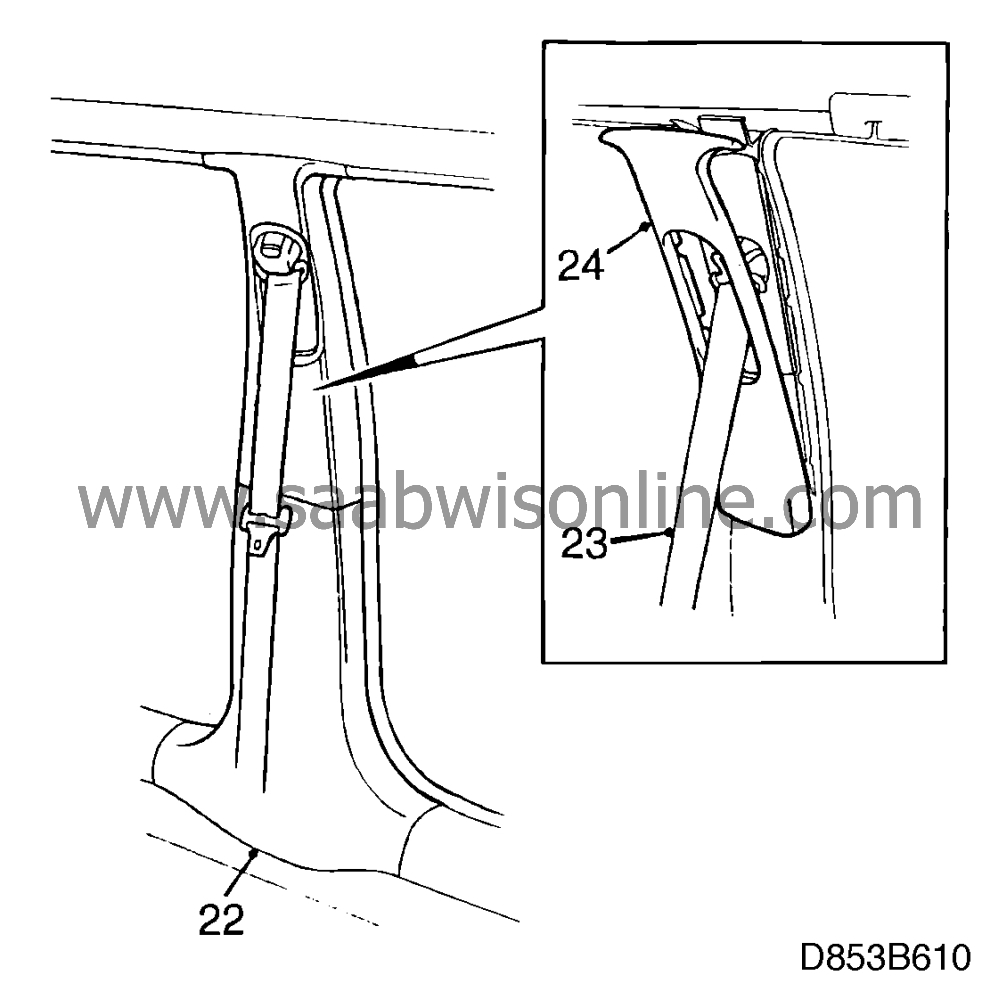
22.
|
Fit the lower part of the pillar trim.
|
|
23.
|
Feed the belt through the hole in the trim.
|
|
24.
|
Fit the upper part of the inner pillar trim.
|
|
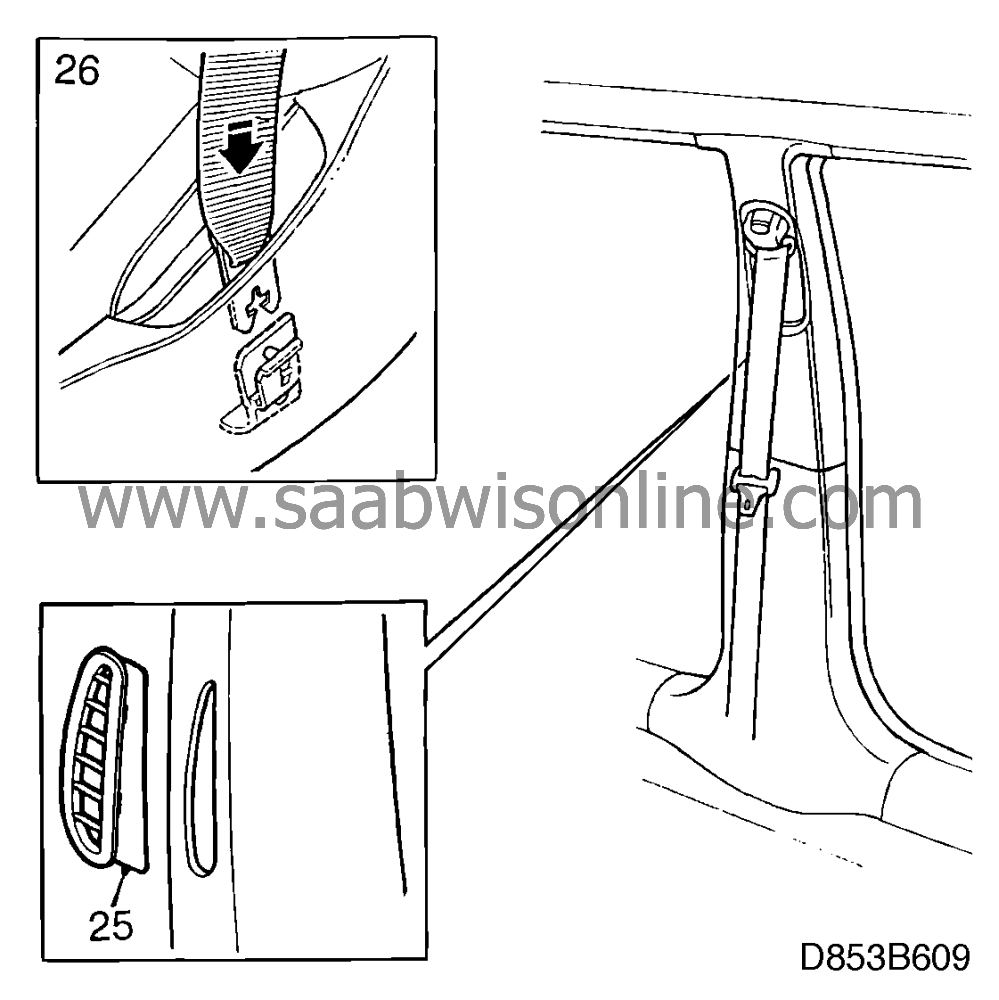
25.
|
Fit the air vent grille.
|
|
26.
|
Snap the end of the seat belt into the anchorage on the outer side of the front
seat.
|
|
27.
|
Fit the scuff plates on the rear and front door sills.
|
|
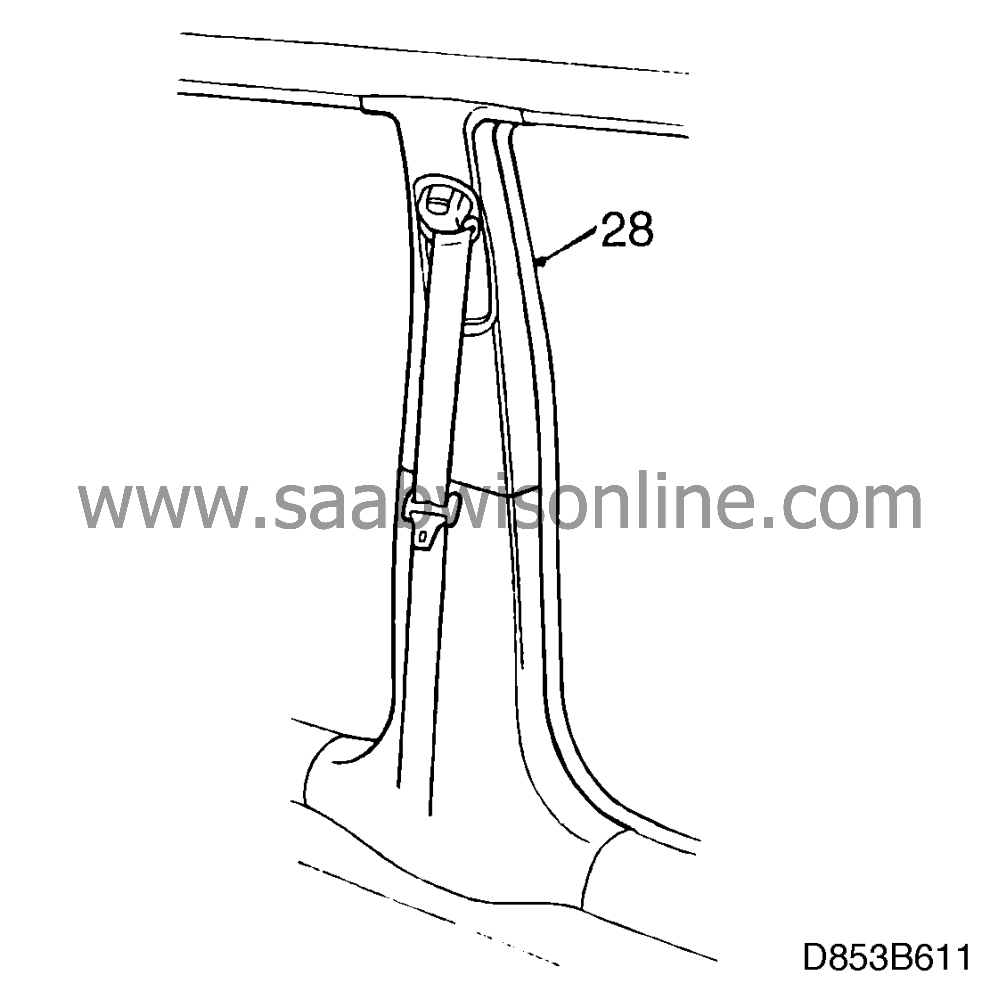
28.
|
Fit the door weatherseals back in place.
|
|
29.
|
Using an ISAT scan tool, check the following:
Switch on the ignition and connect the ISAT scan tool to the data link connector under
the dashboard. Clear any diagnostic trouble codes that may be present.
Switch off the ignition and switch it on again. Wait at least 10 seconds with the ignition
switched on.
Then check whether a diagnostic trouble code is displayed:
Carry out the relevant fault diagnosis as described in the Fault Diagnosis section of
Service Manual 8:6
 .
.
Mounting of the seat belt was completed successfully.
|
Tightening torques:
Belt reel retaining bolts 45 Nm (33 lbf ft)
Adjusting plate upper retaining bolt 24 Nm (18 lbf ft)
|
Note
|
|
Make sure that the belt runs correctly.
|
|
Marking of the modification identity plate
|
On completion of the adjustment/replacement work, the modification identity
plate should be marked in the A5 box. Mark the box with a “7” if the work was
carried out by the importer or with an “8” if carried out by a
dealer.
|
Standard time information
|
See separate information.
Standard warranty rules apply.


 .
.


