Repairing rear window adhesive
|
|
Repairing rear window adhesive
|
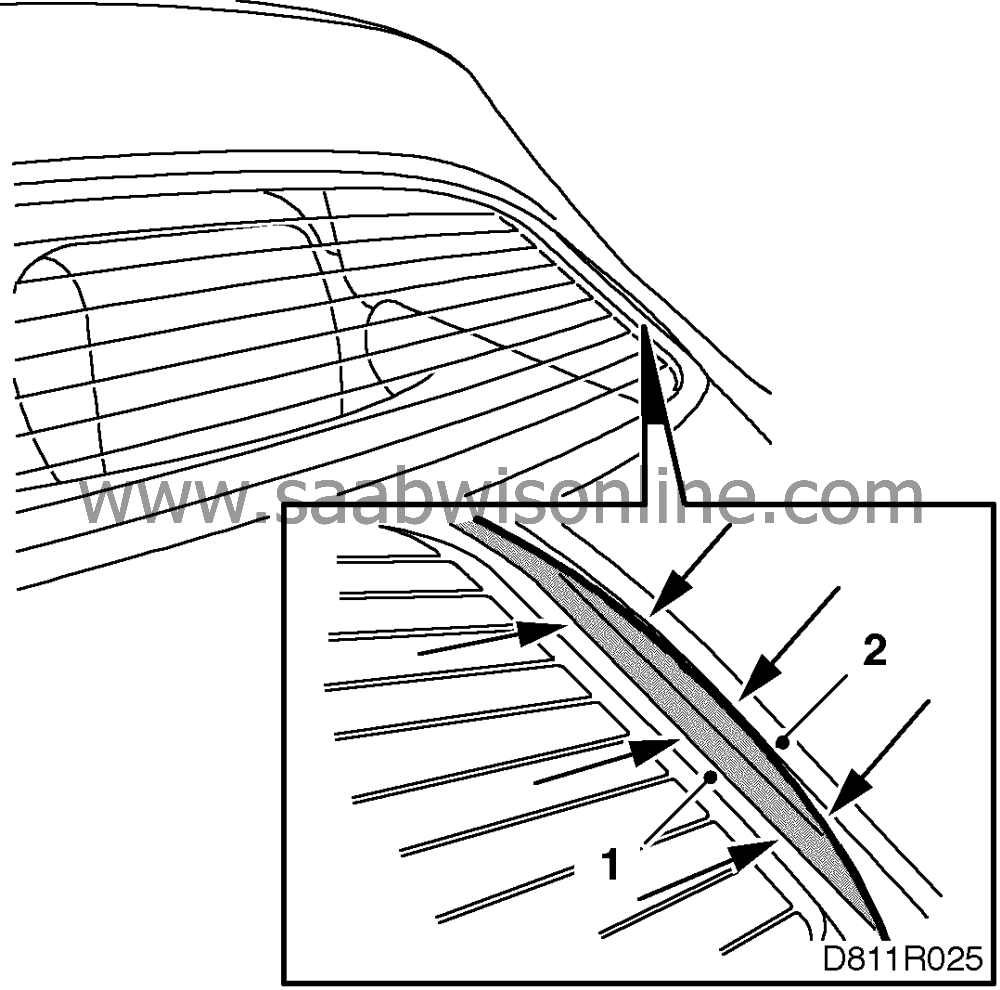
Check the adhesion between the roof cloth and the rear window, both inside and out. If the joint is in bad condition around the rear window or on more than two sides, we would recommend changing the roof cloth.
The only place where bad adhesion may occur is between the rear window and the PVC strip on the roof cloth. If the joint between the PVC strip and the roof cloth is in bad condition, the roof cloth must be changed.
The mechanic can position the fifth bow as preferred, depending on whether the adhesive is to be applied on the inside or the outside of the glass. The example below describes working from the outside.
Use adhesive kit (16) 30 30 699
|
Note
|
|
Lower the door windows so that the rear window will not be pressed out of the pressure created in the compartment if any of the doors are closed.
|
|
1.
|
Mask the glass from the edge of the existing adhesive.

|
|
2.
|
Mask from the edge on the bottom of the PVC strip on the roof cloth and over the edge of the cloth.
|
|
3.
|
Carefully clean the area to be worked on.
|
|
4.
|
Clean the PVC strip on the roof cloth and the glass with glass activator.
|
|
5.
|
Wipe dry with the lint-free cloth supplied with the adhesive kit. Avoid touching the cleaned surface.
|
Important
|
|
There will be grease left on the surface if it is allowed to dry by itself. Always wipe dry with a lint-free cloth. Turn the cloth over frequently.
|
|
|
|
|
6.
|
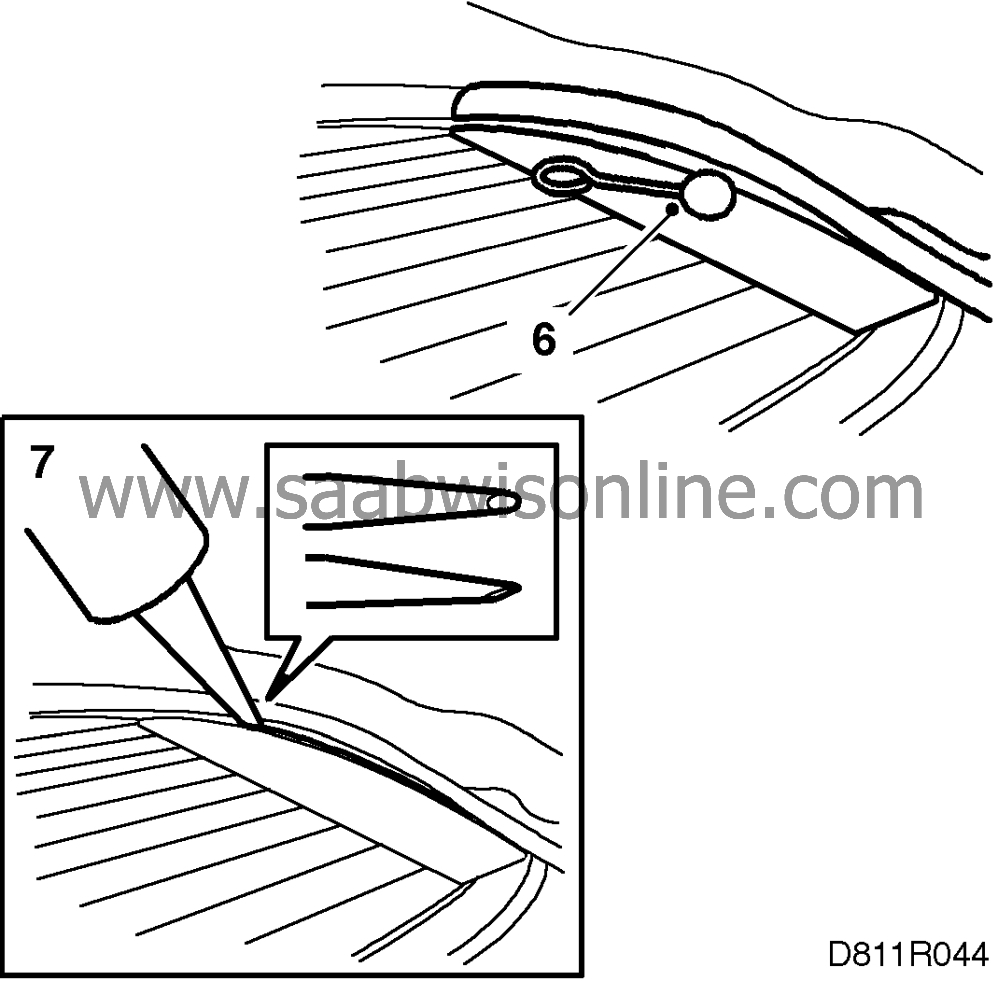
Apply glass primer to the PVC strip and the glass, allowing it to dry for at least 5 minutes.

|
|
7.
|
Cut of the top of the nozzle as illustrated and apply a thin even bead of adhesive on the primed glass surface.
|
|
8.
|
Press together the glass and the cloth by hand, being sure to work away any bumps. The edge of the cloth can be taped down on the glass.
|
|
9.
|
Operate the fifth bow with the ROOF button to its locked position and then lock the first bow to the windscreen member.
|
|
10.
|
Let the adhesive dry for at least 16 hours.
|
Important
|
|
The adhesive will dry in 16 hours at 20
°
C and 50%% relative humidity. For the hardening process to proceed without problems, the car must not be subjected to jolts or blows. Doors, boot lid and bonnet must not be slammed shut. The car must not be rocked or rolled.
|
|
Neither must the soft top be raised or lowered while the adhesive is hardening.
|
|
|
|
|
11.
|
Remove any tape that has been used and cut away excess adhesive with a razor blade.
|


