New method, replacement of window andwindow lift, front door
| SERVICE INFORMATION | |
| Bulletin Nbr: | 831-1646 |
| Date: ........... | FEBRUARI 1996 |
| Market: | ALL |
| New method, replacement of window and window lift, front door |
| Cars concerned |
All Saab 900 M94-
| Background |
A new method of removing the scissor-lift stays has been developed.
| Materials |
30 25 368 Gleitmo 815
| To remove, Window |
| 1. |
Lower the window.
|
|
| 2. |
Remove the door trim. See Service Manual 8:2 "Interior equipment"
 .
.

|
|
| 3. |
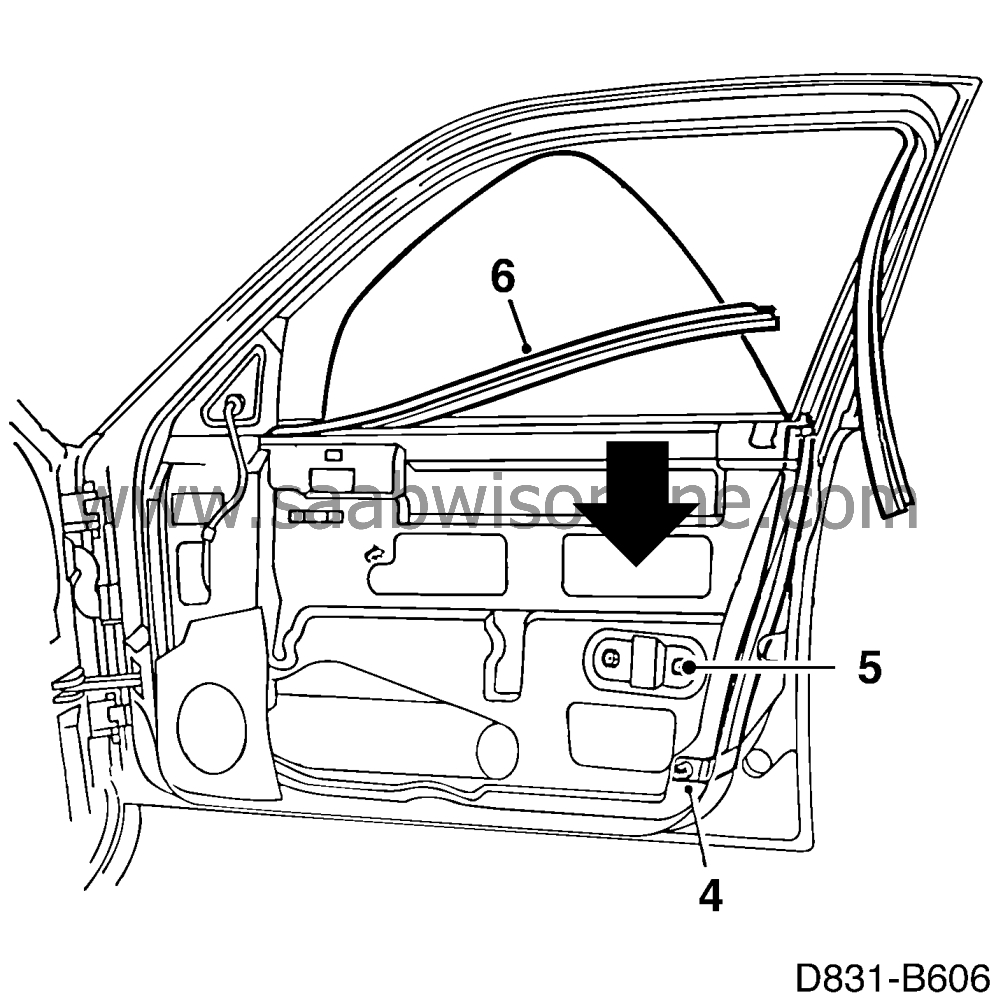
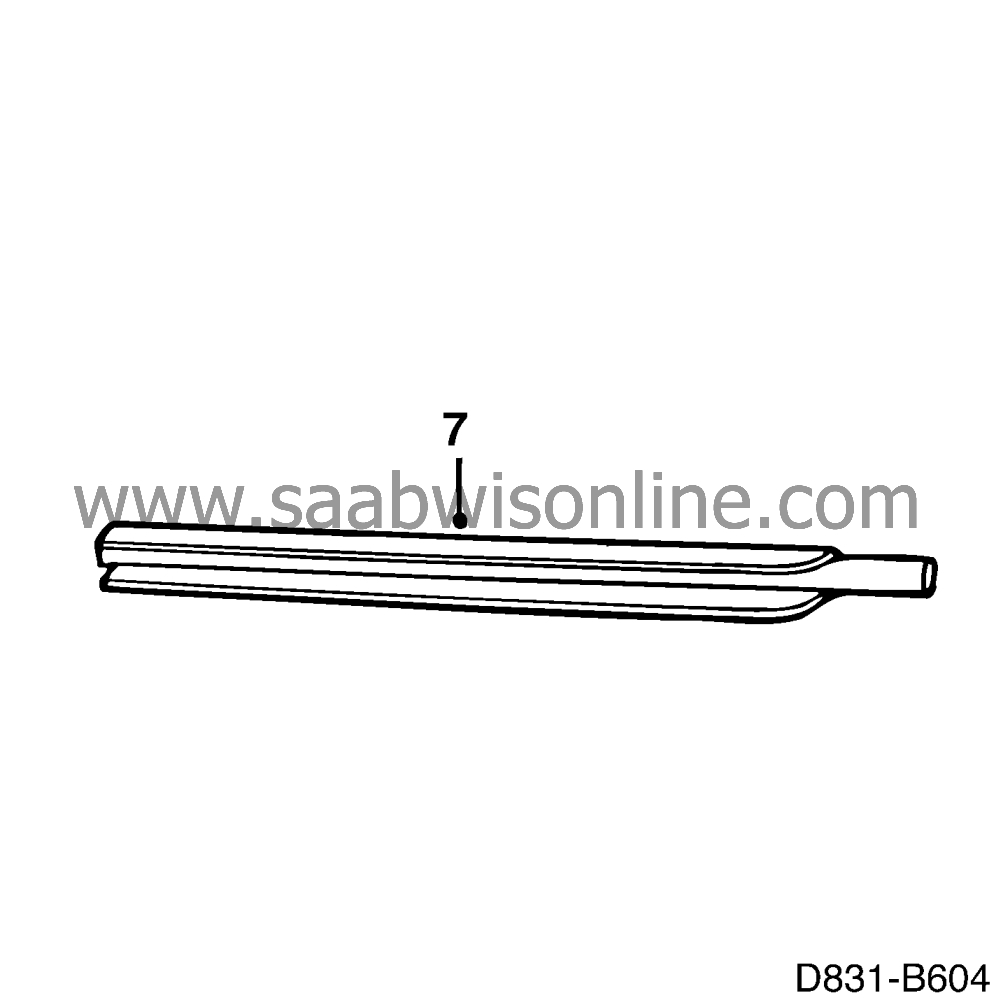
Remove the external window seal, secured with clips at the rear.
|
|
| 4. |
Remove the plastic water barrier.
|
|
| 5. |
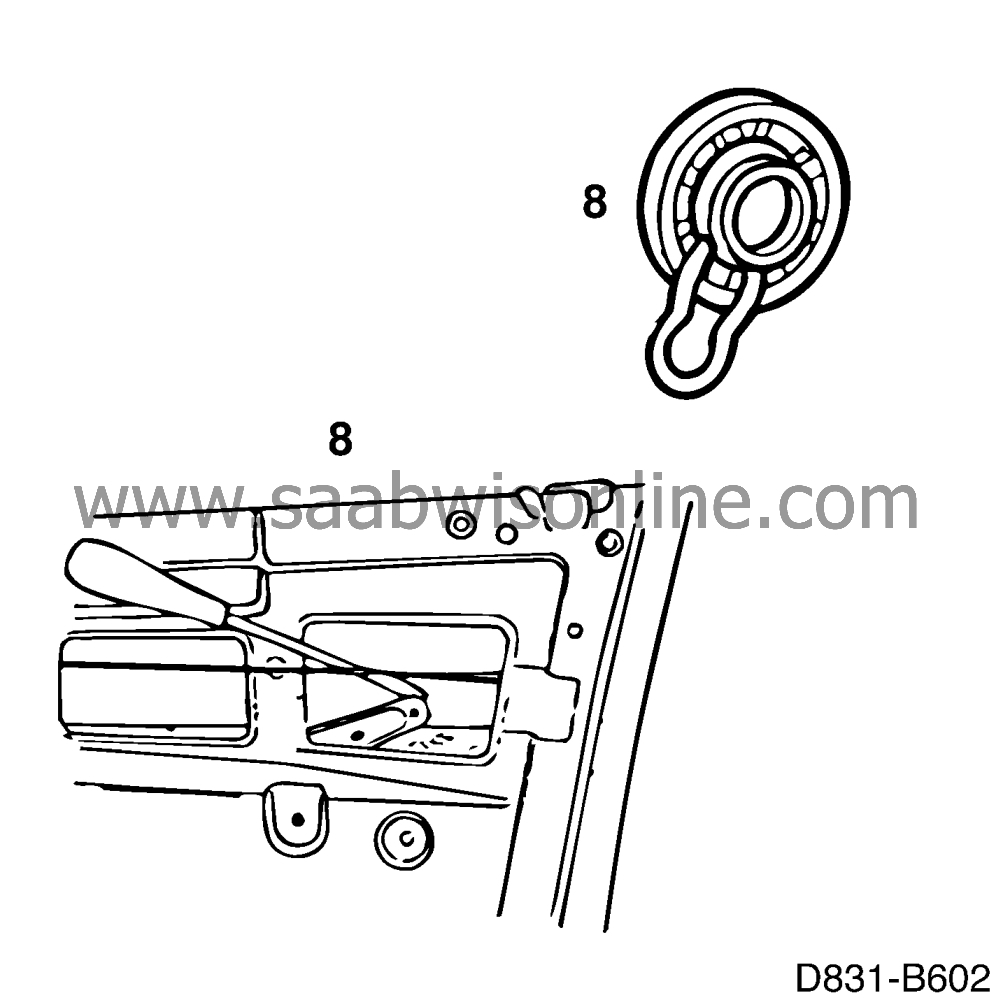
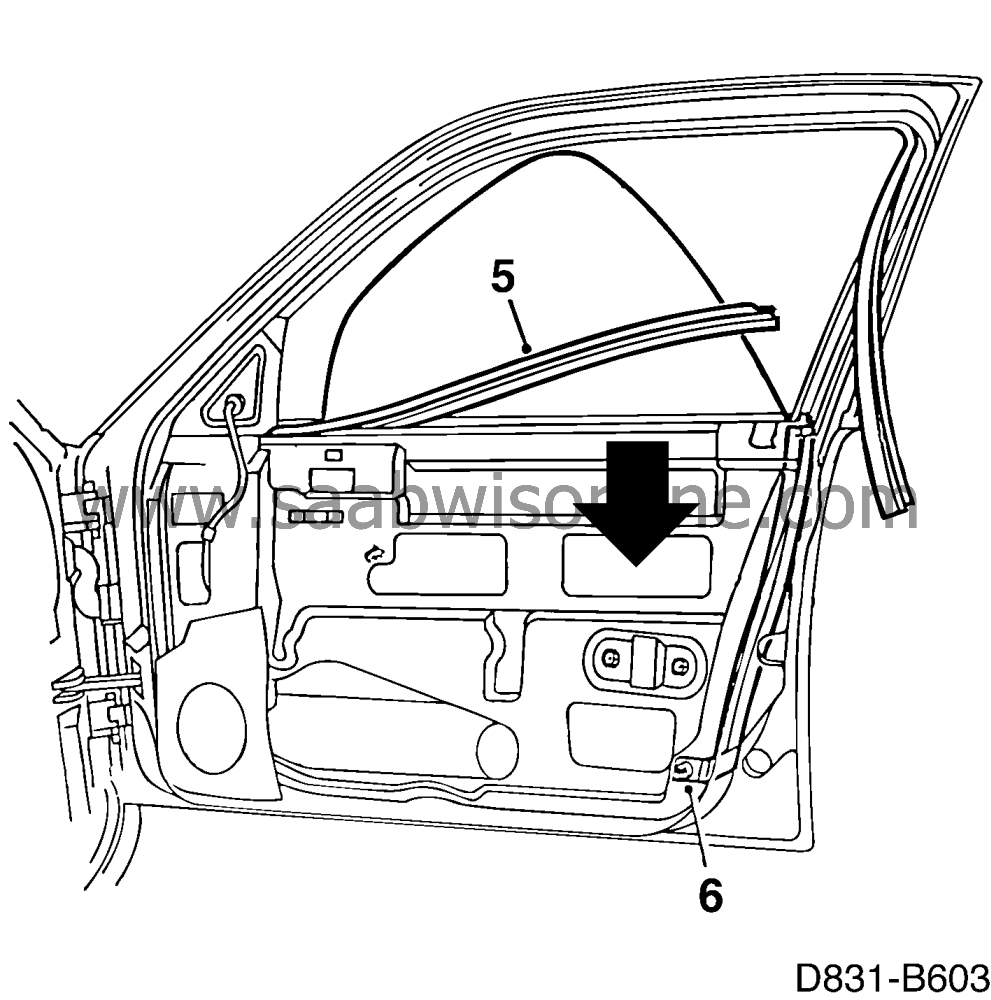
Remove the internal window seal by prying up the rear edge of the seal with a
large screwdriver and then pulling it all the way up by hand.
|
|
| 6. |
Loosen the bottom of the rear guide channel (hanging from the window seal).
|
|
| 7. |
Raise the window until the window retainer is accessible through the lower
opening on the inside of the door.
|
|
| 9. |
Lift out the glass by angling the rear edge upwards.
|
|
| To fit, Window |
| 1. |
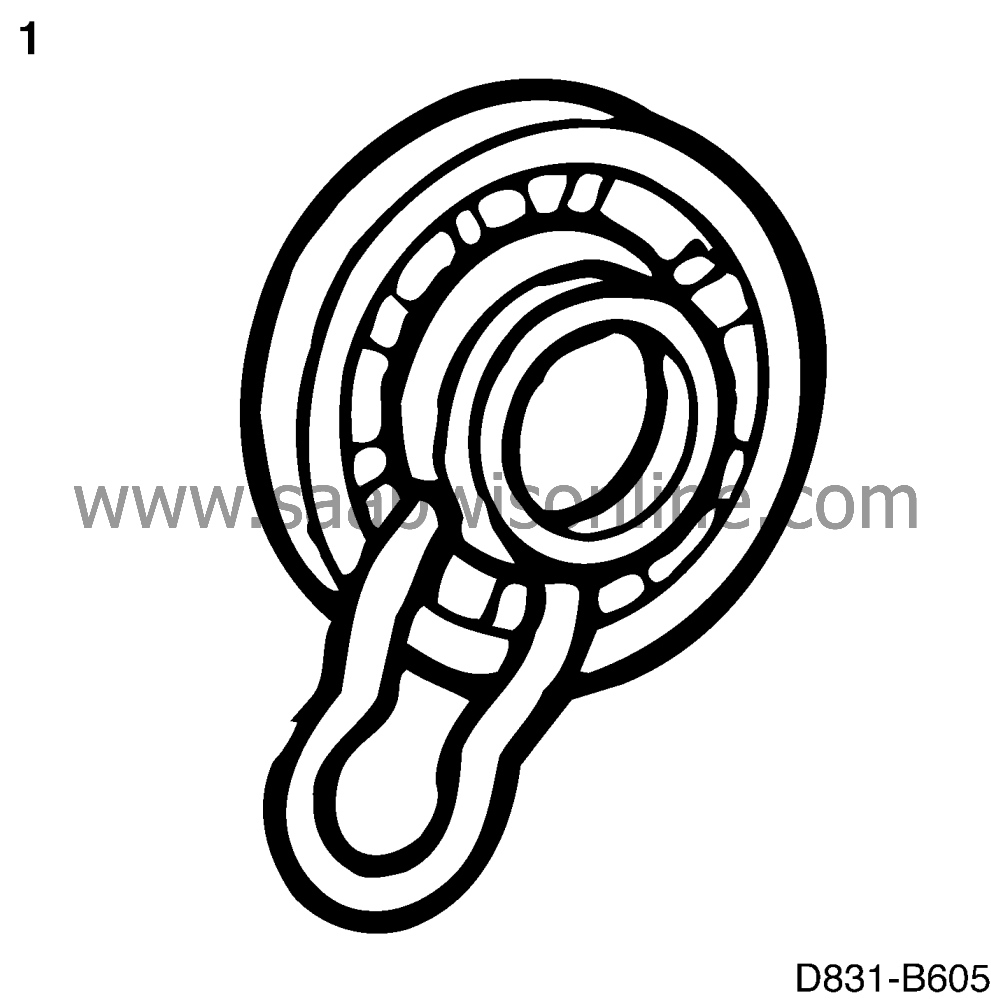
Check that the scissor-lift slide
rollers are undamaged and transfer them to the new glass. Fit the clips.
|
|
| 2. |
Lift the glass into place by angling it forwards and then fitting it into the front
guide channel. Angle the glass rearwards and then fit it into the rear guide channel.
|
|
| 3. |
Lubricate slide rollers and sliding surfaces with grease (Gleitmo 815). Press the
scissor-lift stays into position in the window retainer's slide rollers. A double click should
be heard.
|
|
| 4. |
Tighten the rear guide channel.
|
|
| 5. |
Check the position of the glass in the frame and adjust the scissor-lift guide
channel as follows:
|
|
| • |
Slacken the adjusting nut (the rearmost of the two
guide channel retaining nuts) and raise the window all the way up in the frame.
|
| • |
Lower the window to about 3 cm from the closed position.
|
| • |
Press the glass rearwards in the frame by hand.
|
| • |
Check that the top edge of the glass is parallel with the frame.
|
| • |
Tighten the adjusting nut.
|
| 6. |
Fit the internal window seal by pressing it into position by hand.
|
|
| 7. |
Fit the external window seal.
|
|||||||
| 8. |
Fit the plastic water barrier.
|
|
| 9. |
Fit the door trim. See Service Manual 8:2 "Interior equipment"
 .
.
|
|
| To remove, window lift, front door |
| 1. |
Remove the door trim. See
Service Manual 8:2 "Interior equipment"
 .
.
|
|
| 2. |
Remove the plastic water barrier.
|
|
| 3. |
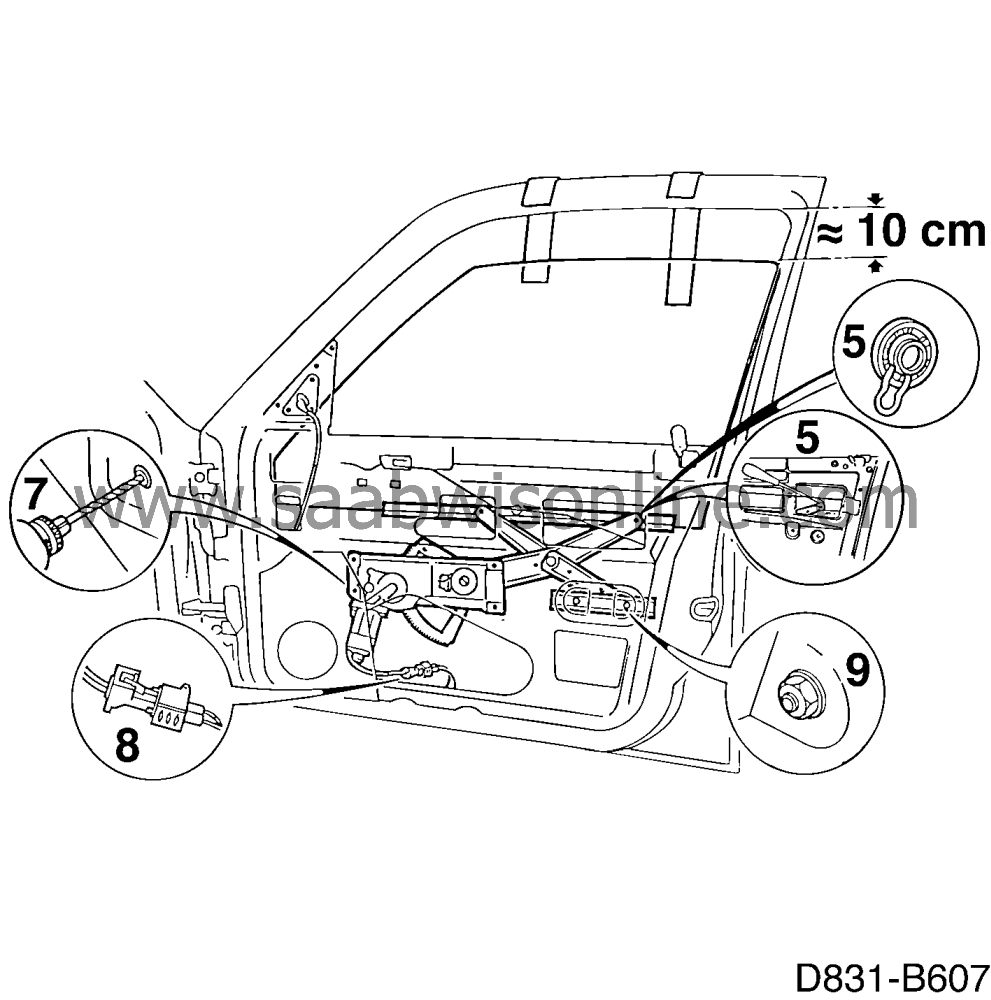
Lower the window about 10 cm until the window retainer is visible in the upper
door holes.
|
|
| 4. |
Secure the glass in the frame using 2 strips of tape.
|
|
| 6. |
Run the window lift motor so that the scissor-lift occupies as little space as
possible.
|
|
| 7. |
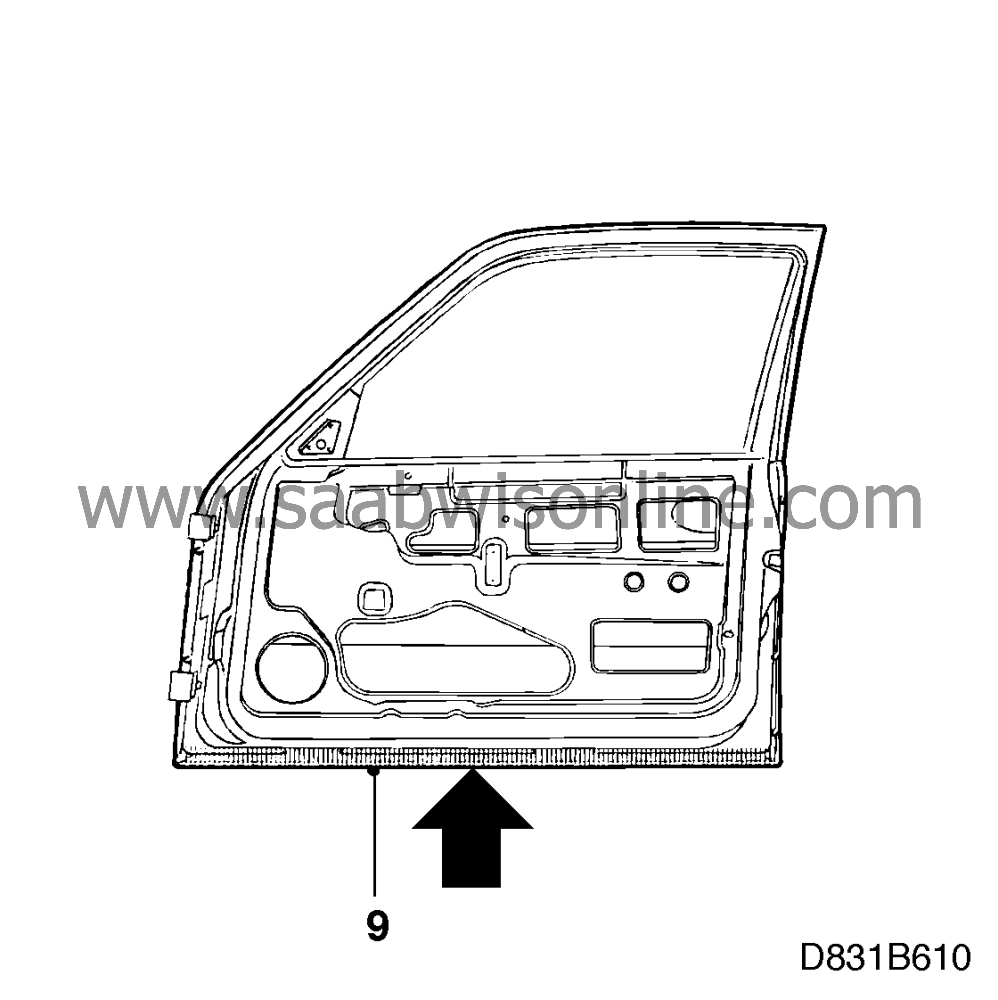
Drive in the steel cores of the pop rivets as necessary. Drill out the heads of the
4 pop rivets and then drive them out of the door panel (8.5 mm drill bit 4 mm drift).

|
|
| 8. |
Unplug the connector from the window lift motor.
|
|
| 9. |
Unscrew the scissor-lift guide channel, secured with 2 nuts.
|
|
| 10. |
Lift out the window lift.
|
|||||||
| 11. |
Use a vacuum cleaner to remove drillings, swarf and old rivets from the doors.
|
|
| To fit |
Fit in reverse order.
| • |
Check that the slide rollers are
undamaged.
|
|
| • |
Fit the clips on the slide rollers.
|
|
| • |
Lubricate all sliding surfaces and slide rollers with grease (Gleitmo 815) before
assembly.
|
|
| • |
Fit the window lifts.
|
|
| • |
A double click should be heard when the scissor-lift stays are pressed into
position in the window retainer's slide rollers.
|
||||||||||||||||
| Standard time information |
Object code: 84321 Change door window
83510 Change window lift
Localization code: 03/04
Action code: 02
Time: 0.4 Change door window LH/RH
0.4 Change window lift LH/RH
| Warranty information |
Standard warranty rules apply.

