Sunroof assembly
| Sunroof assembly |
| To remove |
| Note | ||
|
It is advisable for two persons to help each other when carrying out operations 6 and 7. |
| 1. |
Remove the headlining. See
Service Manual 8:2 "Interior equipment"
 .
.
|
|
| 2. |
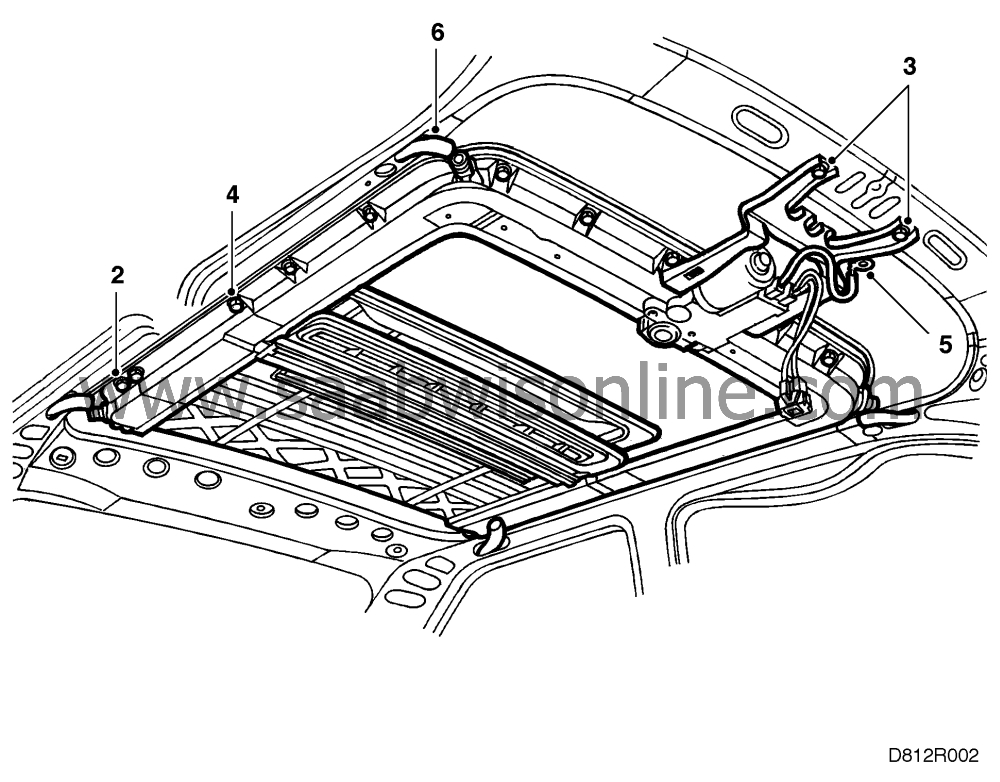
Remove the four drain hoses from the nipples on the sunroof
assembly.
|
|
| 3. |
Disconnect the motor grounding point from the lighting panel.
|
|
| 4. |
Remove the four lighting panel retaining screws and remove the panel.
|
|
| 5. |
Remove the sunroof assembly retaining screws, leaving one at the front
and one at each corner at the rear.
|
|
| 6. |
Undo the three remaining screws and, with the aid of a helper, lift off
and lower the sunroof assembly.
|
|
| 7. |
Open the tailgate and remove the sunroof assembly at the rear with the aid of a
helper.
|
|
| To fit |

| Note | ||
|
It is advisable for two persons to help each other when carrying out operations 1 and 2. |
| 1. |
Lift the sunroof assembly into
position with the aid of a helper. Make sure that it enters the guides.
|
|
| 2. |
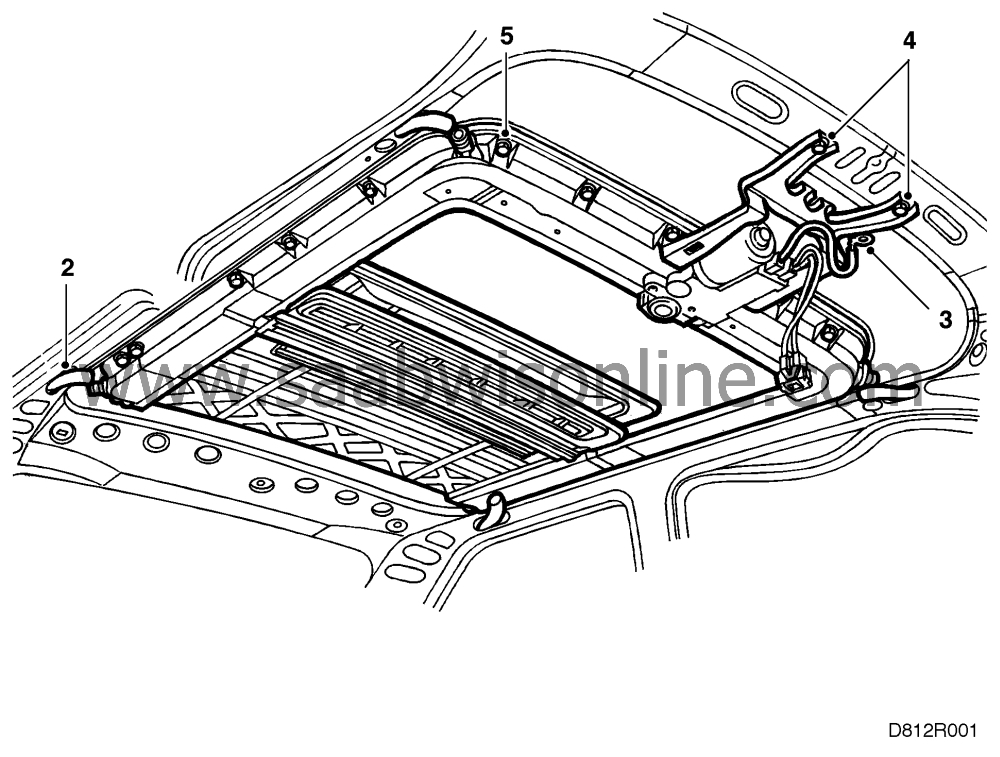
Fit one screw at the front and one at each corner at the rear.
|
|
| 3. |
Fit the lighting panel.
|
|
| 4. |
Fit the remaining sunroof assembly retaining screws and tighten them.
Tightening torque: 5 Nm (3.7 lbf ft) |
|
| 5. |
Connect the motor grounding point to the interior lighting panel.
|
|
| 6. |
Fit the four drain hoses to the nipples.
|
|
| 7. |
Fit the headlining. See Service Manual 8:2 "Interior equipment"
 .
.
|
|
| 8. |
Check the operation of the bonnet-release
mechanism.
|
|


