Crankshaft
| Crankshaft |
| Checking crankshaft clearances |
End float
Place dial gauge 87 92 194 with holder 87 90 727 on the end of the cylinder block with the tip of the gauge against the crankshaft. Push the crankshaft lengthwise. Maximum permitted clearance is 0.1-0.76 mm.Remove the checking gauge.
Rotational variation
Place dial gauge 87 92 194 with holder 87 90 727 on the cylinder block with the tip of the gauge on the main journal. Turn the crankshaft in a steady motion. Maximum permitted rotational deviation is 0.05 mm.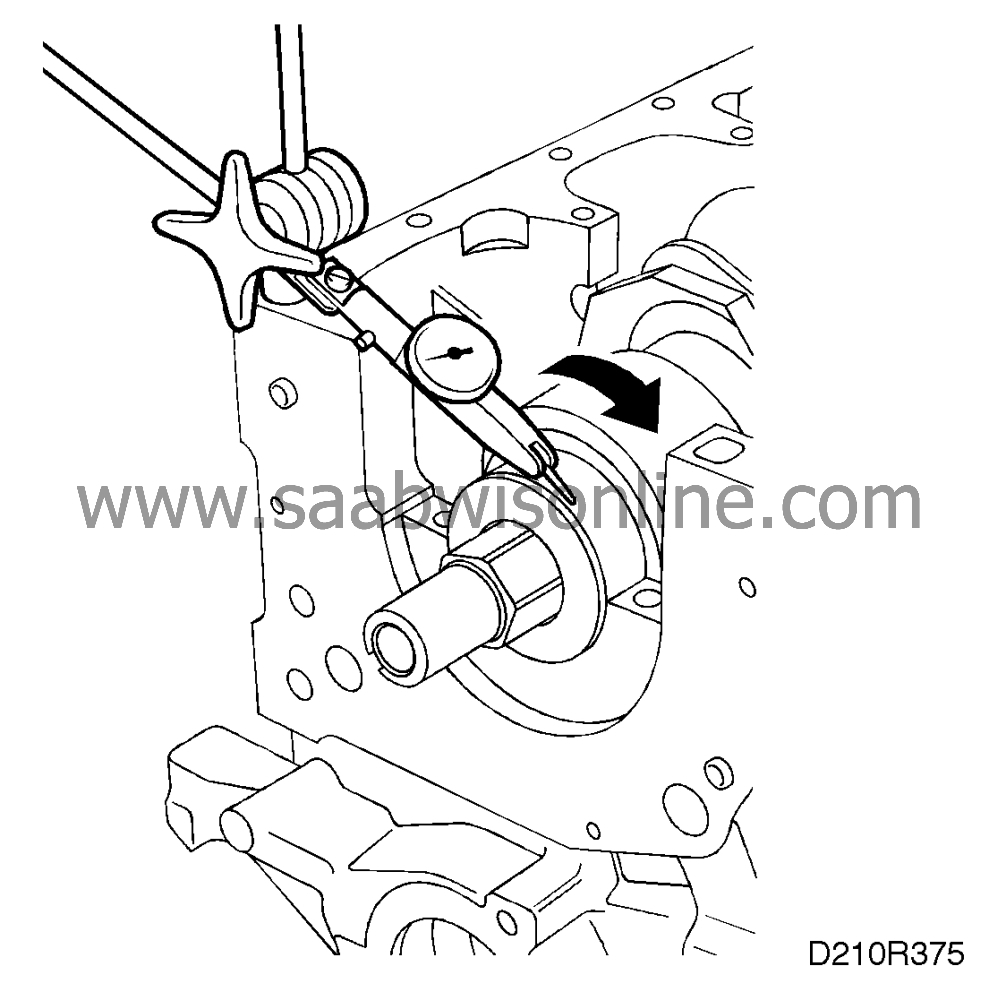
Remove the checking gauge.
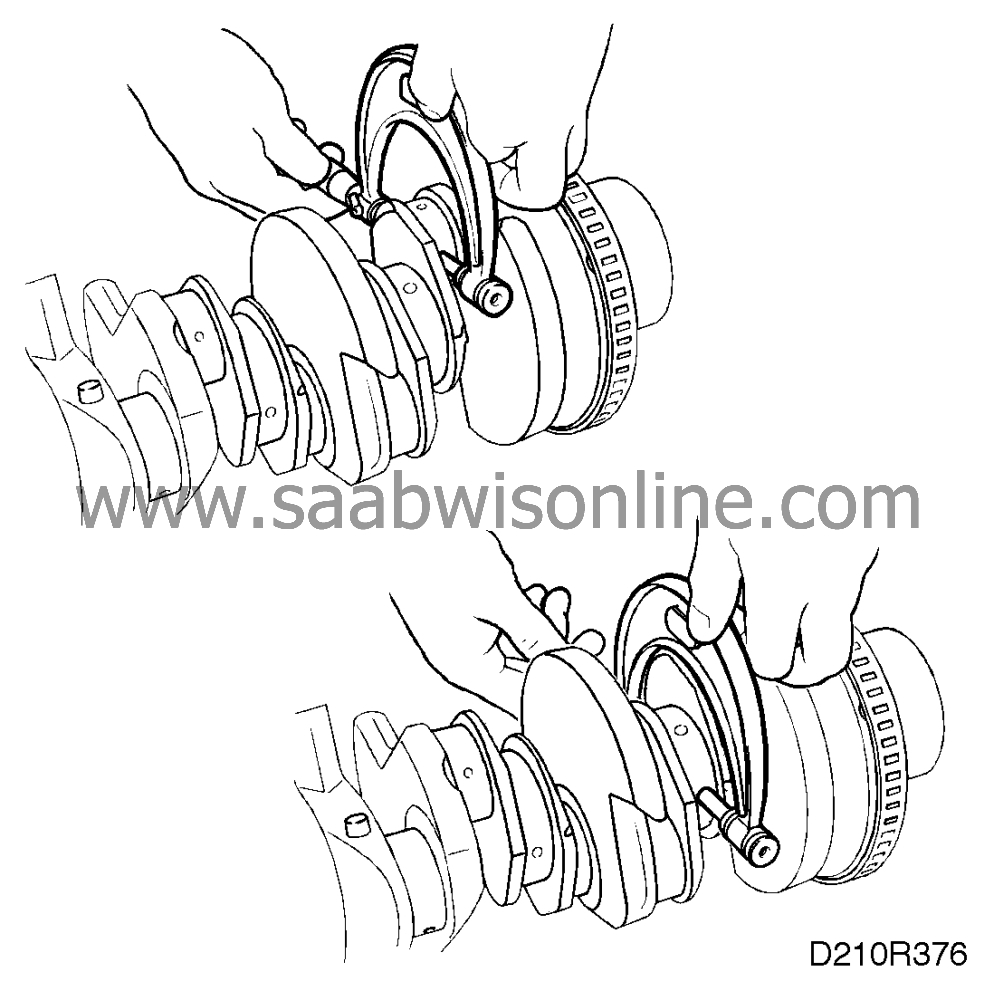
Clean the crankshaft and measure the crankpins using a micrometer. Measurements should be taken at several points around the circumference. The out-of-round of the main journals and the big-end journals must not exceed 0.003 mm. If the measurements are close to or in excess of this wear, the crankshaft should be ground down to the specified undersize.
| Checking bearing clearances |
Main bearings
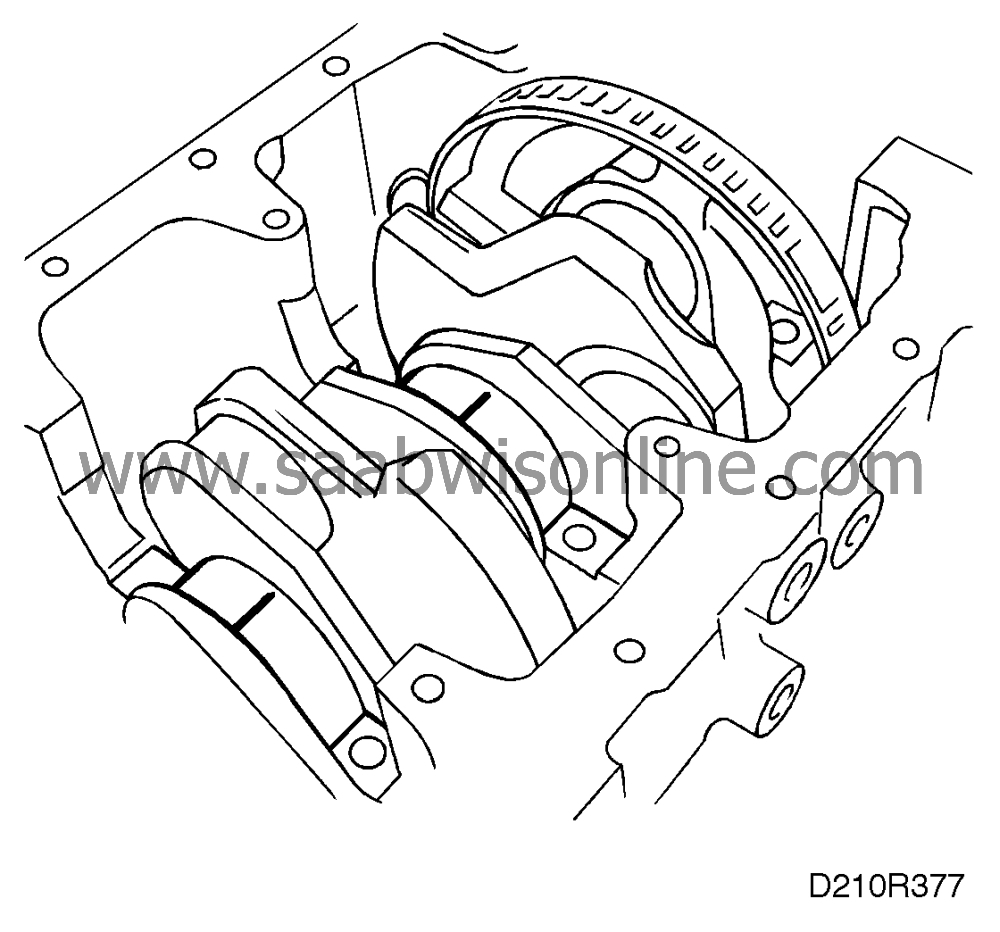
Measure the clearance with Plastigauge, part number (45) 30 06 558.| Important | ||
|
When measuring clearance with Plastigauge, make sure that nothing gets into the oil holes. |
||
| 1. |
Place the engine with the cylinder cover surface down so that the weight of the crankshaft will not affect the measurements.
|
|
| 2. |
Clean the parts that are to be measured. Place a strip of Plastigauge along the shaft.
|
|
| 3. |
Fit the bearing cap.
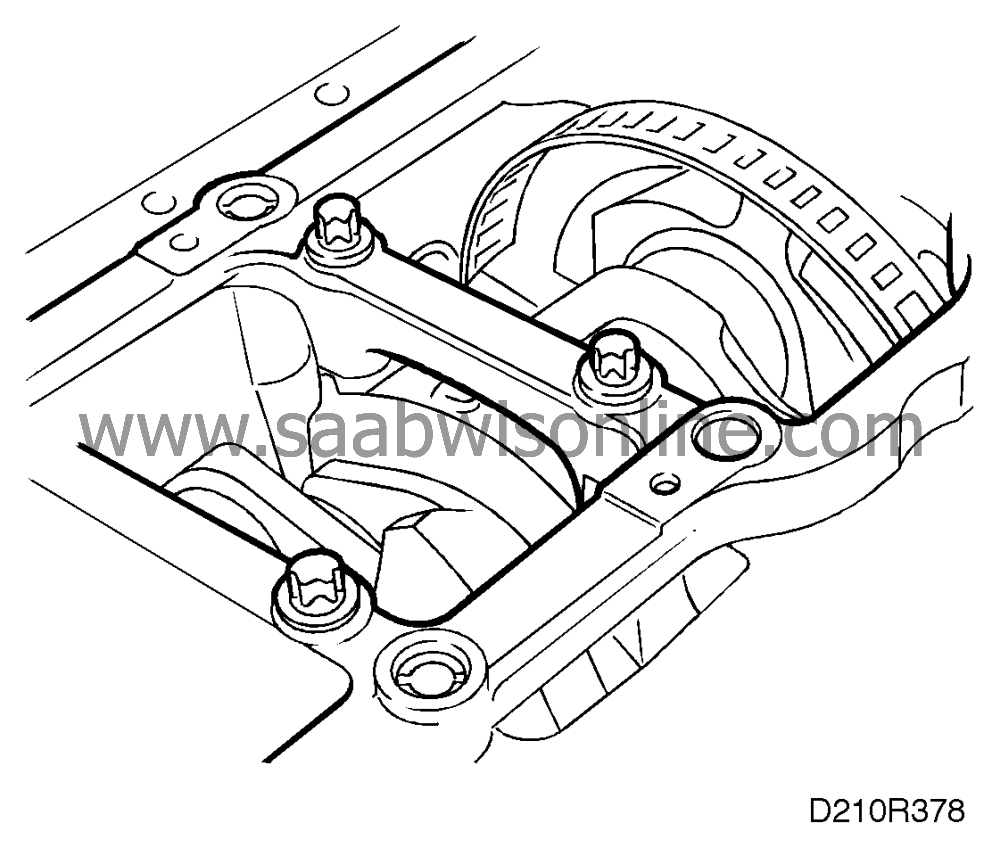
Tightening torques 50 Nm (37 lbf ft) + 60 + 15. The crankshaft must not be turned during measurement. |
|
| 4. |
Remove the bearing cap. The strip of Plastigauge should now have adhered either to the bearing cap or the crankpin.

|
|
| 5. |
Measure the width of the Plastigauge strip using the scale printed on the packaging and read off the clearance. One side of the packaging gives the measurement in millimetres, the other side in thousandths of an inch. Measure the strip at the widest point but do not touch it with your fingers.
Permissible main bearing clearance 0.014-0.043 mm. For choice of bearing, see "Technical data" |
|
Big-end bearings
Measure the clearance with Plastigauge, part number (45) 30 06 558.
| Important | ||
|
When measuring clearance with Plastigauge, make sure that nothing gets into the oil holes. |
||
| 1. |
Clean the parts that are to be measured. Place a strip of Plastigauge along the shaft.
|
|
| 2. |
Fit the bearing cap.
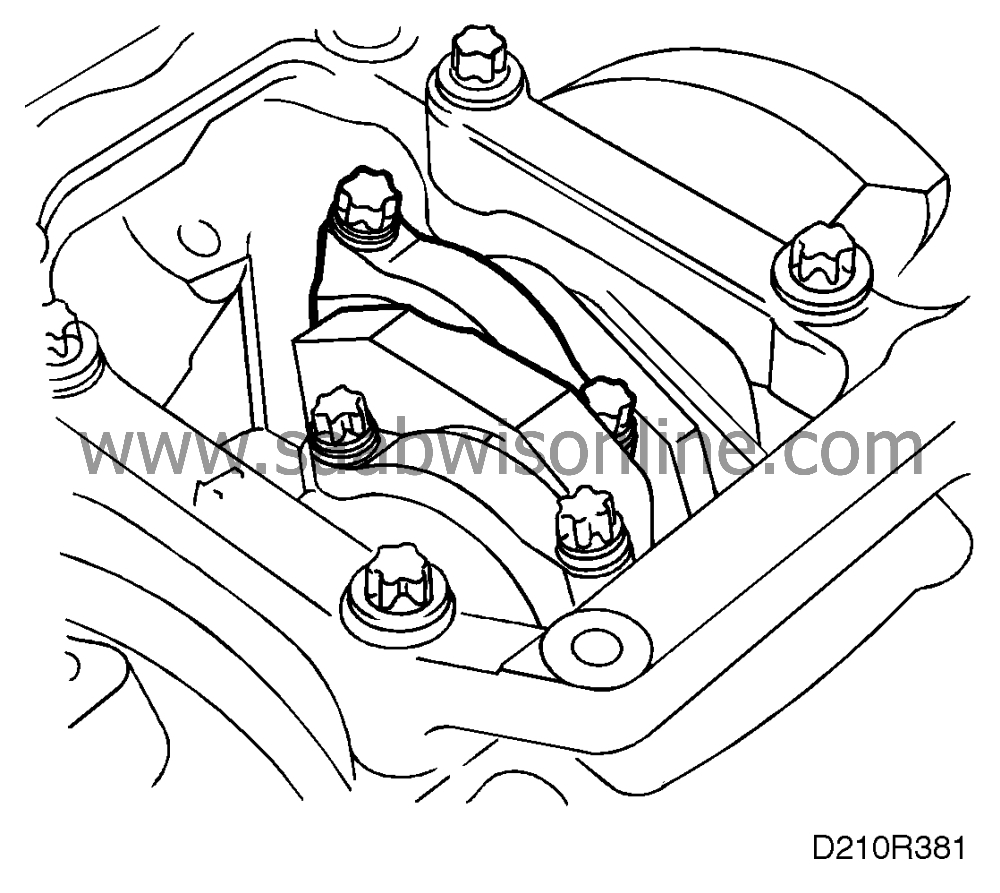
Tightening torques 35 Nm (26 lbf ft) + 45 + 15. The crankshaft must not be turned during measurement. |
|
| 3. |
Remove the bearing cap. The strip of Plastigauge should now have adhered either to the bearing cap or the crankpin.

|
|
| 4. |
Measure the width of the Plastigauge strip using the scale printed on the packaging and read off the clearance. One side of the packaging gives the measurement in mm, the other in 1/1000 inch. Measure the strip at its widest point but do not touch it with your fingers.
Permitted big-end bearing clearance 0.013-0.061 mm. For choice of bearing, see "Technical data". |
|
| Drive belt for auxiliaries |
To remove
| 1. |
Undo the air cleaner and move it aside.

|
|
| 2. |
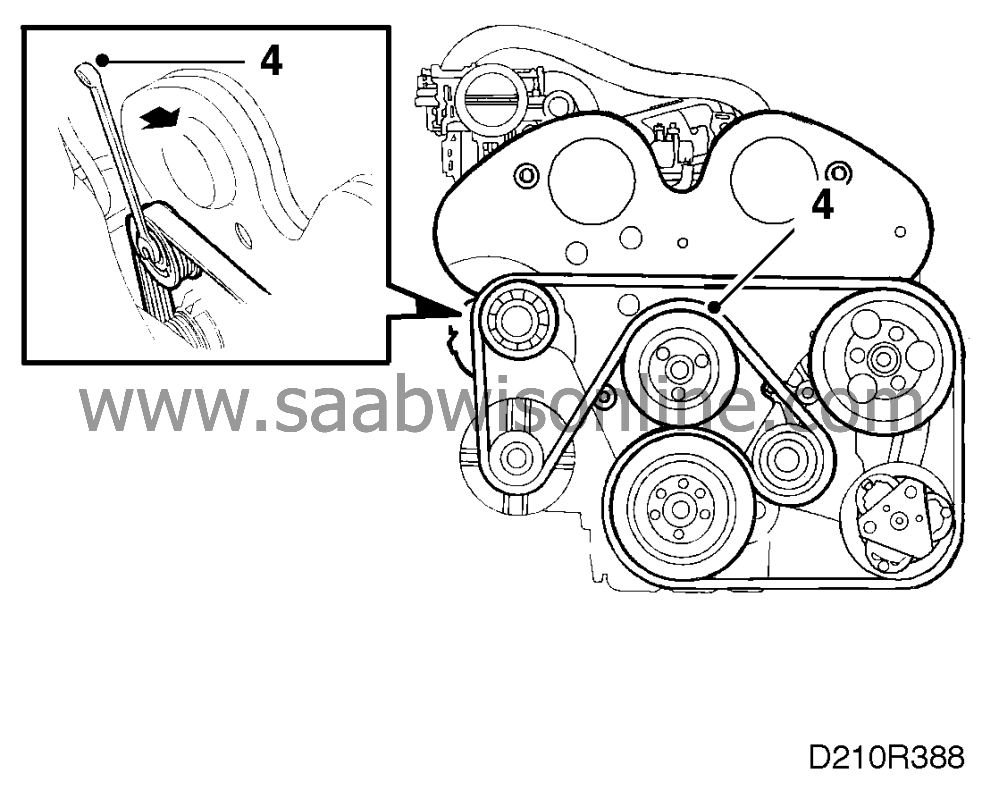
Relieve the belt tensioner of load by turning the retaining screw in the belt tensioning pulley forwards in the car using a 15 mm wrench.

|
|
| 3. |
Free the drive belt from the belt tensioner and carefully release the belt tensioner.
|
|
| 4. |
Raise the car, remove the right-hand front wheel and the cover in the wheel housing and remove the drive belt. Start by the coolant pump.

|
|
| 5. |
Place a jack under the engine, remove the engine mounting from the body and lower the engine so that the belt can be removed (A/C).
|
|
To fit
| 1. |
Fit the drive belt and check its position on all the pulleys.

|
|
| 2. |
Raise the engine and attach the engine mounting to the body (A/C).
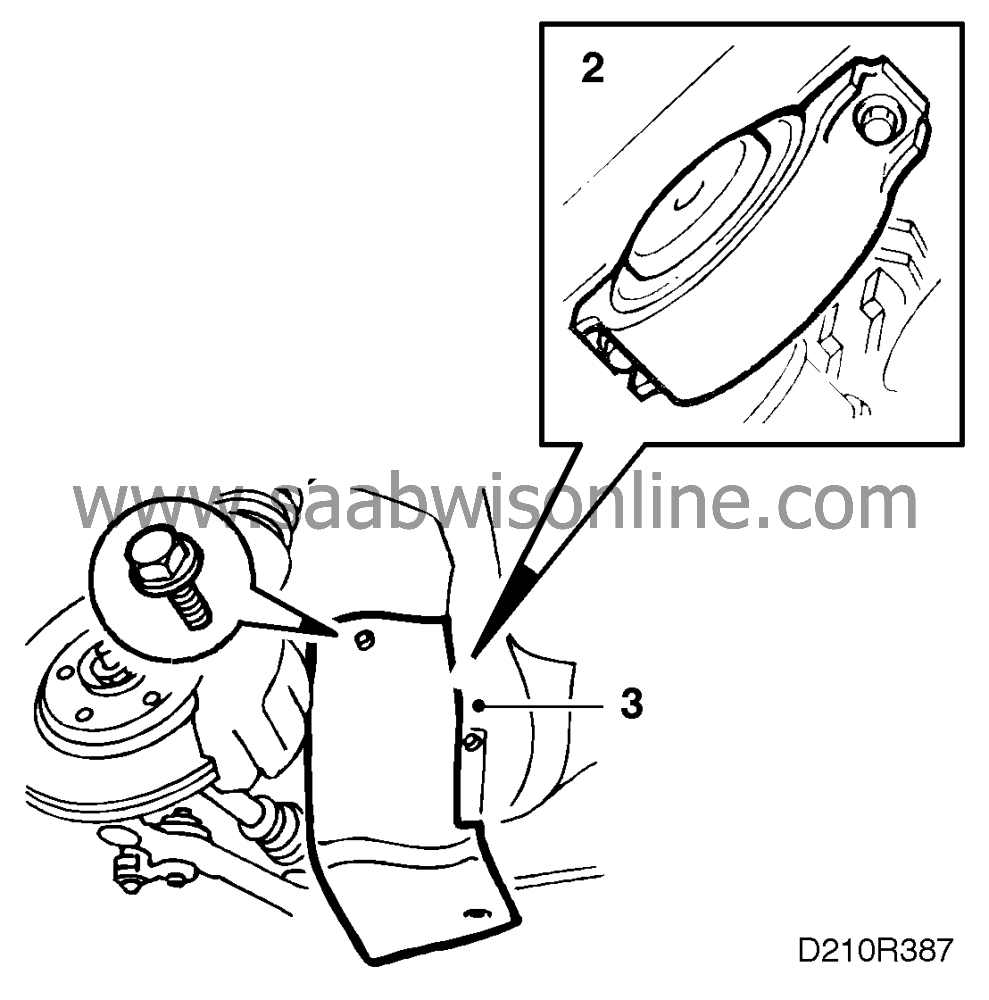
Tightening torque 73 Nm (54 lbf ft). Remove the jack. |
|
| 3. |
Fit the cover and wheel.
Tightening torques 110 Nm (81 lbf ft) |
|
| 5. |
Fit the air cleaner.
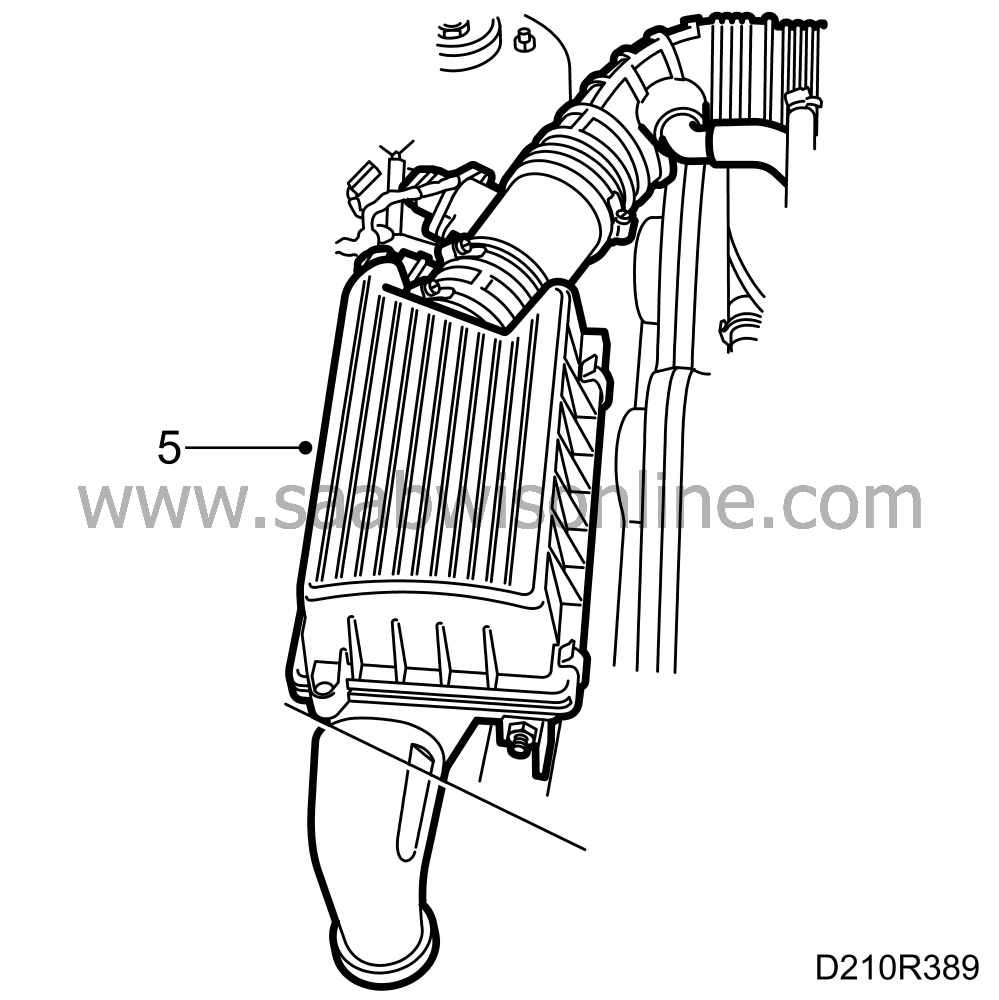
|
|
| 6. |
Start the engine and run it at idling speed for a short while. Then switch it off and check that the drive belt is correctly positioned.
|
|


