Upgrading of radiator fan
|
SERVICE INFORMATION
|
|
Bulletin Nbr:
|
260-1998
|
|
Date:
...........
|
July 1998
|
|
Market:
|
MY, SG, TH, TW
|
|
|
Upgrading of radiator fan
|
Cars in stock must be rectified before delivery.
Cars already delivered must be rectified next time they are brought to the workshop for service or repairs.
All 3D/5D cars with 2-step radiator fan and chassis number within the interval R2000001-V2010262
All CV cars with 2-step radiator fan and chassis number within the interval S7000001-V7001927
The radiator fan lacks a thermal fuse which can result in an overheated resistor.
51 70 568 Fitting kit
88 22 769 Radiator fan kit
 Warning
|
|
Do not touch the fan until its connectors have been unplugged.
|
|
|
|
|
|
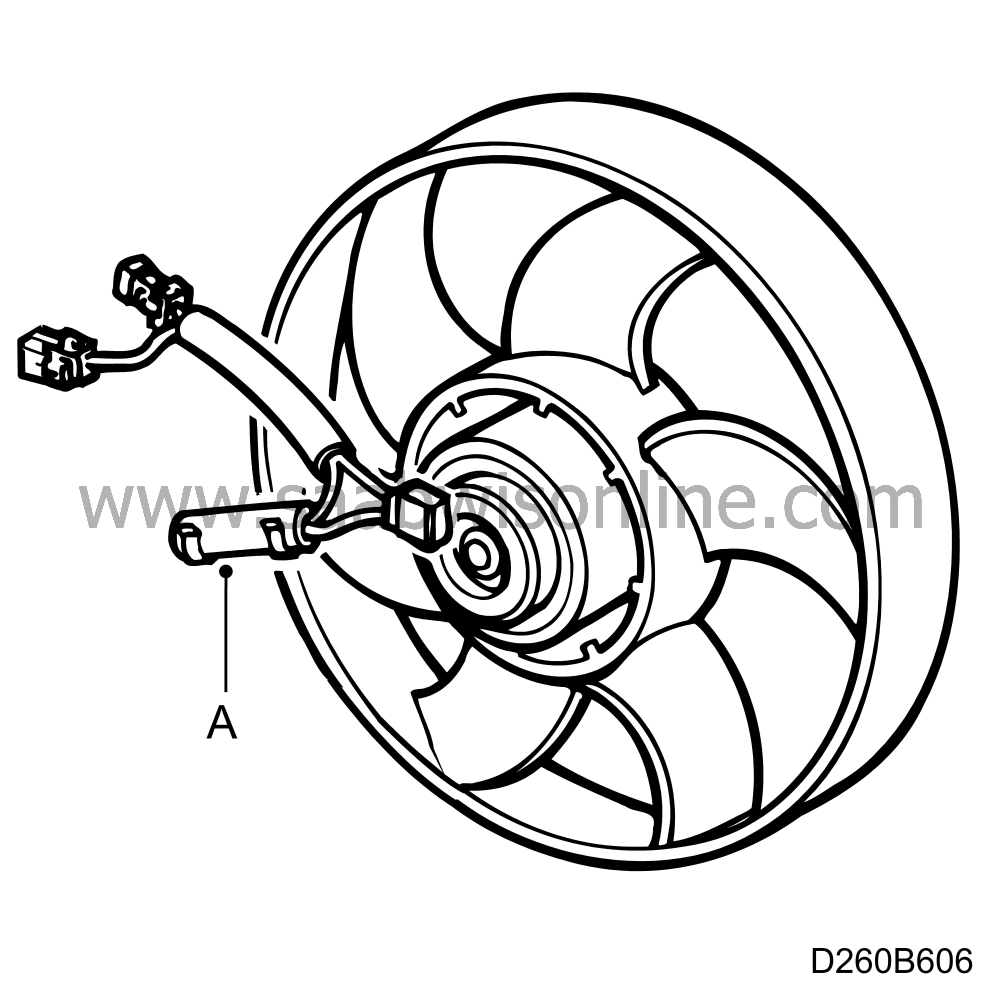
Before starting work, the length of the resistor (A) located on the radiator fan wiring harness must be measured. If the length is 100 mm, the fan has already been replaced, but if the length is 90 mm, the fan must be changed.
|
1.
|
Note eventual radio code, disconnect and remove the battery.
|
|
2.
|
Sensonic:
Remove the battery tray.
Turbo:
Remove the charge air bypass valve with hoses.
|
|
3.
|
Unplug the radiator fan electrical connections.
|
|
4.
|
Remove the servo pump oil pipes and the clips for the radiator venting hose from the radiator member and move aside the oil pipe. Remove the servo oil reservoir.
|
|
5.
|
Remove the fan cowling (2 screws) and lift it up.
|
|
6.
|
Fit the radiator fan into the correct position relative to the fan cowling and secure it with the nuts.
Tightening torque 8.5 Nm (6 lbf ft).
|
|
7.
|
Fit the clips for the connectors, press them onto the fan cowling, fit the resistor and secure the wiring harness.
|
|
8.
|
Fit the fan cowling to the radiator and tighten the screws (2 screws).
Tightening torque 4 Nm (3 lbf ft).
|
|
9.
|
Plug in the radiator fan electrical connections.
|
|
10.
|
Tighten the screw for the servo pump oil pipe and press on the clip for the radiator venting hose.
|
|
11.
|
Sensonic:
Fit the battery tray.
Turbo:
Fit the charge air bypass valve with hoses.
|
|
12.
|
Refit the battery and connect the battery cables.
|
|
13.
|
Adjust the clock and program eventual radio code.
|
|
Warranty/Time Information
|
See separate information.


 Warning

