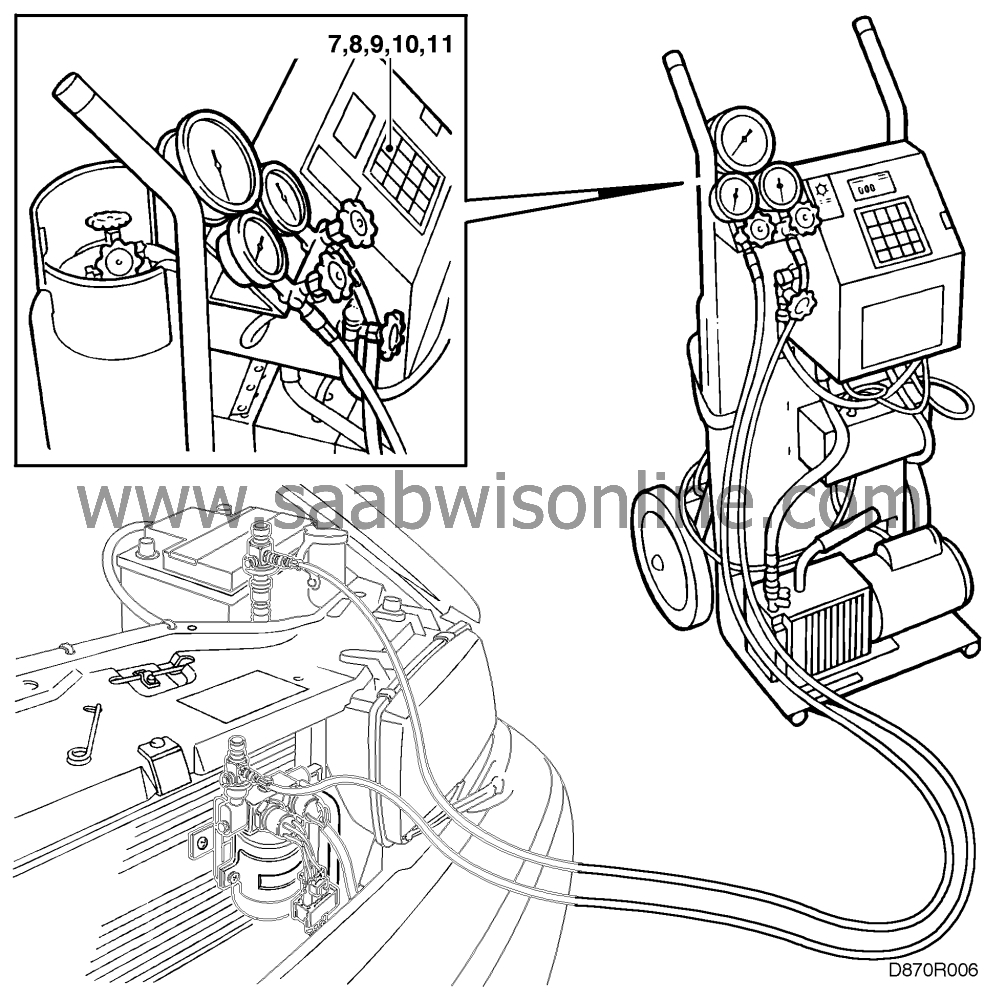
Vacuum pumping and filling of refrigerant
|
|
Vacuum pumping and filling of refrigerant
|
Make sure that the amount of compressor oil in the A/C system is correct before vacuum purging and filling is started. See the table in
 in this section.
|
Important
|
|
Vacuum pumping should be carried out on both the low-pressure side and high-pressure sides simultaneously. A non-return valve in the inlet on the compressor's low-pressure side makes vacuum pumping on only one side impossible.
|
|
|
|
1.
|
Using a snap-on coupling, connect the blue low-pressure hose to the low-pressure side of the AC system.
|
|
2.
|
Using a snap-on coupling, connect the red high-pressure hose to the high-pressure side of the AC system.
|
|
3.
|
Open the valves on both snap-on couplings by screwing in the knobs.
|
|
4.
|
Open the cocks on the blue low-pressure hose and red high-pressure hose on the pressure gauge stand.
|
|
5.
|
Open the blue cock ("Liquid") for liquid refrigerant on the container on the Smart Cart.
|
|
6.
|
Check that the cock on the yellow hose on the pressure gauge stand's middle outlet is closed.
|
|
7.
|
Program vacuum pumping for 30 minutes by pressing "30" on the control panel in the "Vacuum minutes" position. Acknowledge the selection by pressing "ENTER".

|
|
9.
|
Press "0.73" to specify the number of kilograms of refrigerant to be filled. Acknowledge the selection by pressing "ENTER".
|
|
11.
|
Press "START" to start vacuum pumping.
|
|
12.
|
Move the AC hoses slightly and make sure that there are no leaks in the system.
The pressure must not increase by more than 10 mbar in 5 minutes.
 Warning
|
|
Only fill refrigerant from a 725 gramme refrigerant bottle to the low-pressure side of the AC system. If the bottle is connected to the high-pressure side, there is a risk that it might explode when the car engine is started.
|
|
|
|
|
|
|
|
13.
|
Press "START" to start filling of refrigerant.

|
|
14.
|
Stop the filling process by pressing "HOLD" when about 200 grammes of refrigerant has been filled.
|
|
15.
|
Move the AC hoses slightly and check with a leakage detector designed for R134a that the system does not leak.
|
|
16.
|
Continue the filling process by pressing "START".
When filling is finished, "CPL" appears in the display on the control panel.
|
|
17.
|
Close the cocks on the blue low-pressure hose and red high-pressure hose on the pressure gauge stand.
|
|
18.
|
Start the car and wait until the compressor starts to work. Rev up the engine so that the pump vanes in the compressor's rotor are flung outwards. The pressure on the low-pressure side should be 1.5- 3.0 bar.
|
|
19.
|
Close the valves on the snap-on couplings on the AC system's service connections by turning the knobs anticlockwise.
|
|
20.
|
Remove the snap-on couplings and refit the protective plugs in the service valves.
|
 in this section.


 Warning

