Checking bearing clearances
|
|
Checking bearing clearances
|
Before bearing clearance is measured in connection with the fitting of new bearings, crankpin out-of-round (ovality) and taper (conicity) must be checked. Bearing clearance should be measured with Plastigauge, part No. (45) 30 06 558, which is available in three thicknesses. Use type PG-1 (green).
|
Important
|
|
When using Plastigauge to measure clearances, be careful to ensure that none of it gets into the oil holes.
|
|
|
Measure ovality with a micrometer at two positions 90° from each other. Use Plastigauge to measure clearances as follows:
|
1.
|
Turn the engine upside down on the stand so that the weight of the crankshaft will not affect the measurements.
|
|
2.
|
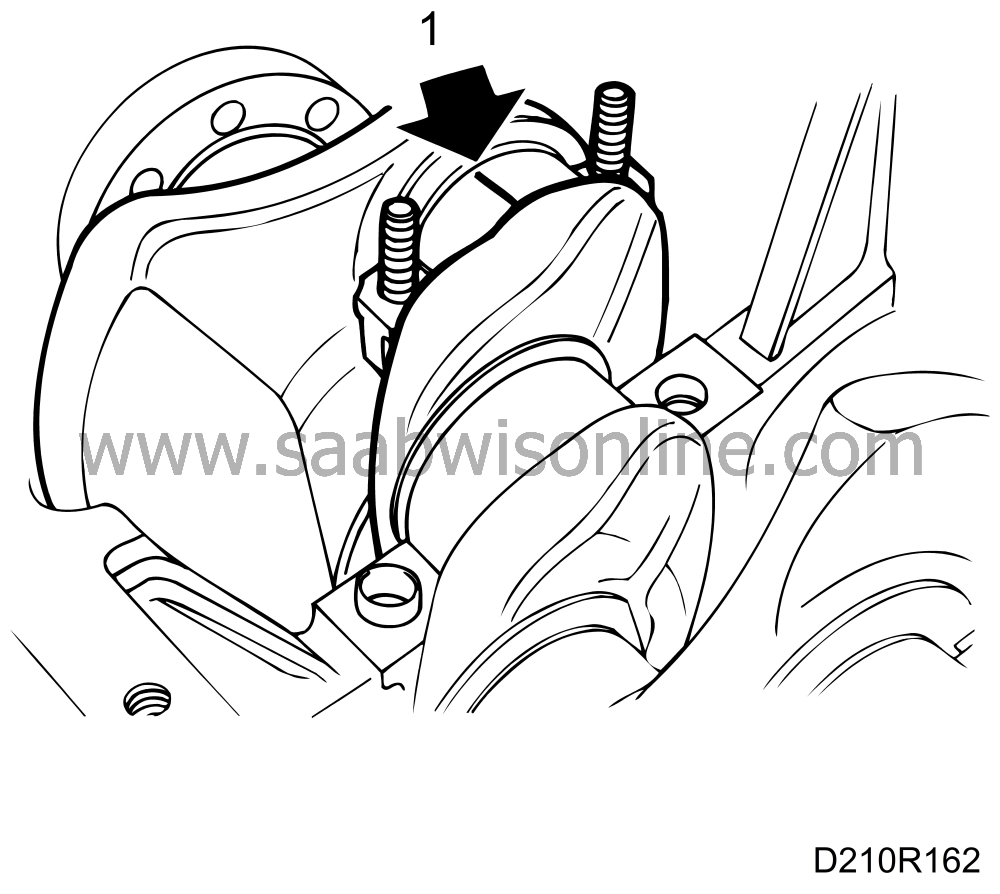
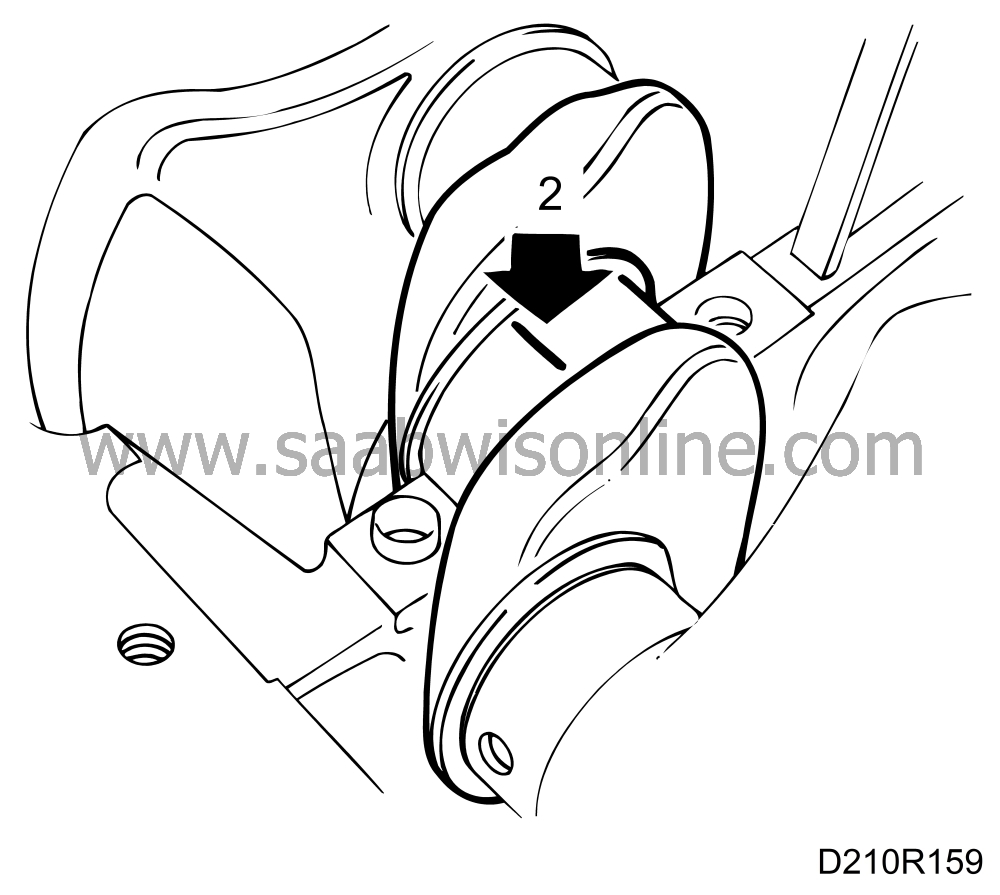
Clean the parts to be measured so that they are dry and free from oil and dirt. Place a strip of Plastigauge along the shaft.
|
|
3.
|
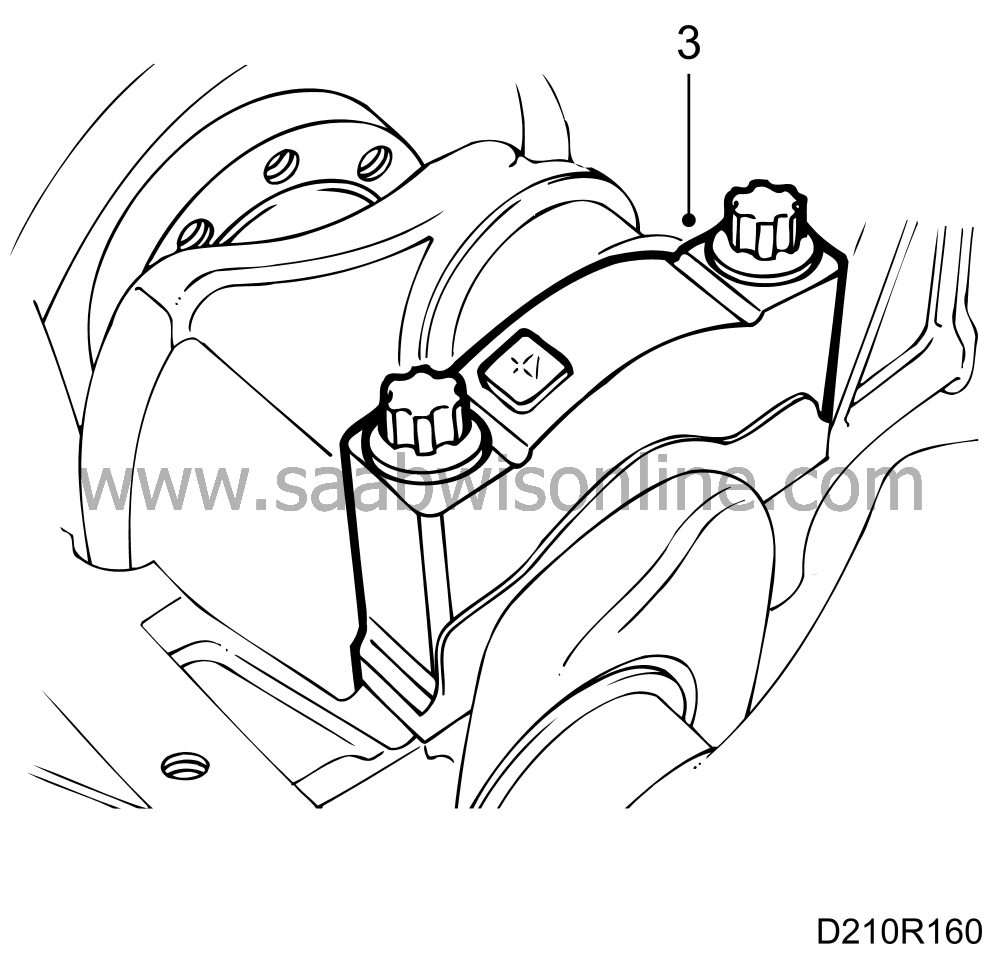
Fit the bearing cap.

Tightening torque: 110 Nm (81.4 lbf ft).
The crankshaft must remain absolutely still during measurement.
|
|
4.
|
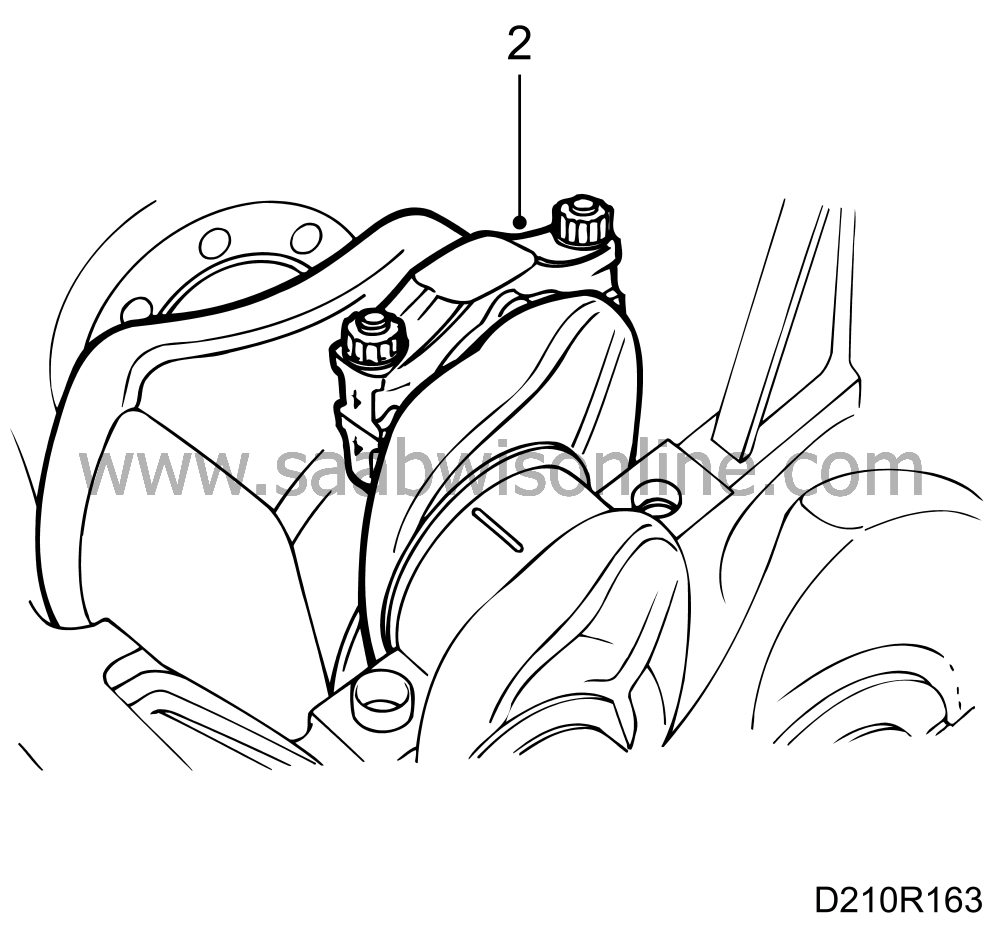
Remove the bearing cap. The strip of Plastigauge should now have adhered either to the bearing cap or the crankpin.

|
|
5.
|
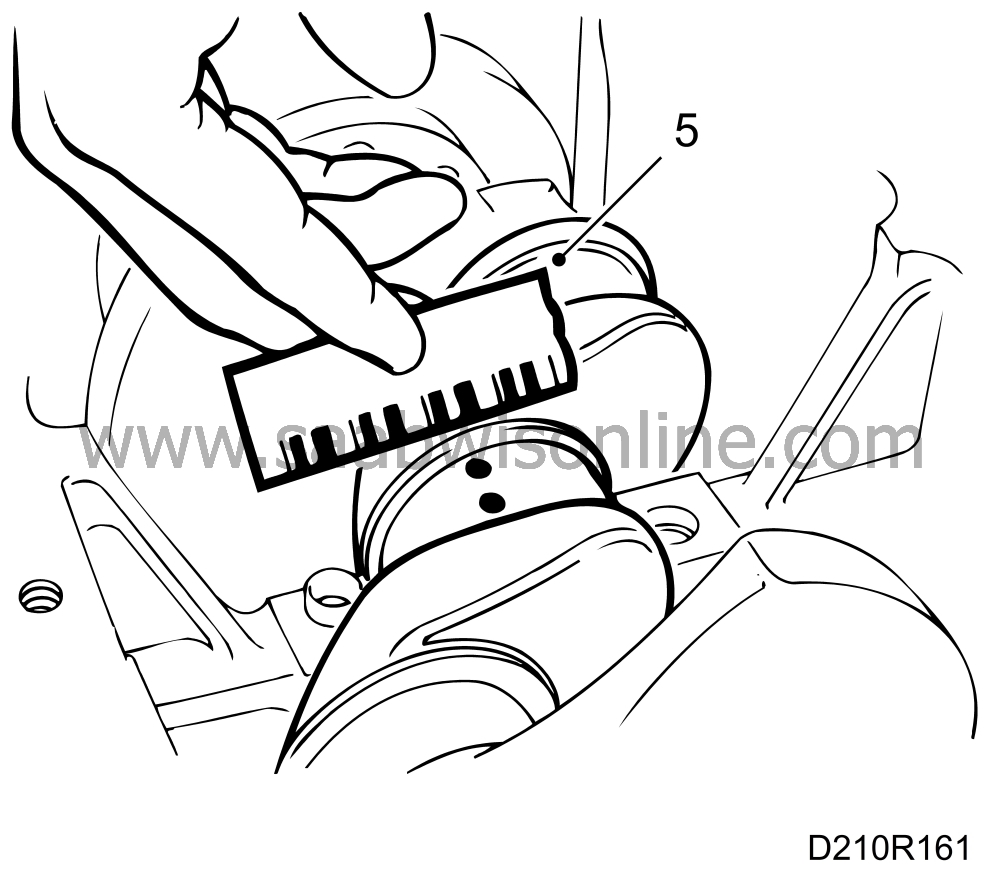
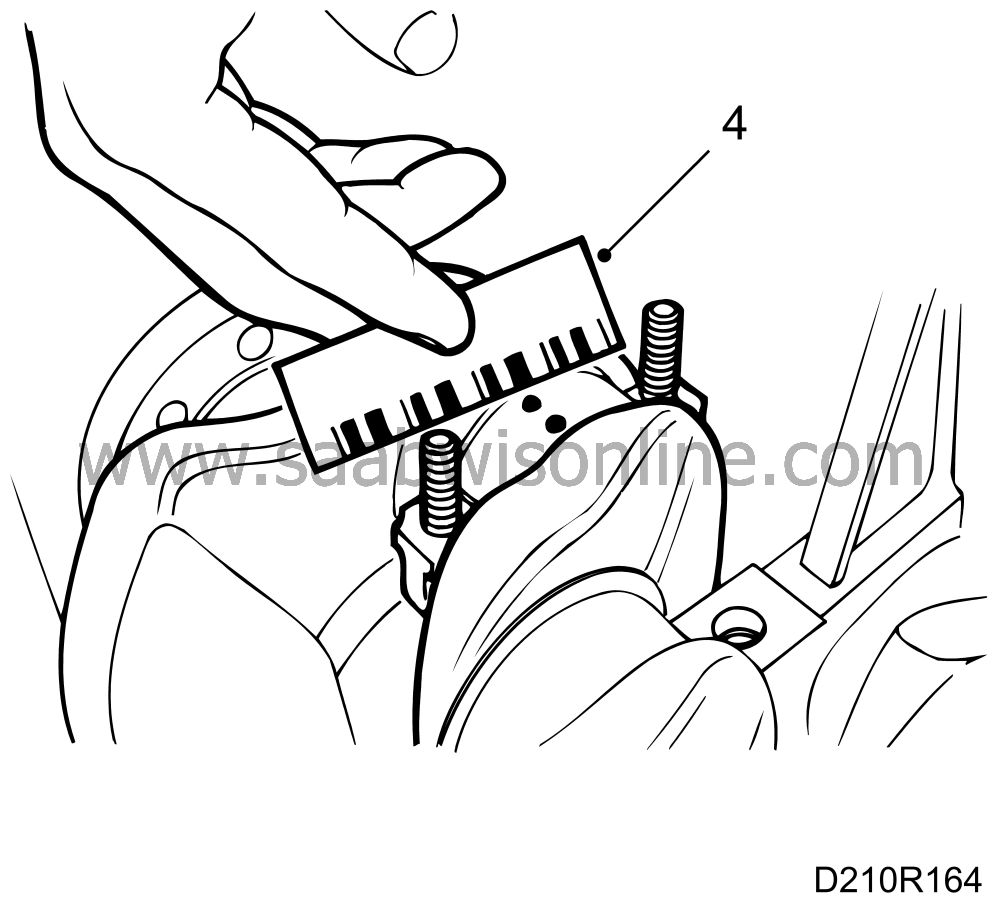
Measure the width of the Plastigauge strip using the scale printed on the packaging and read off the clearance. One side of the packaging is calibrated in mm and the other side in thousandths of an inch. Measure the strip at its widest point, taking care not to touch it with your fingers.
See "Technical data" for the correct dimensions.
|

Before bearing clearance is measured in connection with the fitting of new bearings, crankpin out-of-round (ovality) and taper (conicity) must be checked. Bearing clearance should be measured with Plastigauge, part No. (45) 30 06 558, which is available in three thicknesses. Use type PG-1 (green).
|
Important
|
|
When using Plastigauge to measure clearances, be careful to ensure that none of it gets into the oil holes.
|
|
|
When measuring out-of-round (ovality), use a micrometer and take readings at two different places 90° from each other. Plastigauge can be used to measure clearance, as follows:
|
1.
|
Clean the parts to be measured so that they are dry and free from oil and dirt. Place a strip of Plastigauge along the shaft.
|
|
2.
|
Fit the bearing cap.

Tightening torque 48 Nm (35.5 lbf ft).
The crankshaft must remain absolutely still during measurement.
|
|
3.
|
Remove the bearing cap. The strip of Plastigauge should now be stuck either into the bearing cap or on the crankpin.

|
|
4.
|
Measure the width of the Plastigauge strip using the scale printed on the packaging and read off the clearance. One side of the packaging is calibrated in mm and the other side in thousandths of an inch. Measure the strip at its widest point, taking care not to touch it with your fingers.
See "Technical data" for the correct dimensions.
|
