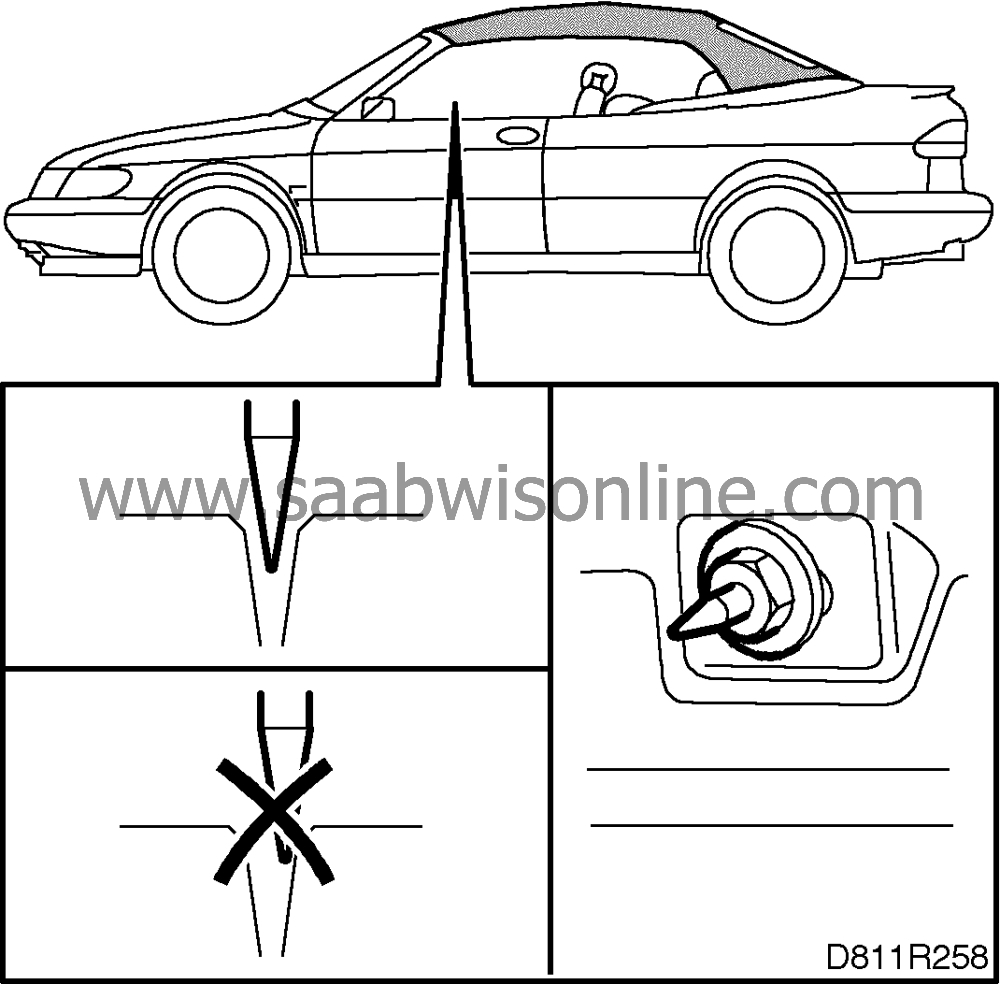
Adjusting the soft top
| Adjusting the soft top |
| 1. |
Lower the soft top.
|
|
| 2. |
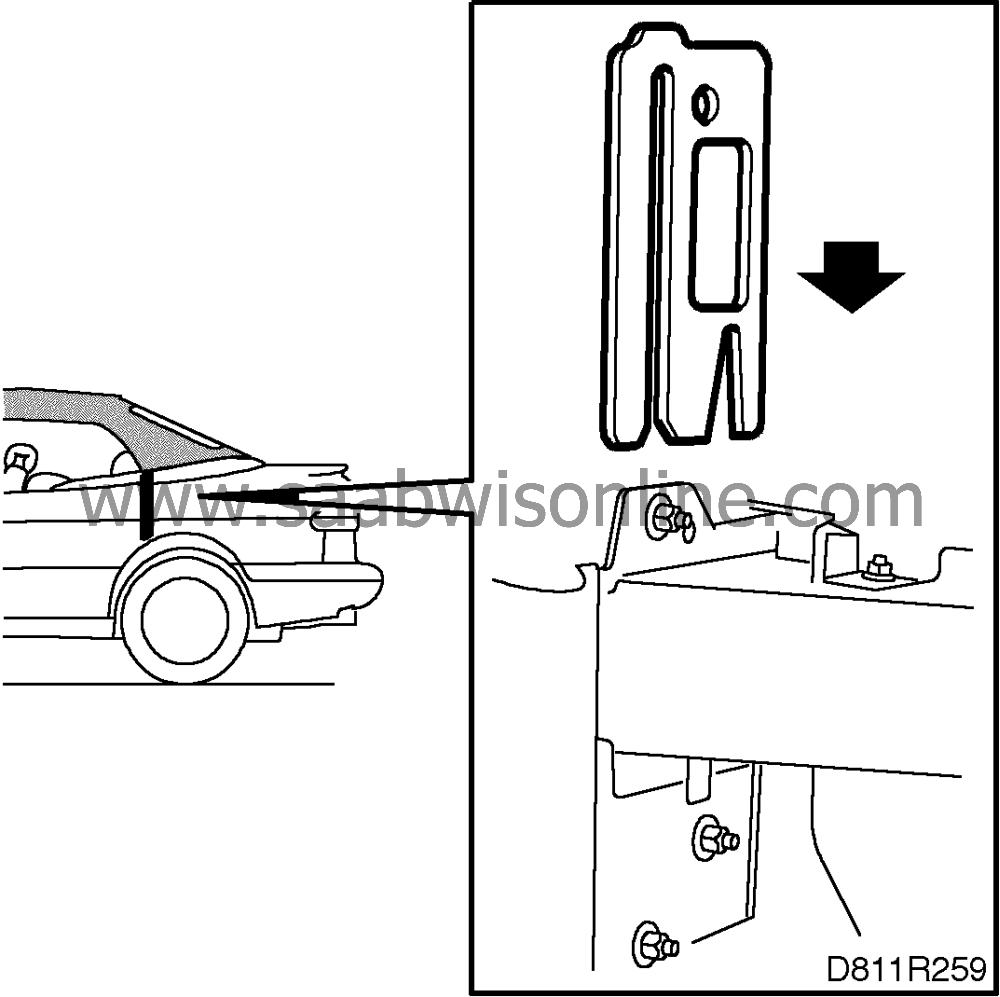
Loosen the nuts holding the soft top mechanism to the body.
|
|
| 3. |
Adjust the soft top by increasing or decreasing the number of shims between the soft top mechanism and the body. Use 1 mm shims.
|
|
| 4. |
Tighten the nuts.
Tightening torque 28 Nm (20.7 lbf ft) |
|
| B Left-hand locating stud/Balance link eccentric |
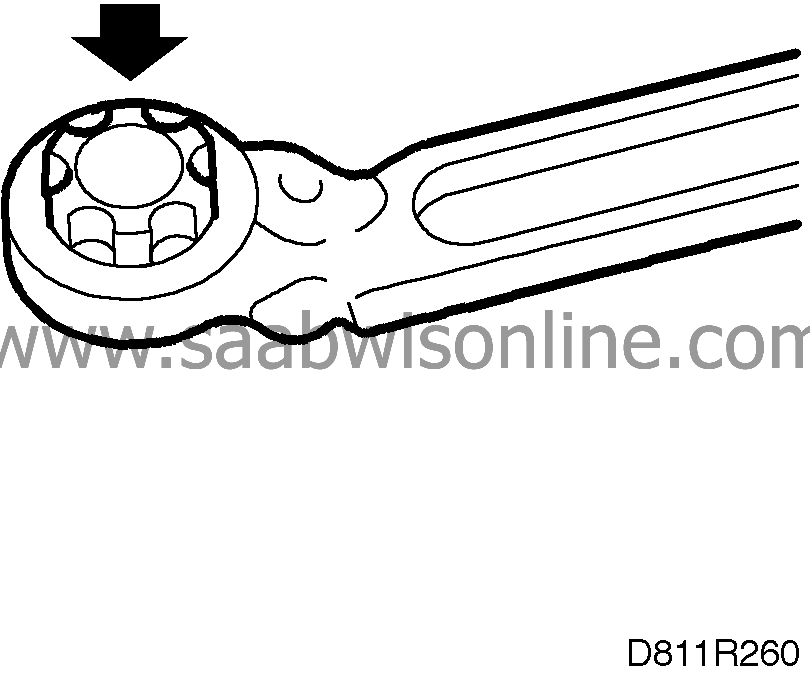
Tip:
Make a tool by cutting a TORX 30 to 7 mm and welding it onto a piece of flat iron or similar material.
| 1. |
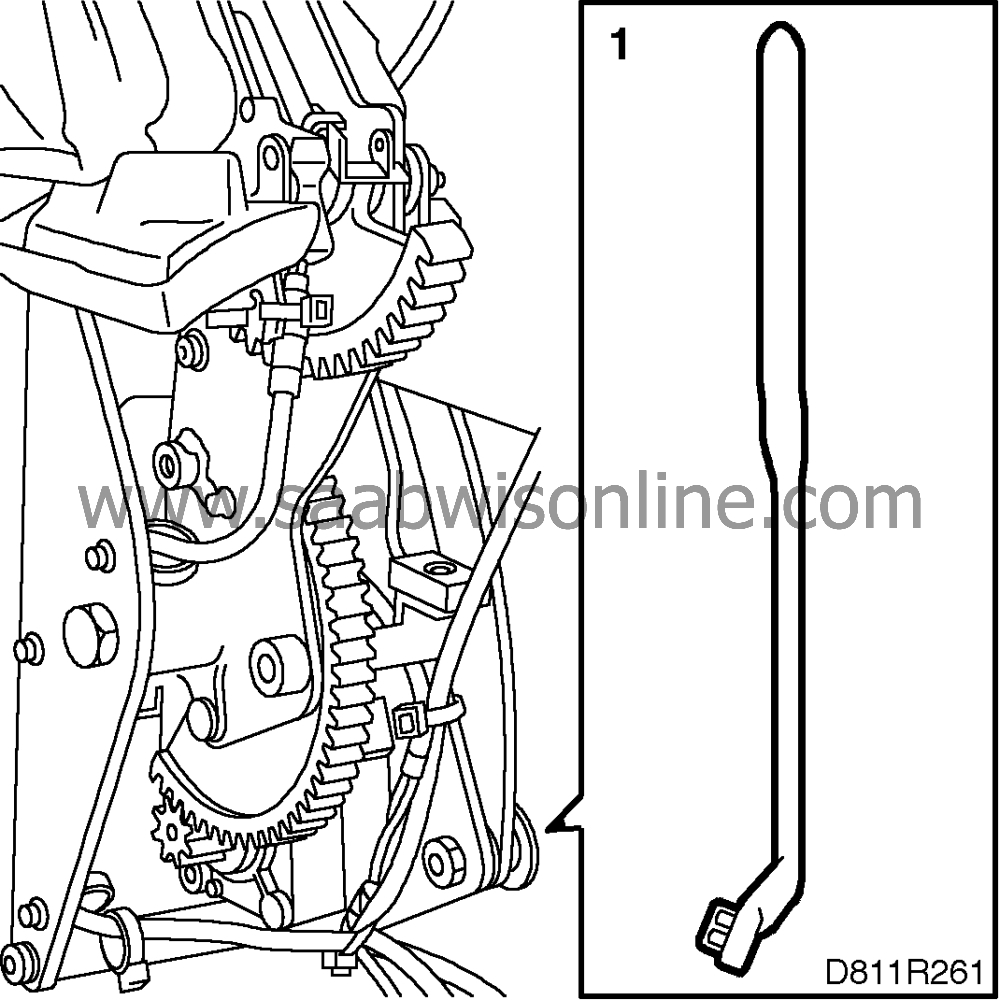
Loosen the nut.
|
|
| C Right-hand soft top locating stud sideways adjustment |
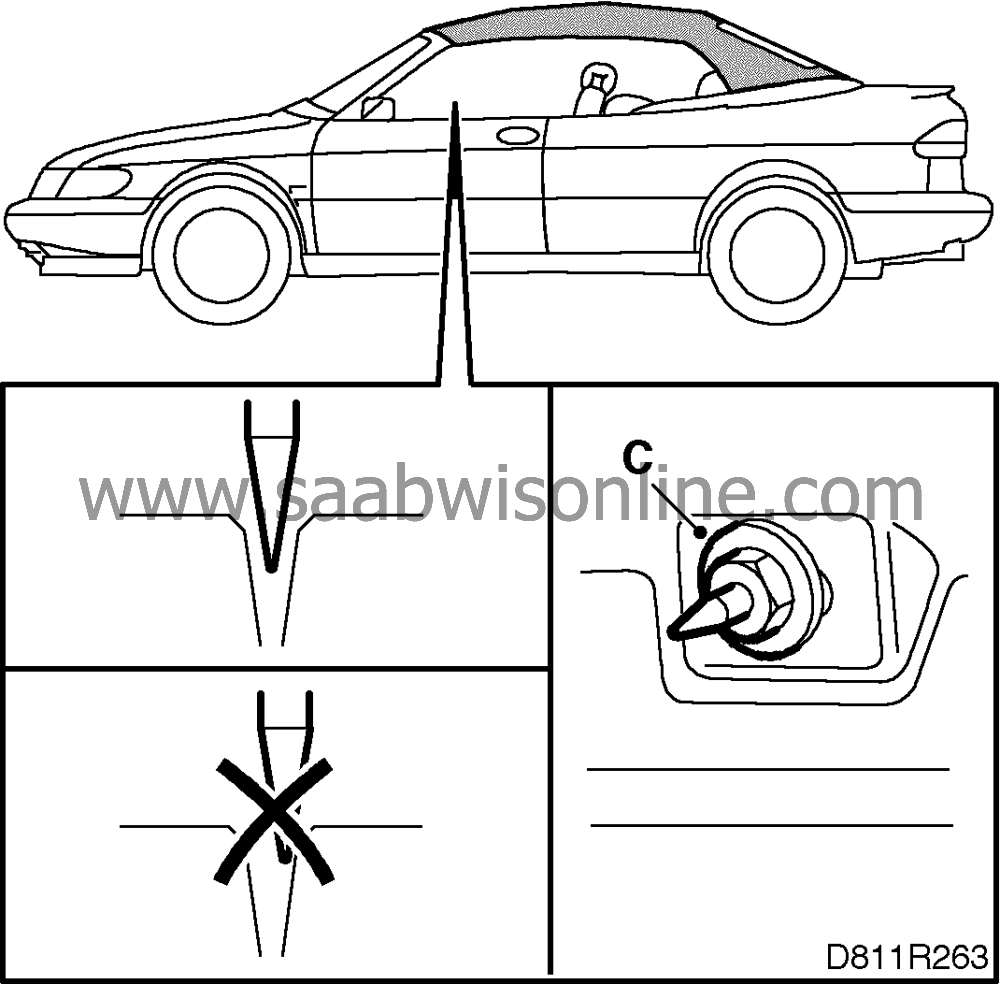
The left-hand locating stud must be adjusted correctly before the right-hand locating stud is adjusted.
Adjust the right-hand locating stud by loosening the nut securing it to the windscreen frame.
| D Soft top stop position when raised |
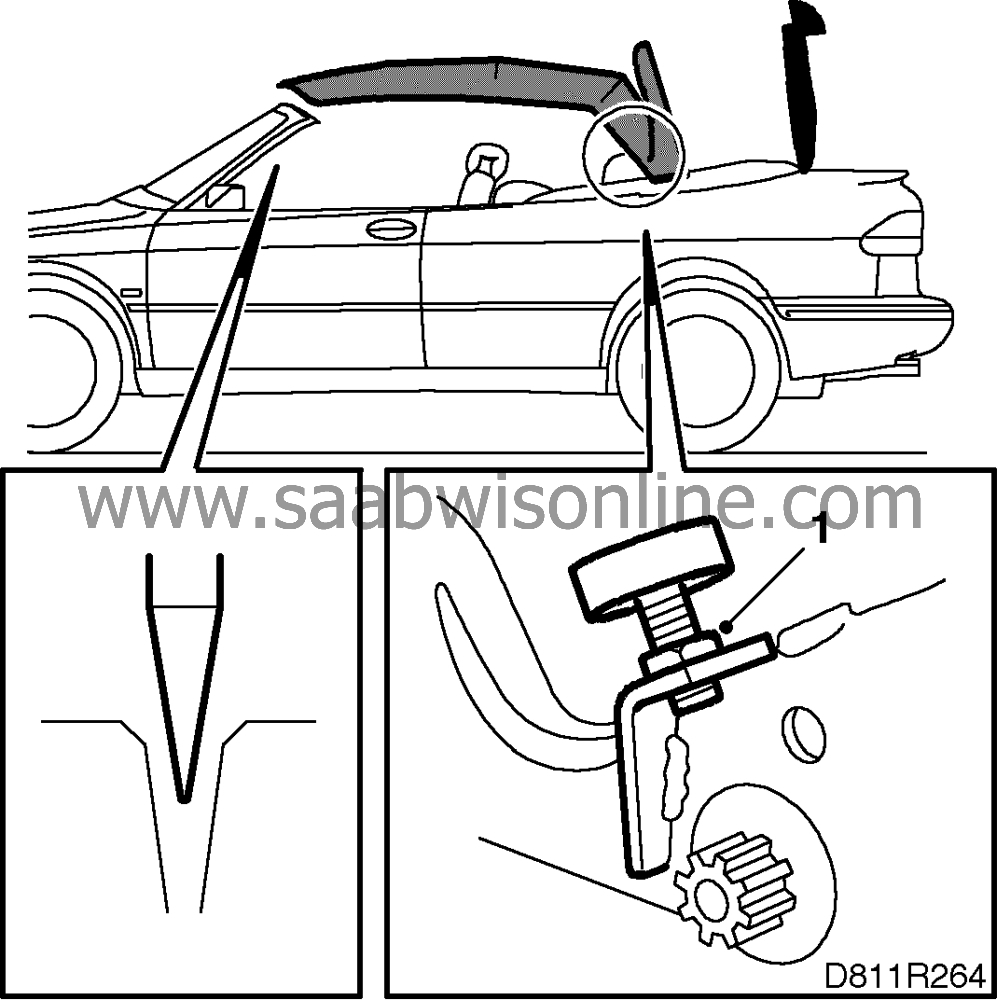
The soft top stop position when raised is the position at which the soft top stops while the soft top cover is closed and the fifth bow is lowered and locked. The stop position is determined by mechanical stops where the soft top is mounted to the body.
| 1. |
Adjust by loosening the lock nut and then turning the stop outwards or inwards.
When correctly adjusted, the soft top will stop before reaching the windscreen frame, so that the end of the locating studs are positioned exactly at the edge of the latch fittings in the windscreen frame. The soft top should be parallel to the windscreen frame. |
|
| 2. |
Connect the diagnostic tool, clear any diagnostic trouble codes and then program the control module. See
 .
.
|
|
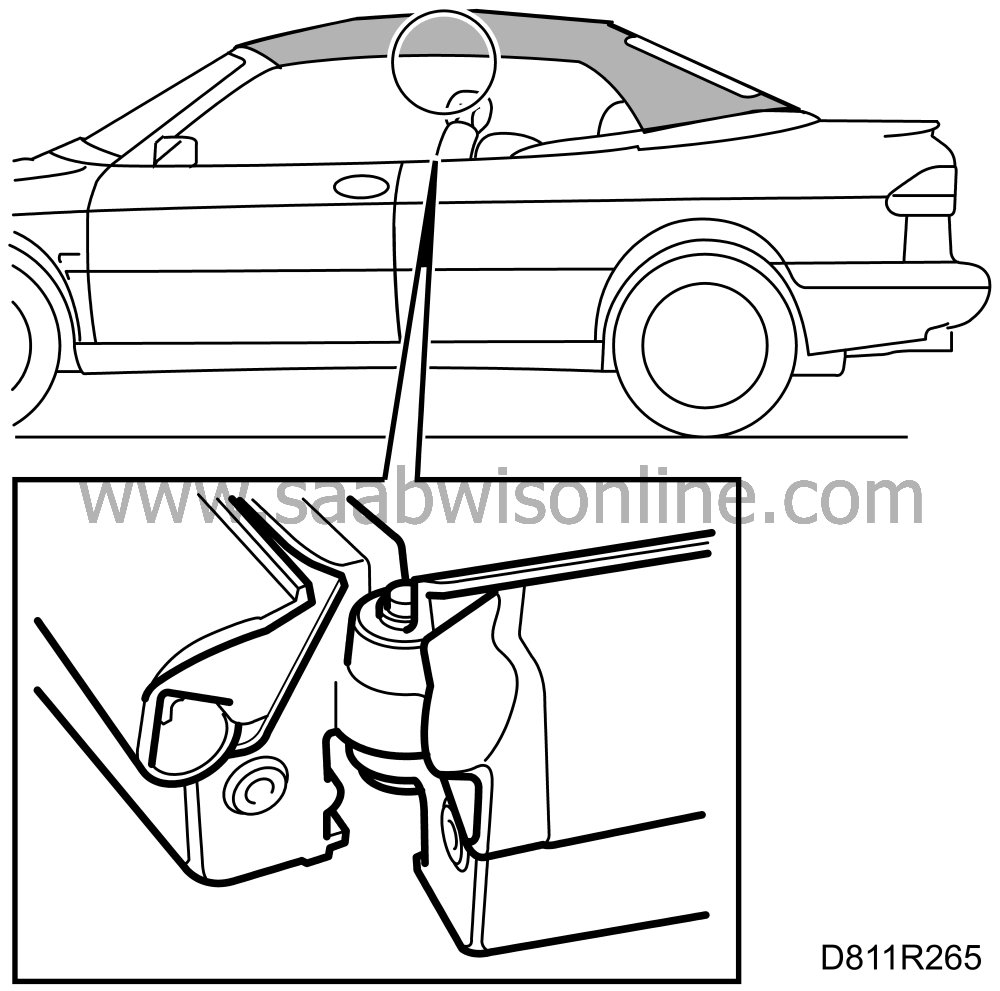
| E Soft top profile/Balance link eccentric |
The side profile of the soft top is adjusted in relation to the door window and the rear side window with the eccentric screw on the bottom balance link arm mounting and a screw in the joint between the front rail and the middle rail.
| 1. |
Operate the soft top with the ROOF button so that it is raised half way up at the same time as the soft top cover is standing straight up. The door and side windows must be lowered.
|
|
| 2. |
Screw in the adjusting screw in the first rail.
|
|
| 3. |
Operate the soft top with the ROOF button so that the soft top is raised and the fifth bow and soft top cover are completely raised.

Tip: Make a tool by cutting a TORX 30 to 7 mm and welding it onto a piece of flat iron or similar material. |
|
| 4. |
Loosen the nut.

|
|
| 5. |
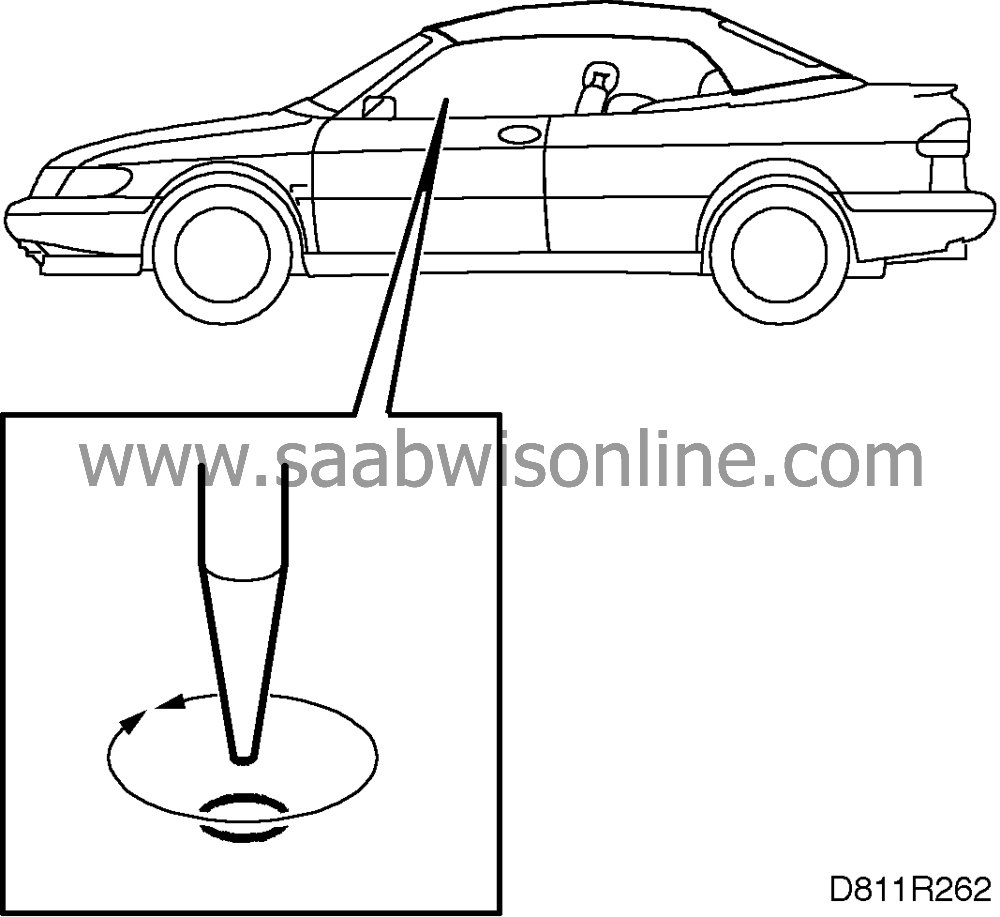
Adjust the eccentric with the special tool or a pair of slip-joint pliers so that the left-hand locating stud is centred in the hole in the windscreen member.
|
||||||||||
| 6. |
Operate the soft top with the ROOF button so that it is raised half way up at the same time as the soft top cover is standing straight up. The door and side windows must be lowered.
|
|
| 7. |
Unscrew the adjusting screw so that it just touches the stop. Check with a piece of paper. The piece of paper should not pass between the screw and the stop.
|
|
| 8. |
Check the profile of the soft top in relation to the door window and rear side windows on both sides. When adjusted correctly, the front rail and the middle rail should not be at an angle to each other. They should form a straight line that follows the line of the door window and the rear side window.
|
||||||||||
| 9. |
Check the position of the stop when raising the soft top and adjust if necessary.
|
|
| 10. |
Connect the diagnostic tool, clear any diagnostic trouble codes and then program the control module. See
 .
.
|
|
| F Locking hooks |
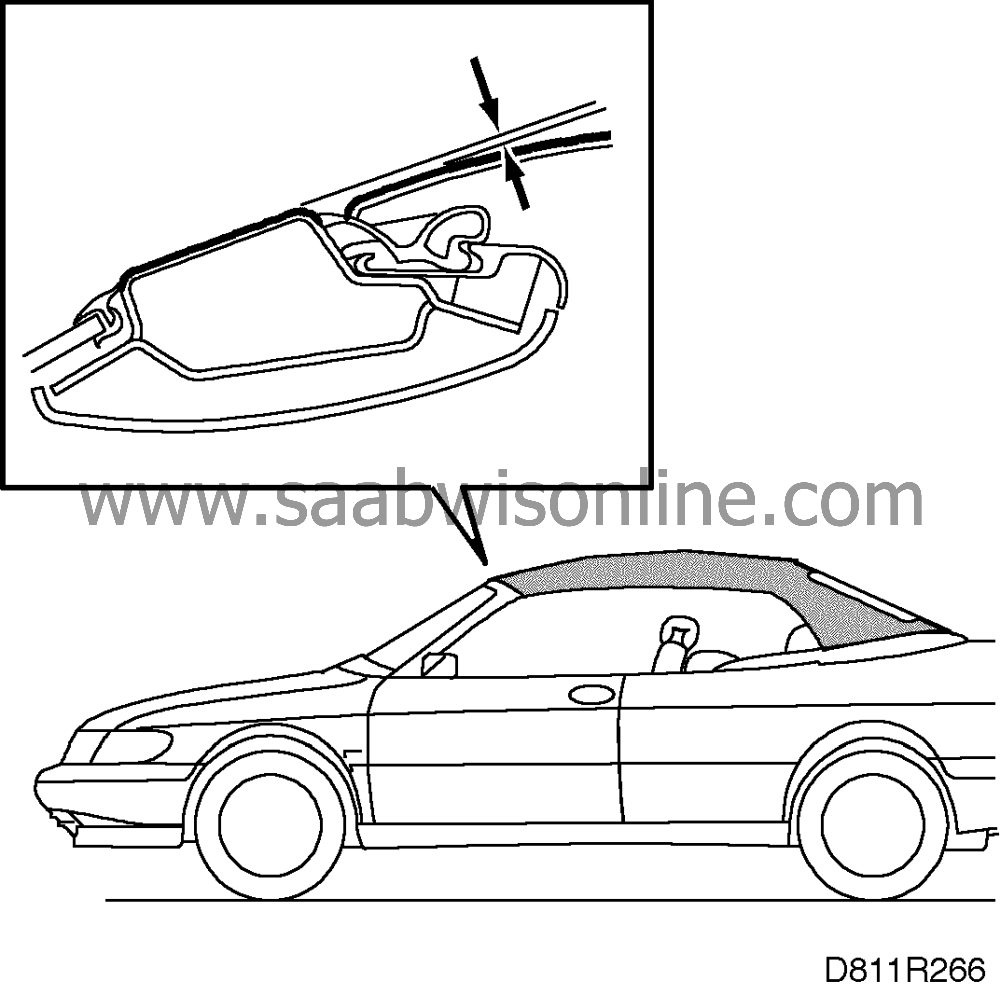
When the soft top is locked to the windscreen member, the top of the outer roof should be even with or just above the windscreen member without requiring abnormal force to close the soft top.
| Important | ||
|
“CHECK HEADER LATCHES” may be displayed on SID while operating the soft top if the locking hooks are adjusted too loosely. |
||
| 1. |
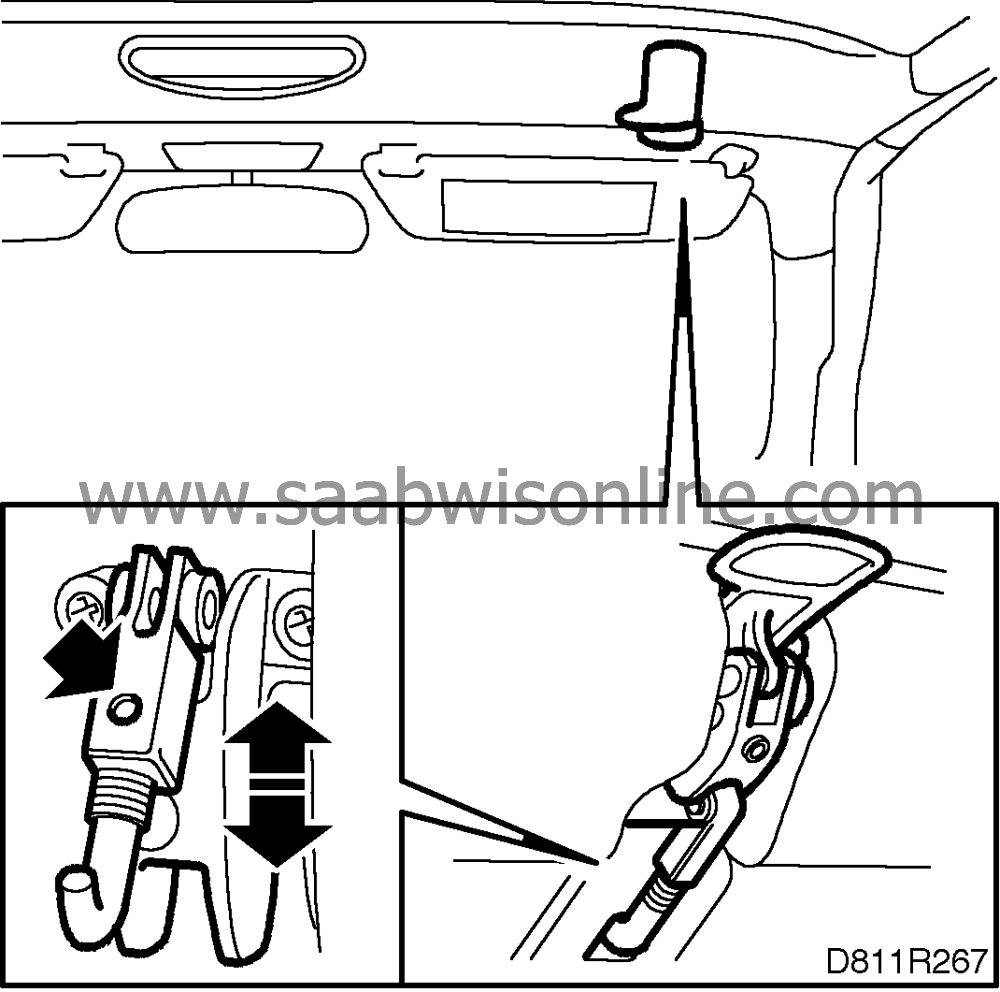
Remove the socket screws securing the hooks.
|
|
| 2. |
Turn the hooks inwards or outwards. Apply threadlocker and then tighten the screws.
|
|
| G Second bow height (raising and stretching the cloth). |
| 1. |
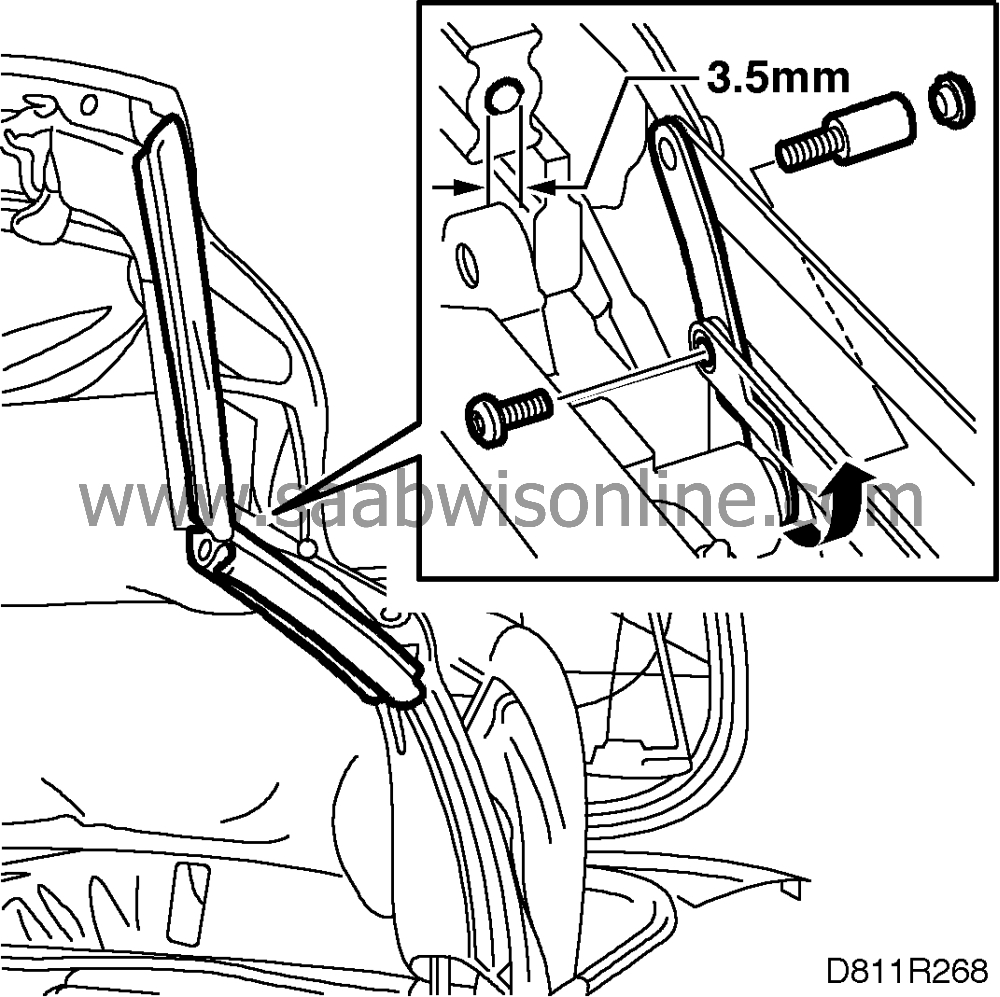
Adjust the second bow by first removing its stop. Then loosen two of the linkage screws and lift up the link so that it will be easier to get at with a drill. Drill the hole for the stop with a 3.5 mm drill, 12 mm deep.
|
|
| 2. |
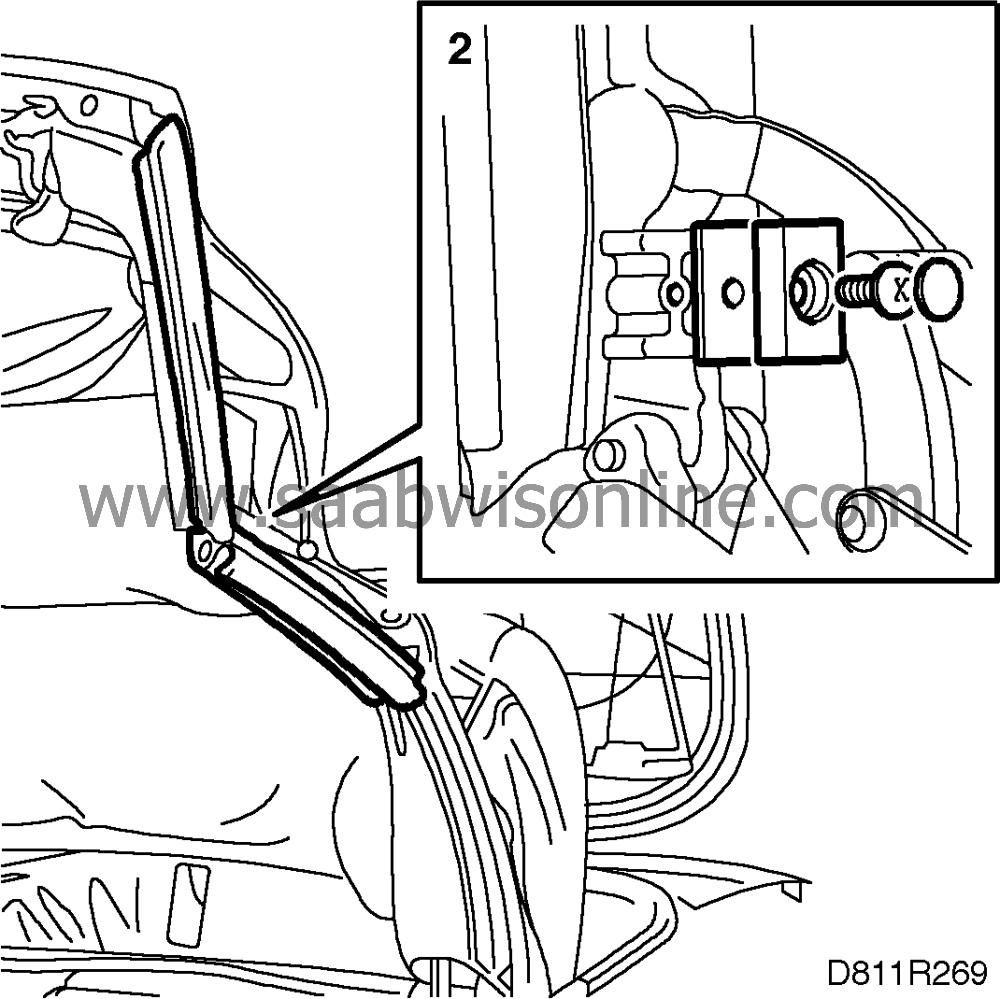
Position the square adjustment washer. Apply grease to the screw and screw on the stop.
|
|
| 3. |
Glue on the cap.
|
|

