Side impact sensor
| Side impact sensor |
| 1. |
Ignition switch in the OFF position.
|
|
| 2. |
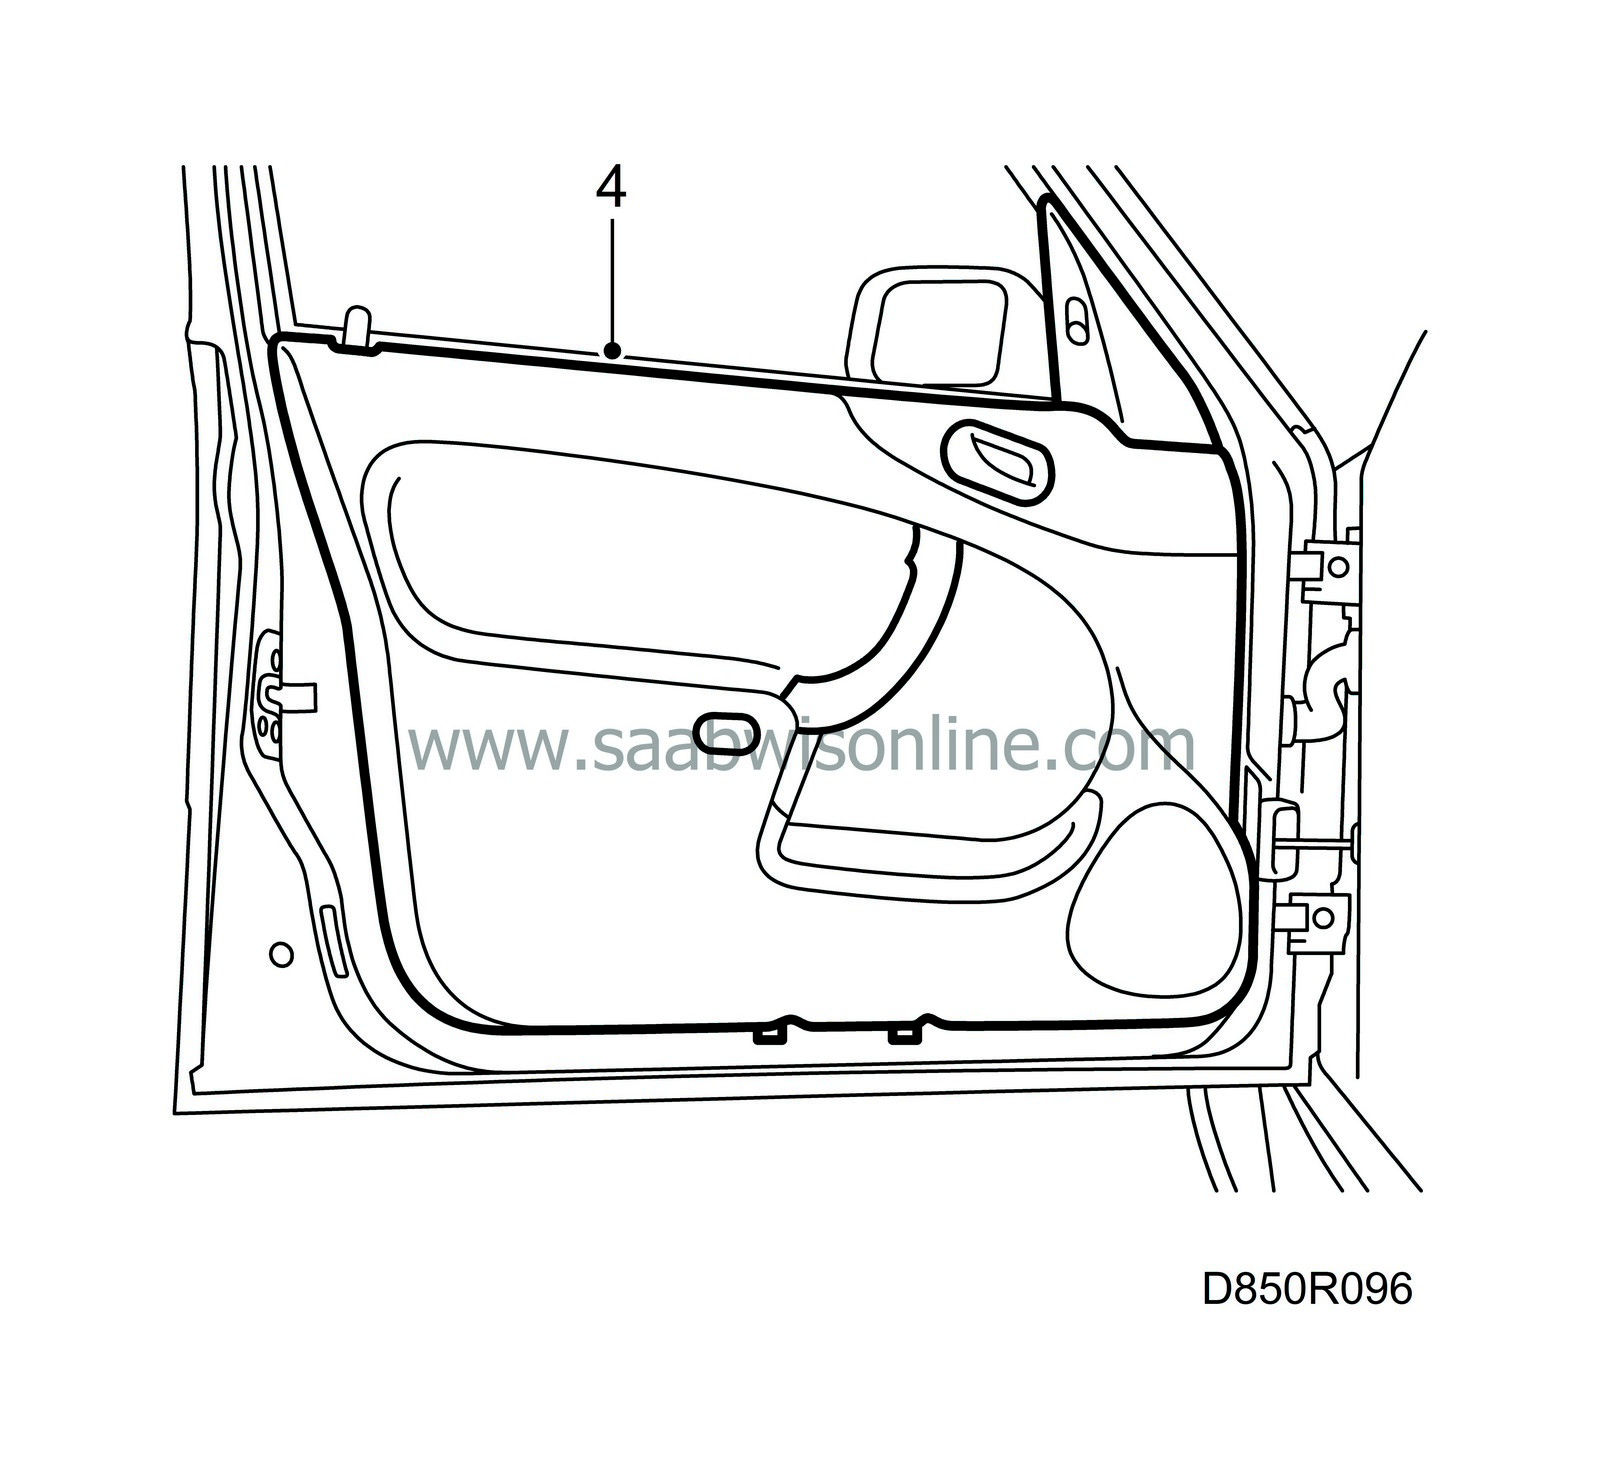
Remove the door trim. See
Door trim, front door
or
Door trim, CV
.
|
|
| 3. |
Carefully remove the moisture barrier.
|
|
| 4. |
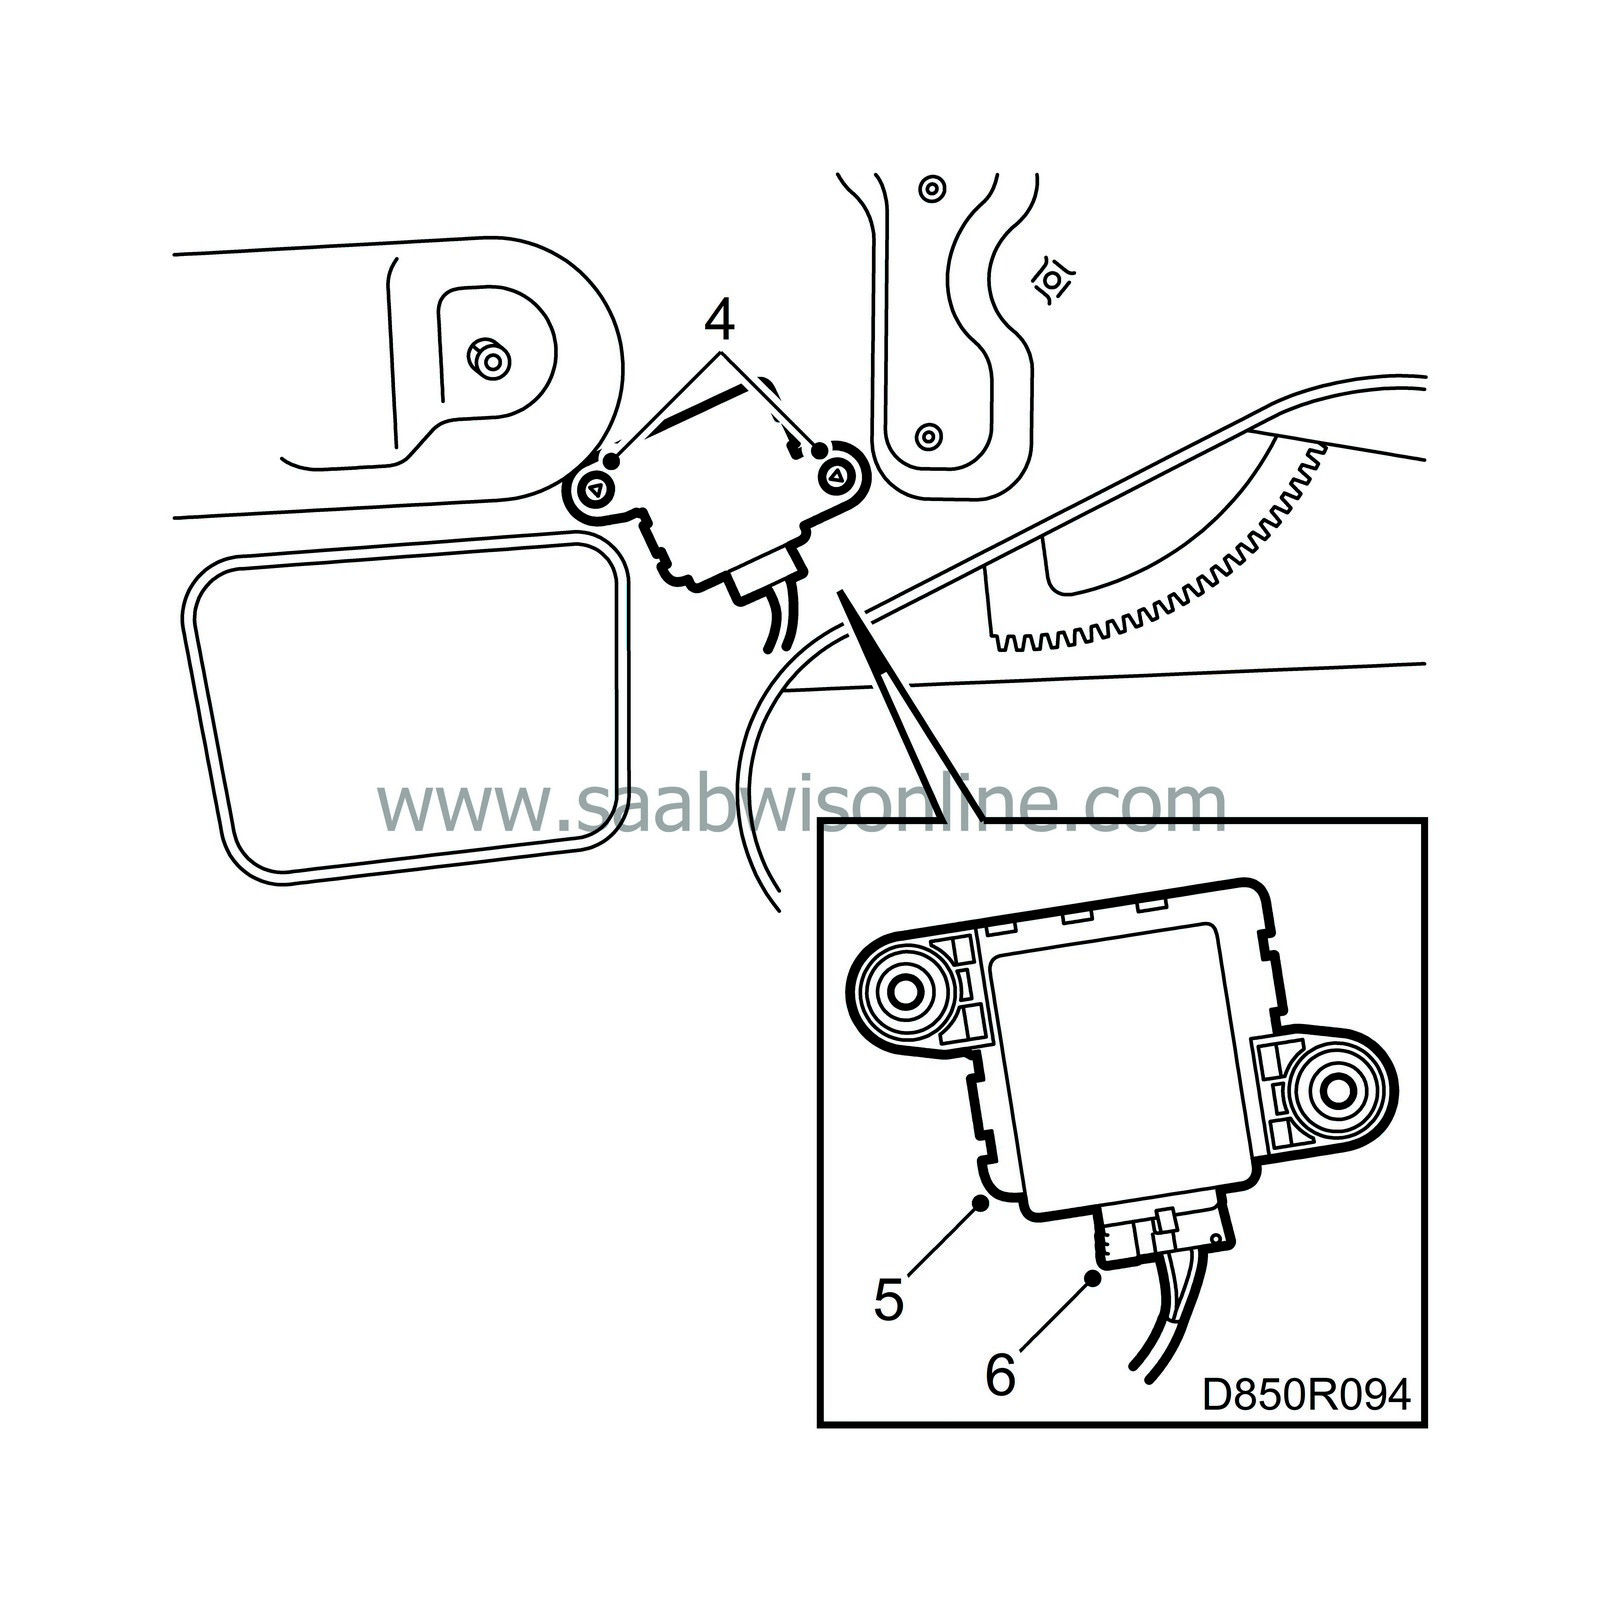
Drill out the rivets and clean out the metal chips.

|
|
| 5. |
Lift the side impact sensor out of the door.
|
|
| 6. |
Unplug the connector from the side impact sensor.
|
|
| To fit |

| 1. |
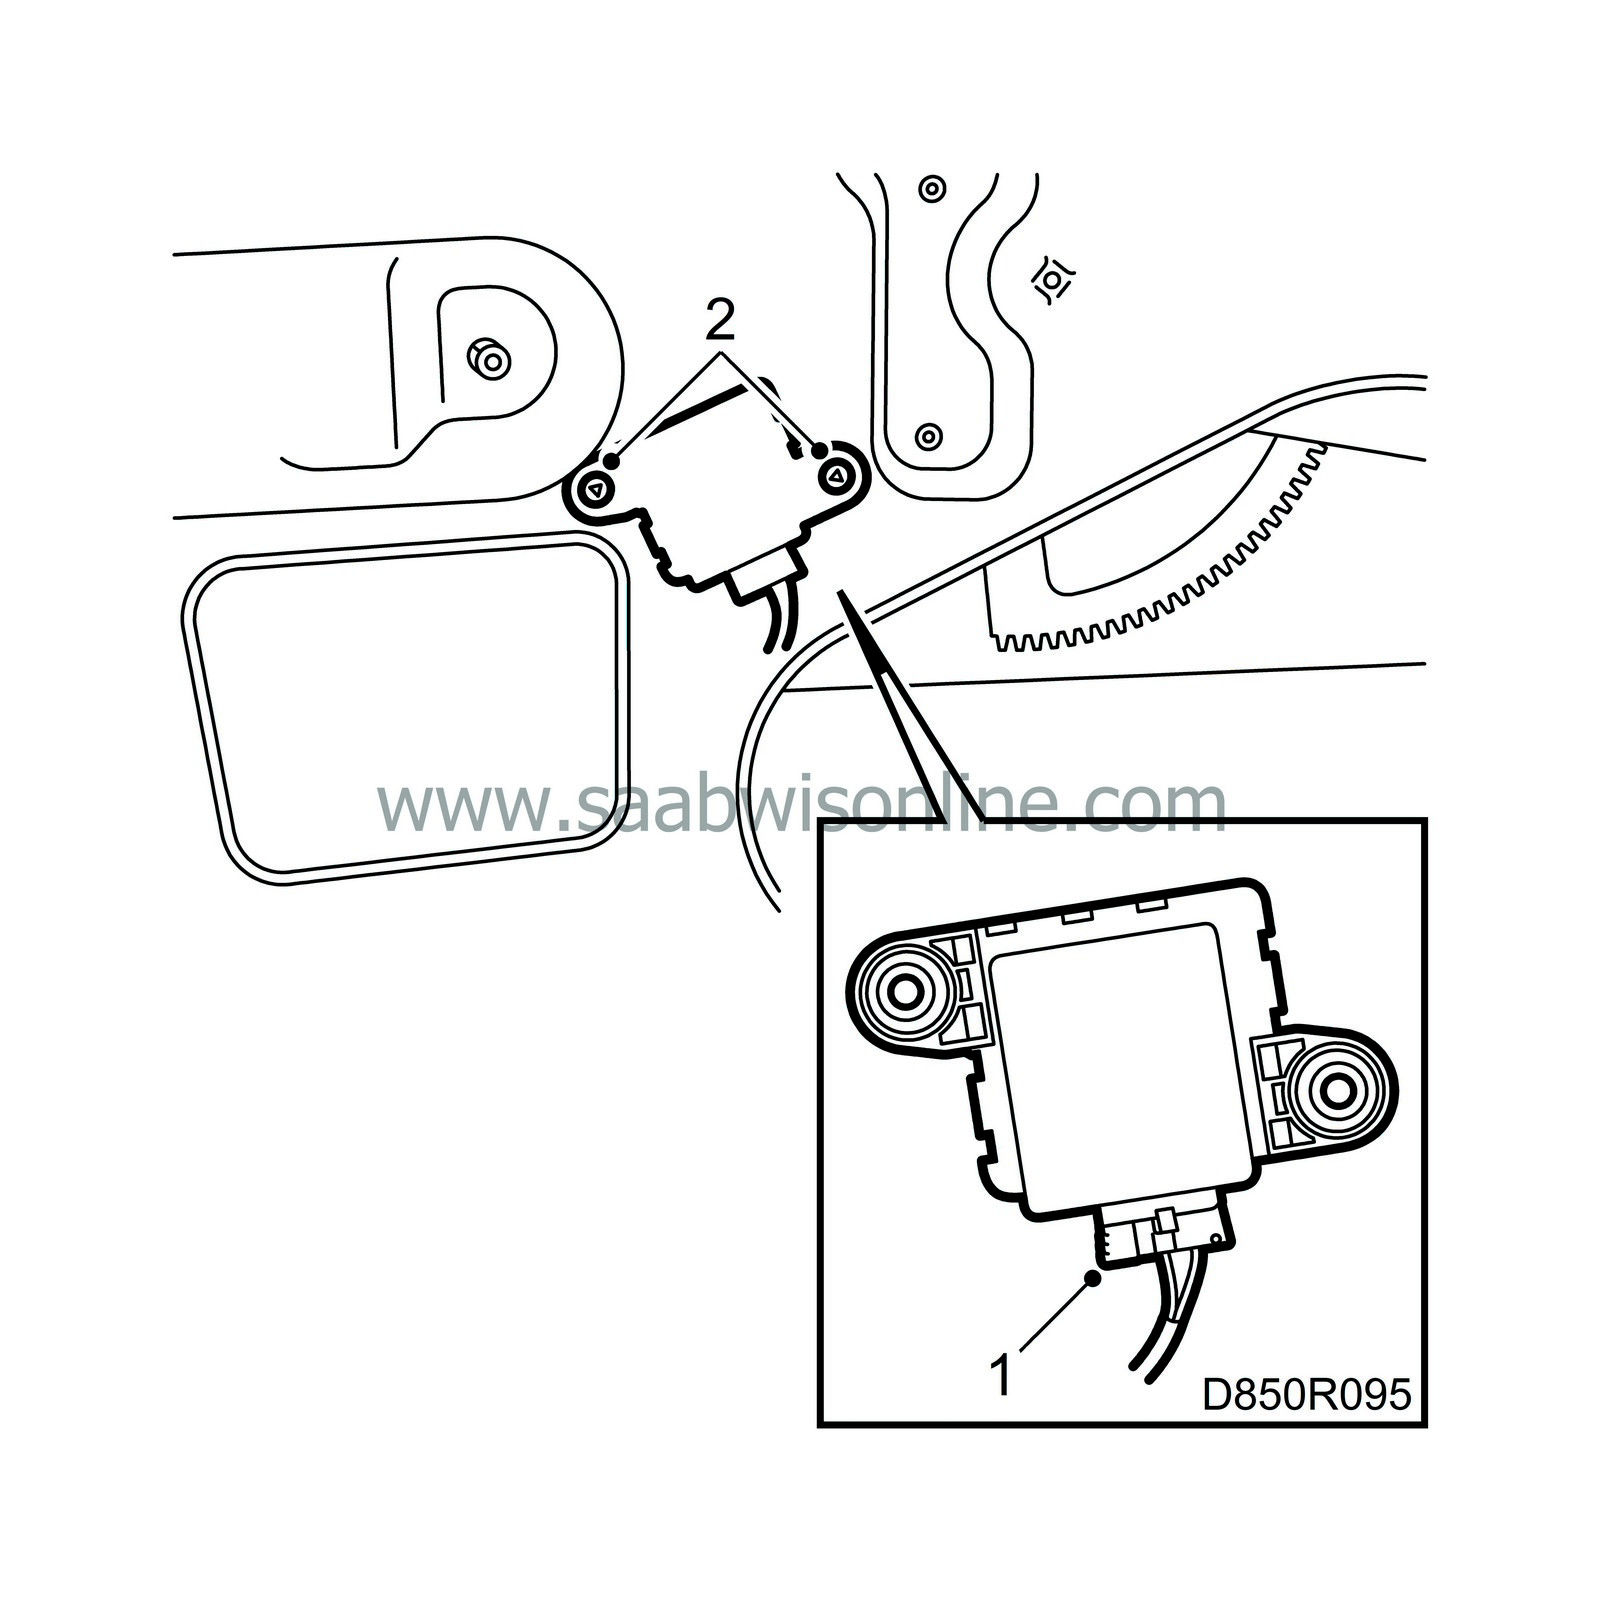
Plug the connector into the side impact sensor.
|
||||||||||||
| 2. |
Fit the side impact sensor with pop rivets in its original position in the door.
|
|
| 3. |
Fit the moisture barrier.
|
||||||||||
| 4. |
Fit the door trim. See
To fit
Door trim, front door or
To fit
Door trim, CV.

|
|
| 5. |
Switch the ignition on and check the SRS system and control module with the diagnostic tool as follows:
Connect the diagnostic tool to the diagnostic socket under the dashboard. Clear any diagnostic trouble codes that are present. Switch the ignition off and on again. Wait for at least 2 minutes with the ignition on. Check whether a diagnostic trouble code is shown: If a diagnostic trouble code is shown: Carry out the relevant fault diagnosis as described under the respective DTC. If no diagnostic trouble code is shown: The installation is successful. Disconnect the diagnostic tool. |
|

 Warning


