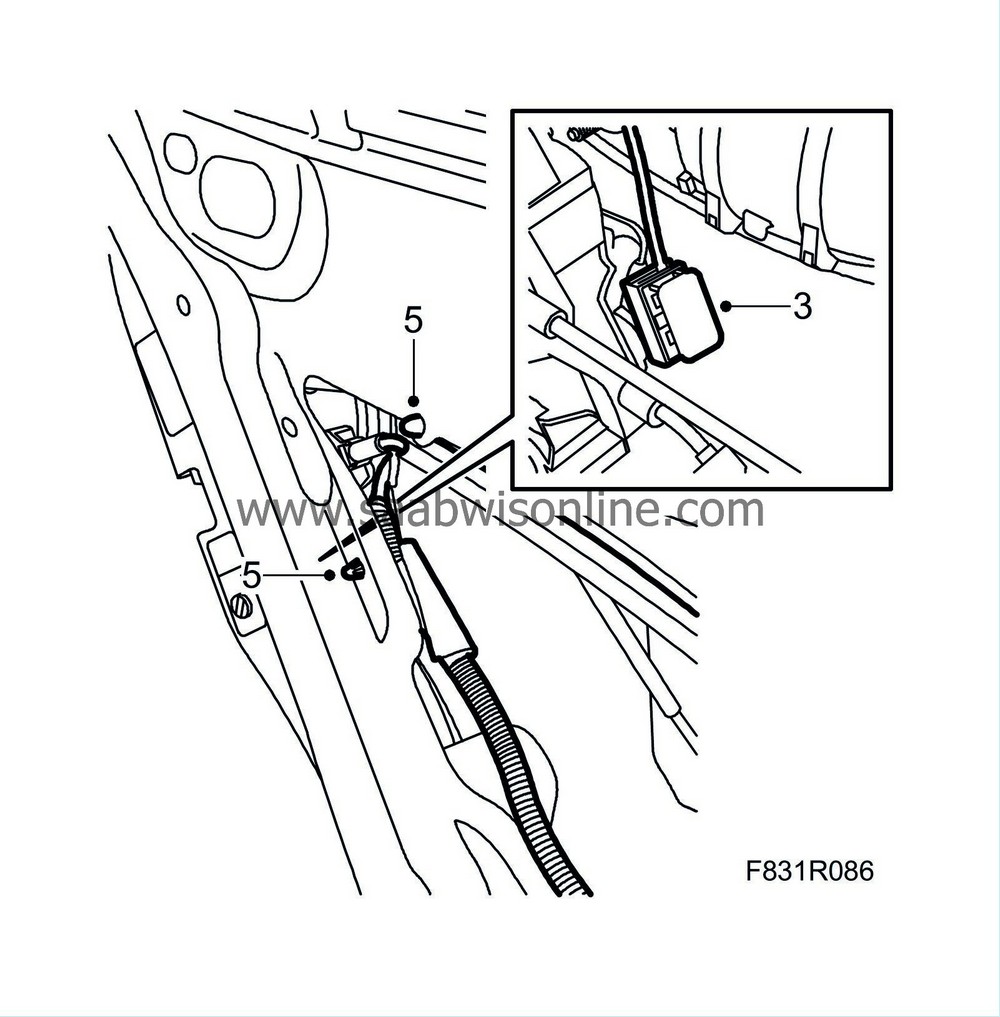
Rear door lock unit
| Rear door lock unit |
| To remove |
| 1. |
Open the window fully.
|
|
| 2. |
Remove
The door trim, rear
and fold down the water barrier.
|
|
| 3. |
Remove the
Rear window frame cover
.
|
|
| 4. |
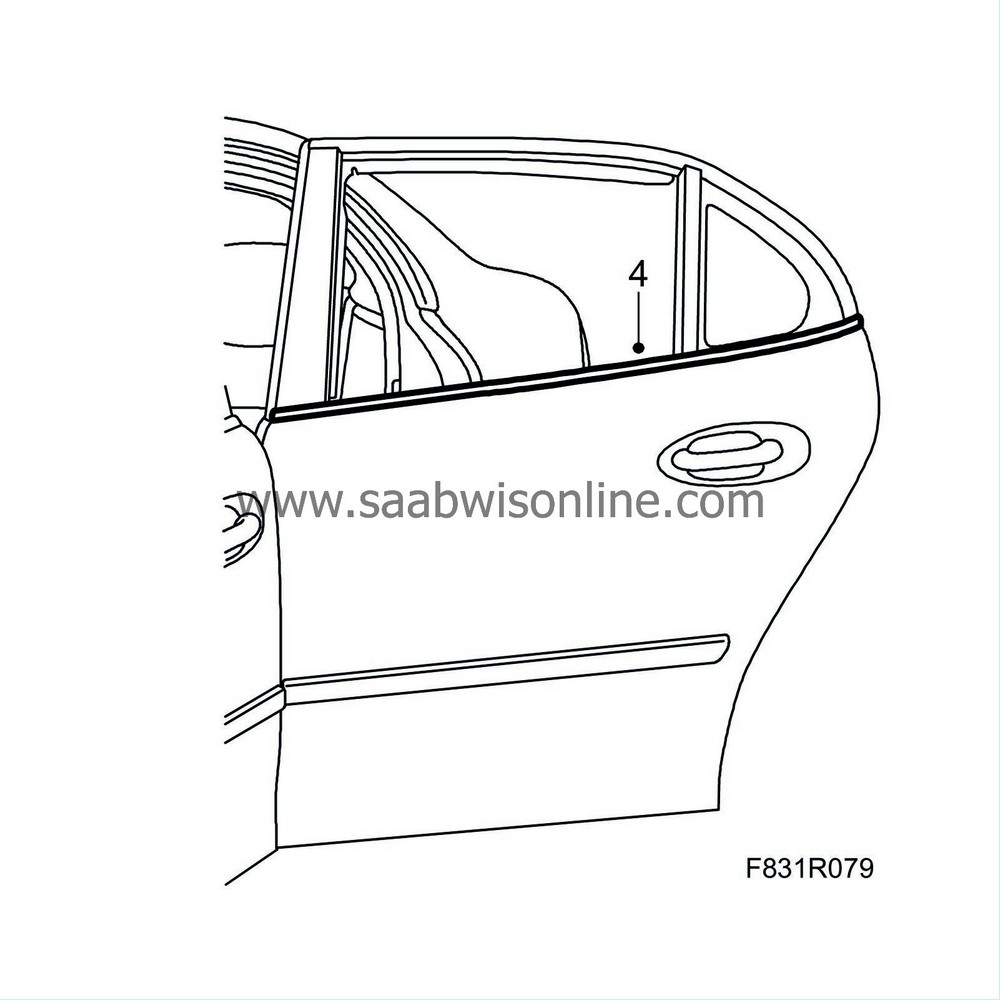
Remove the outer weatherstrip by using
82 93 474 Removal tool
.
|
|
| 5. |
Pull the front U-moulding up from the glass channel.

|
|
| 6. |
Remove the screws on the front glass channel.
|
|
| 7. |
Loosen the front side strip.
|
|
| 8. |
Lift away the front glass channel.
|
|
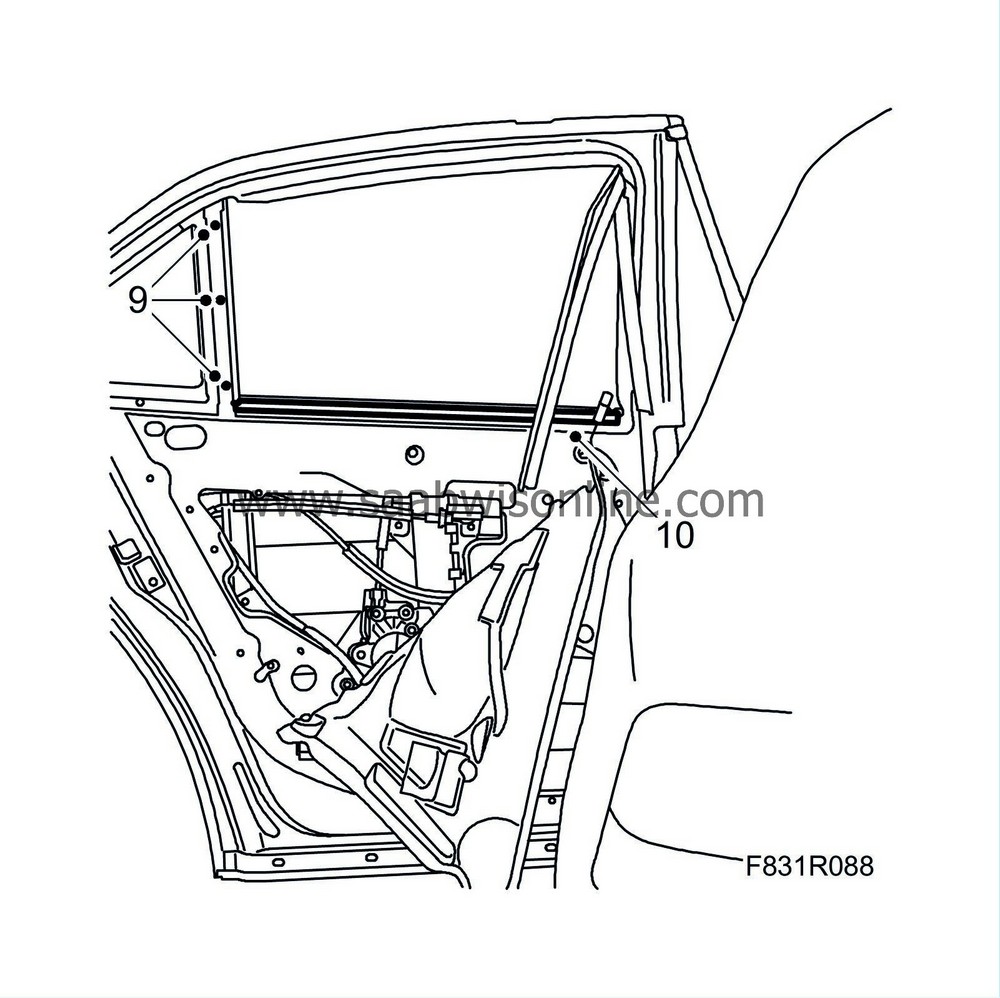
| 9. |
Raise the window so that you can access the window screws. Remove the window screws.
|
|
| 10. |
Lift out the window.
|
|
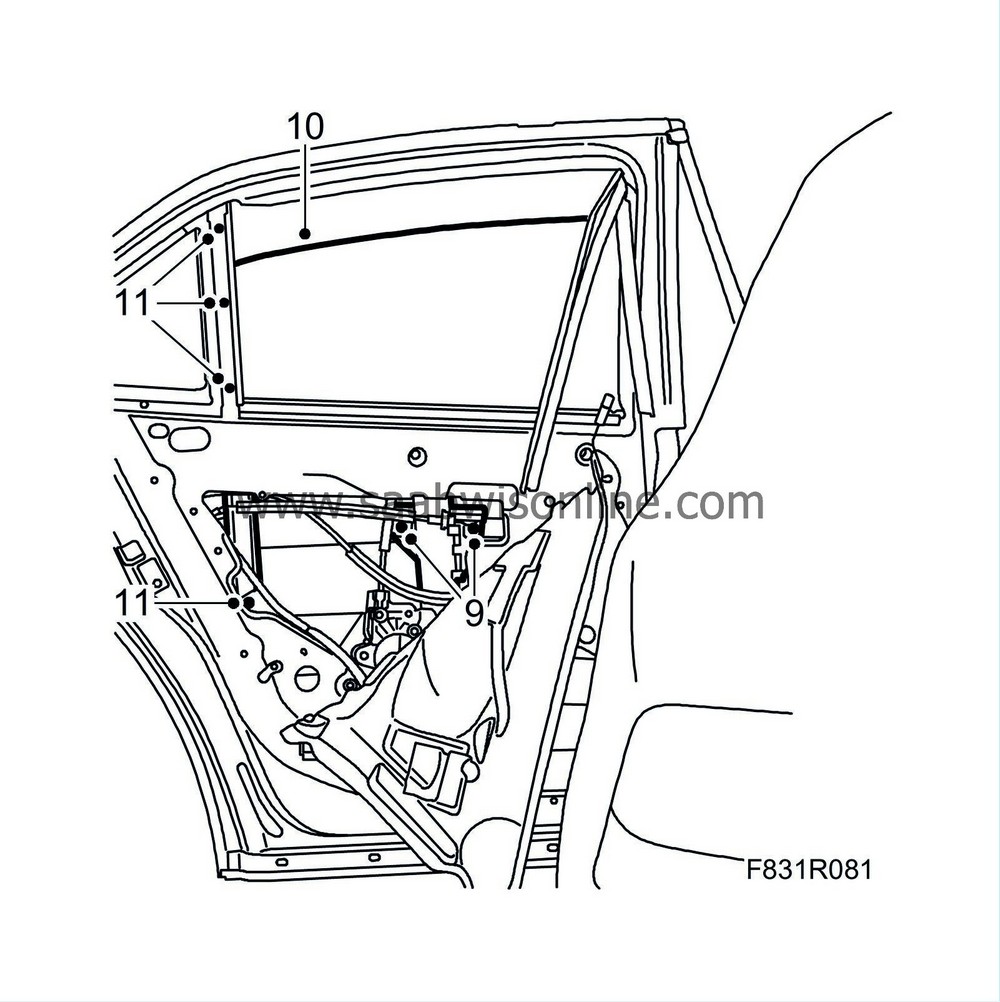
| 11. |
Remove the rear glass channels screws.
|
|
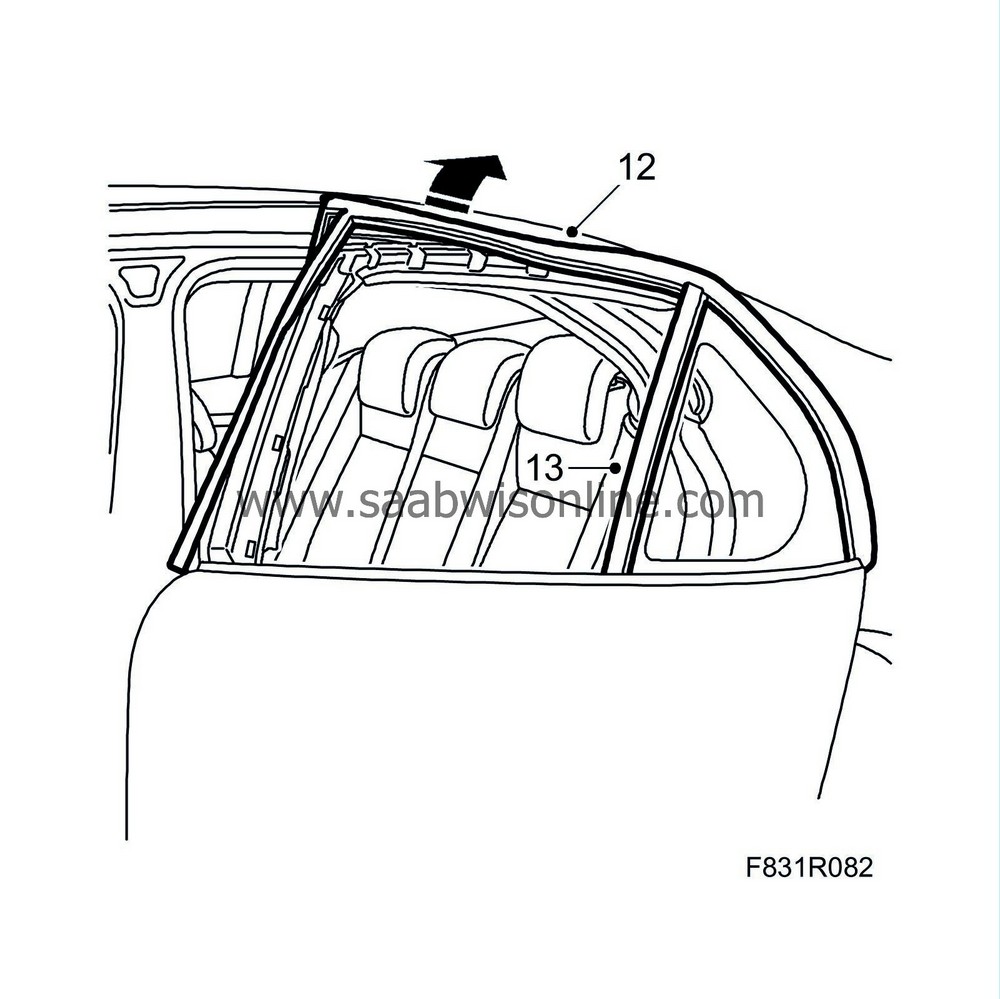
| 12. |
Remove the entire upper rubber moulding.
|
|
| 13. |
Remove the rear glass channel together with the rubber moulding.
|
|
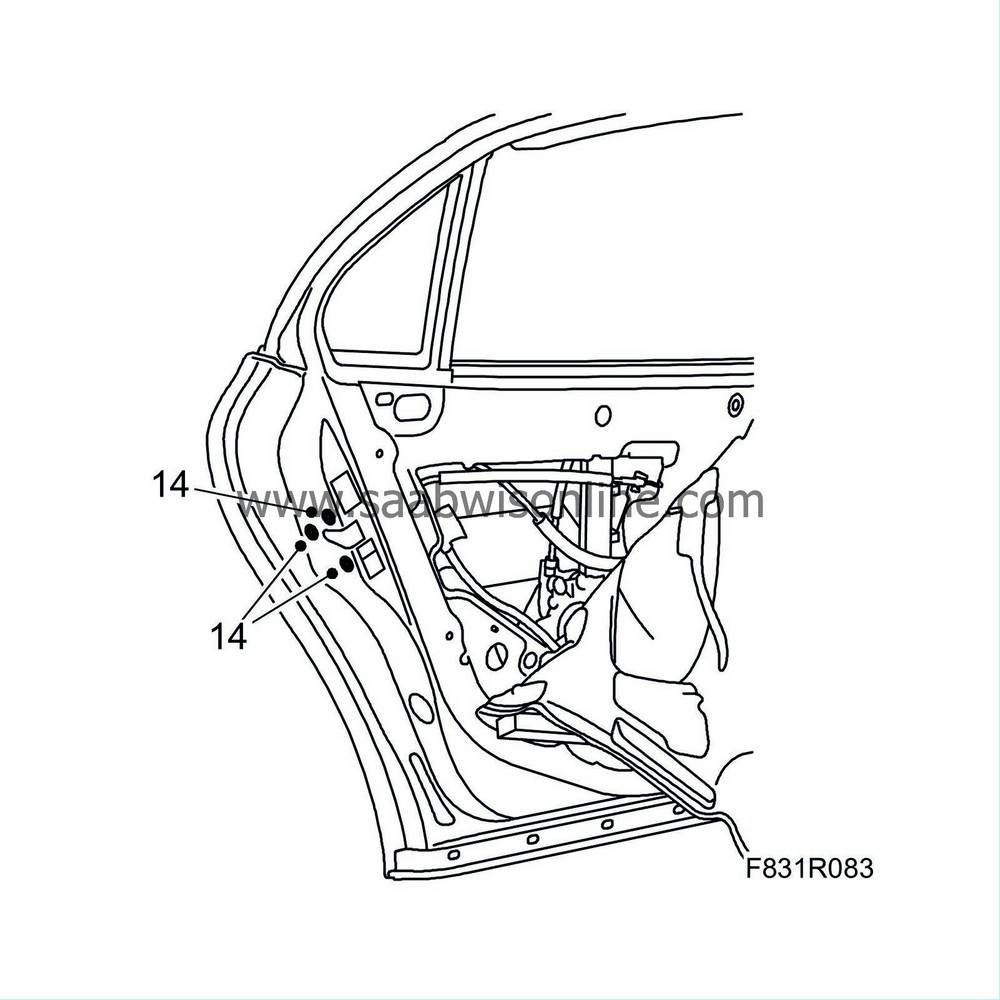
| 14. |
Remove the lock's screws
|
|
| 15. |
Undo the cable harness and lock wire clips

|
|
| 16. |
Cars up to and including Vehicle Identification Number 31030983:
Detach the lock cover to the lock rod.
|
|||||||
| 17. |
Cars from and including Vehicle Identification Number 31030984:
Detach the lock cover to the handle rod.

|
|
| 18. |
Detach the lock rod from the clip. Turn aside the wires and lift out the lock.
|
|
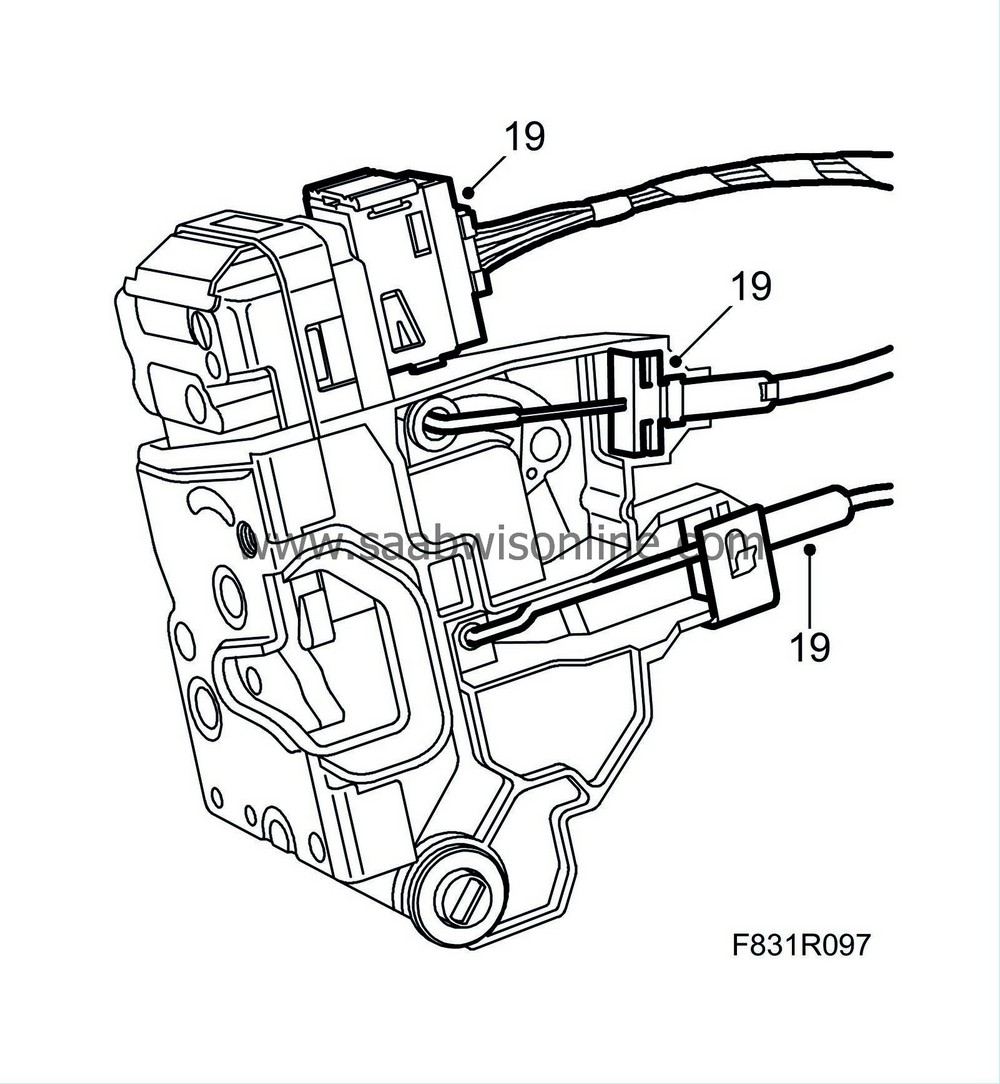
| 19. |
Separate the connector and undo the wires.
|
|
| To fit |
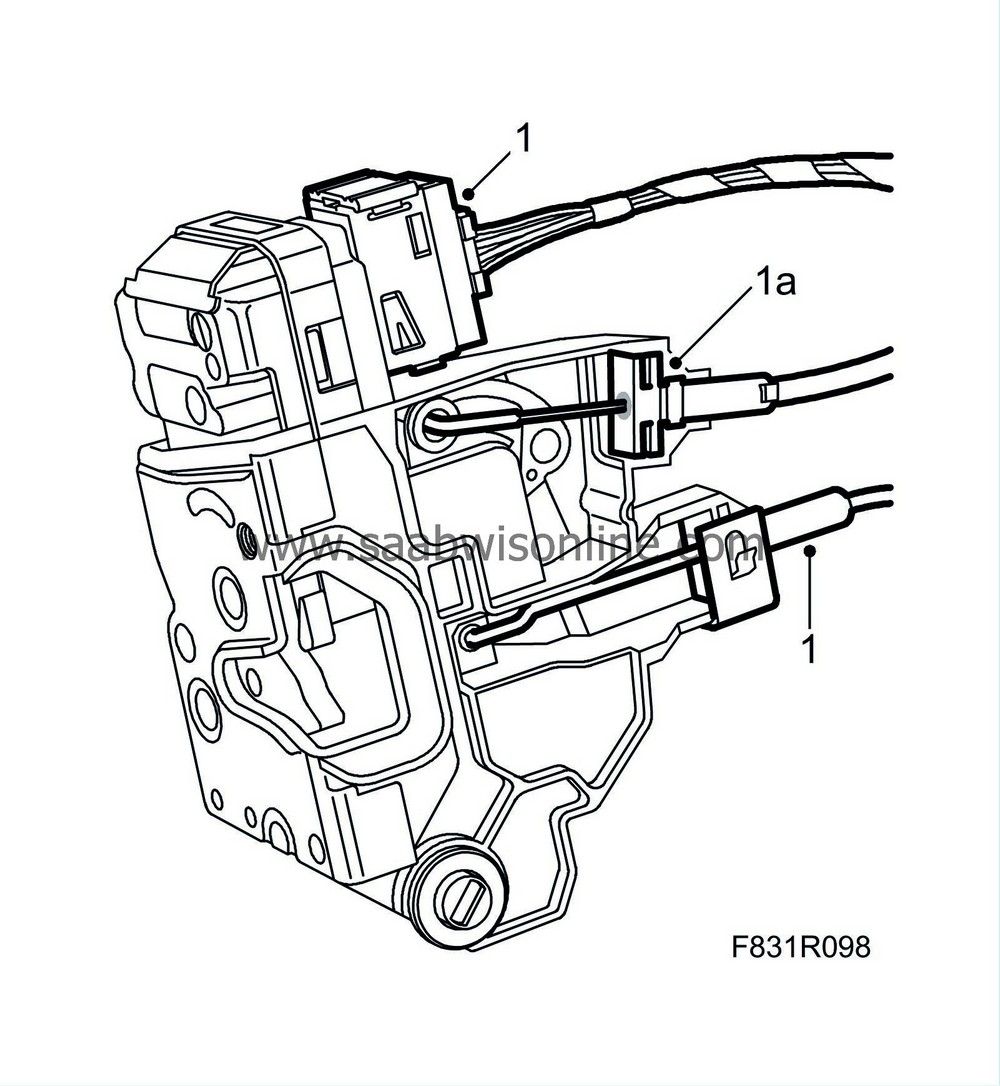
| 1. |
Plug in the lock connector and fit the wires.
|
|
| 1.a. |
To prevent icing, apply
82 93 243 Low temperature grease
as illustrated. The lock should be in the unlocked position.
|
| 2. |
Position the lock. Fit the lock's screws.
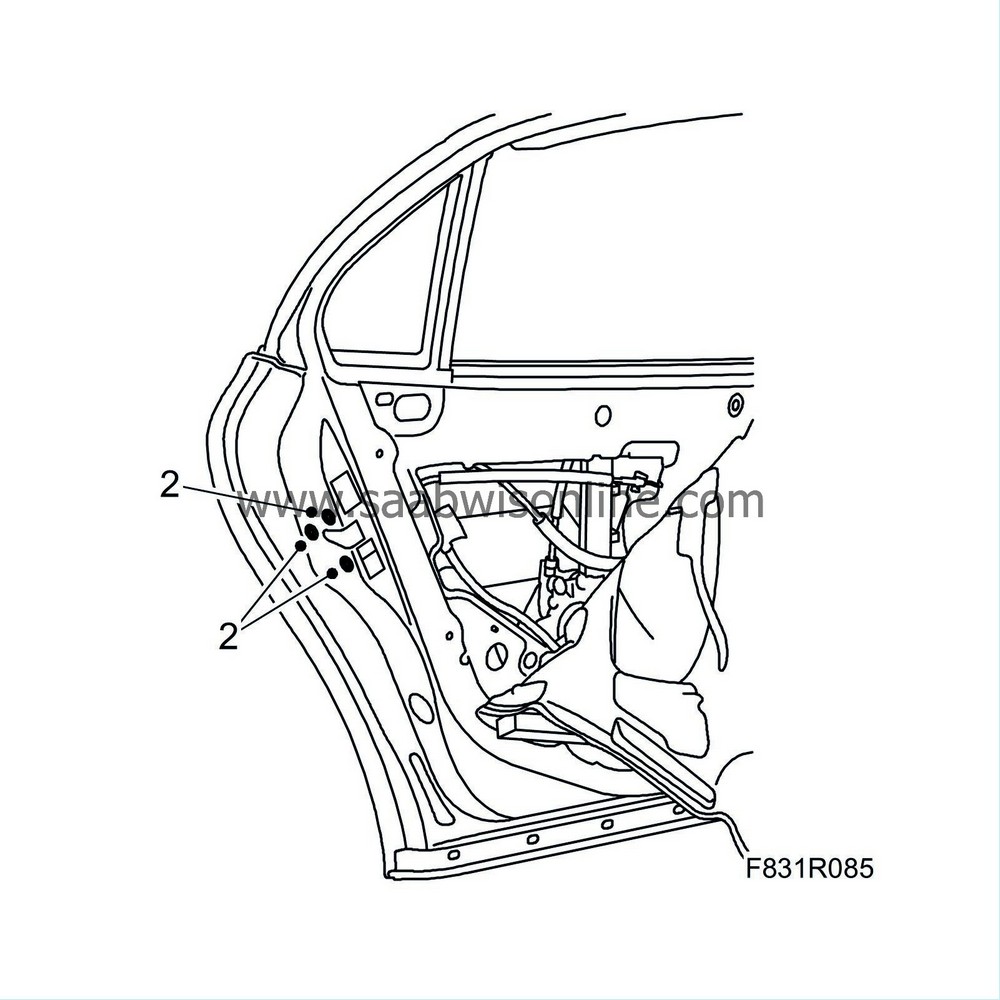
|
|
| 4. |
Cars from and including Vehicle Identification Number 31030984:
Fit the rod in the clip. Close the lock cover to the clip.

|
|
| 5. |
Fit the wiring harness and lock wire clips.
|
|
| 6. |
Position the glass channel together with the rubber moulding. Fit the glass channel's lower screw.

|
|
| 7. |
Fit the moulding over the window frame using
82 93 474 Removal tool
. Start by fitting around the fixed side window. Make sure that the locating lug is aligned with the recess in the moulding.
|
|
| 8. |
Push the moulding from the outside so that it fits against the fixed side window. Make sure the moulding's inner flap lies over the door's metal flange.
|
|
| 10. |
Remove the inner weatherstrip.
|
|
| 11. |
Fit the side window by angling it in towards the rear U-strip and pressing down the window towards the brackets.
Make sure the window lies against the rear U-strip. Fit the window's screws. 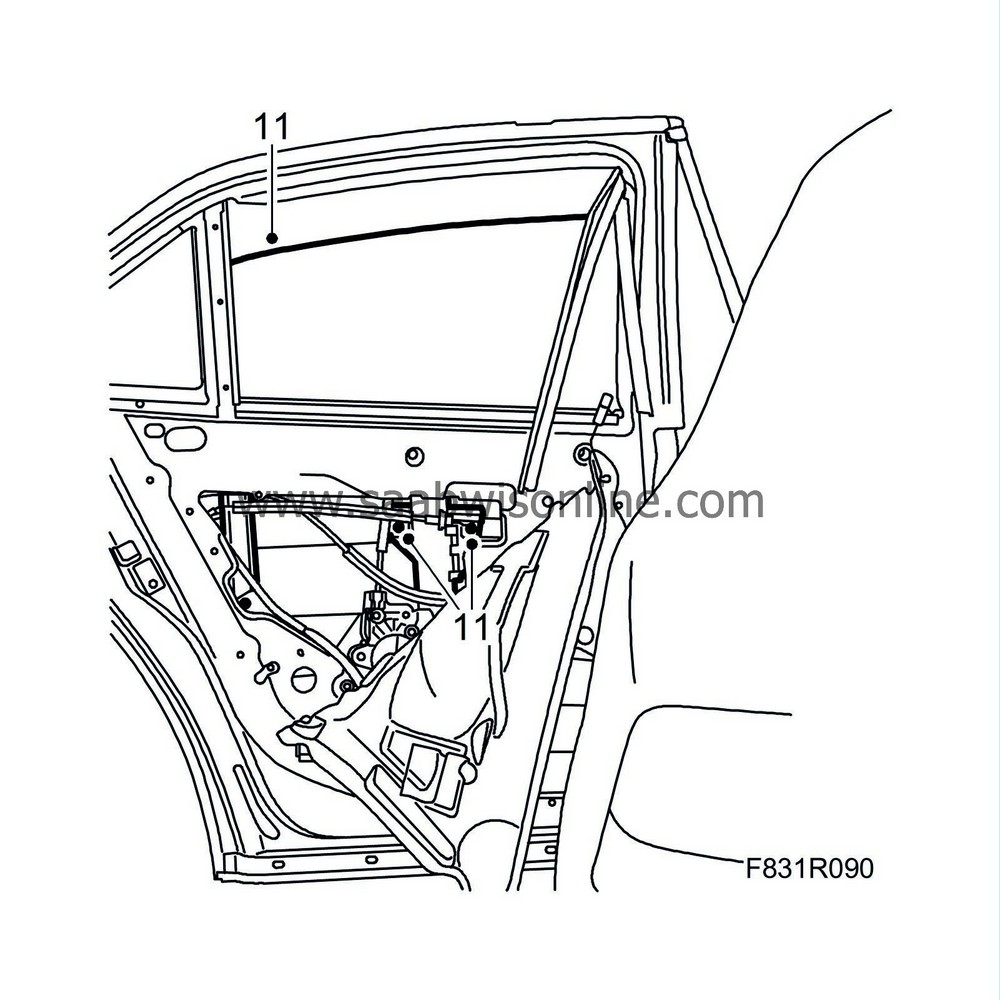
|
|
| 12. |
Open the window fully.
|
|
| 13. |
Fit the front glass channel.

|
|
| 14. |
Fit the front moulding. Make sure the lower part fits against the door's side strip.
|
|
| 15. |
Wind up the window about 5 cm to move the window a little.
|
|
| 16. |
Fit the front U-moulding into the glass channel by pushing it down. Help by moving the window backward a little. Wind down the window fully and fit the remaining bit of the moulding. Press in the moulding towards the glass channel. Check the function of the window.
|
|
| 17. |
Fit the inner and outer weatherstrip.
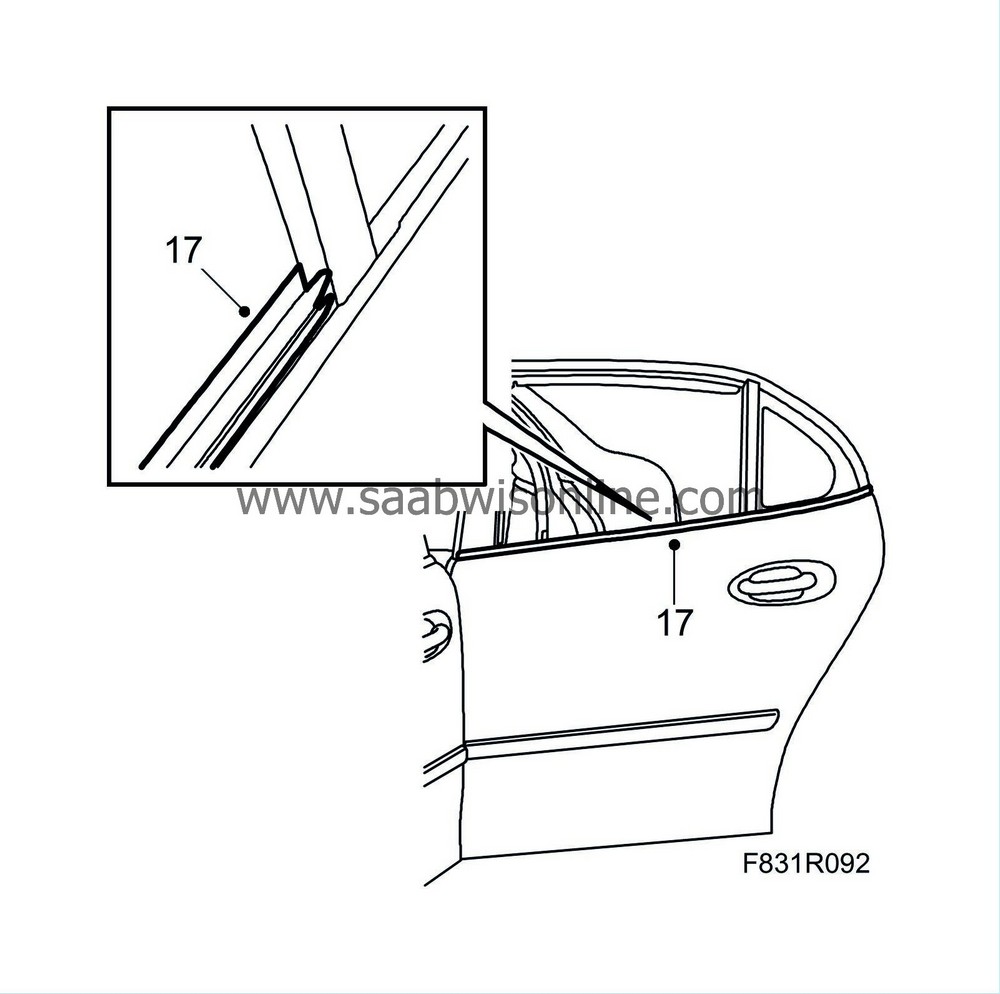
|
|
| 18. |
Check the function of the lock.
|
|
| 19. |
Fit the water barrier,
door trim, rear
and
window frame cover, rear
.
|
|
| 20. |
Cars with pinch protection:
Perform
Programming of the pinch protection
.
|
|

