Pinston rings, replacing
| Pinston rings, replacing |
(in-situ)
| To remove |
| 1. |
Remove
Cylinder head
.
Fit the right-hand engine mounting. Following which, remove the jack and wood block under the oil sump. 
|
|
| 2. |
Pull up the dipstick pipe from the oil sump.
|
|
| 3. |
Remove any burrs and carbon deposits from the tops of the cylinders.
|
|
| 4. |
Raise the car.
|
|
| 5. |
Place a receptacle under the car and drain the engine oil.
|
|
| 6. |
Fit the oil plug with a new seal.
Tightening torque 25 Nm (18 lbf ft) |
|
| 7. |
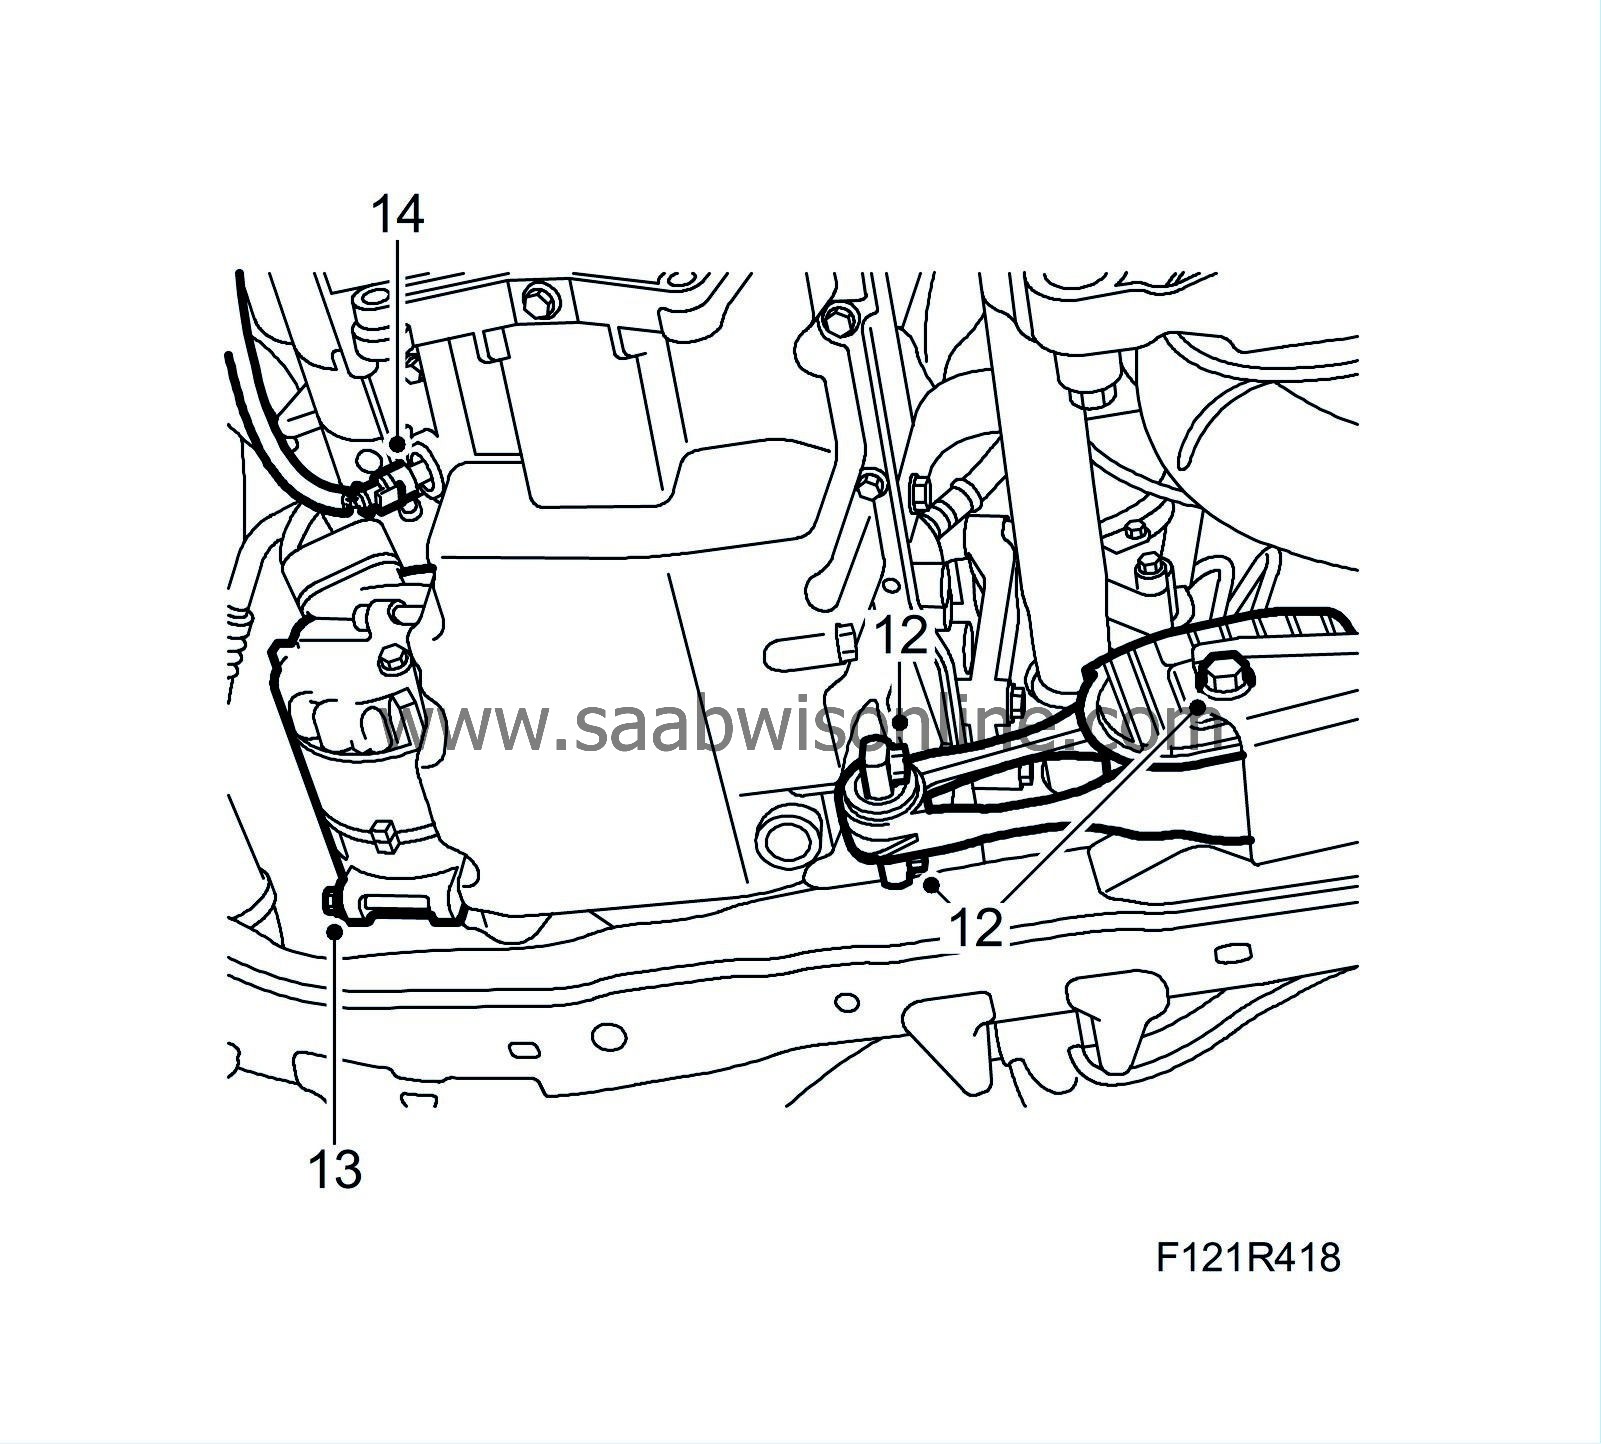
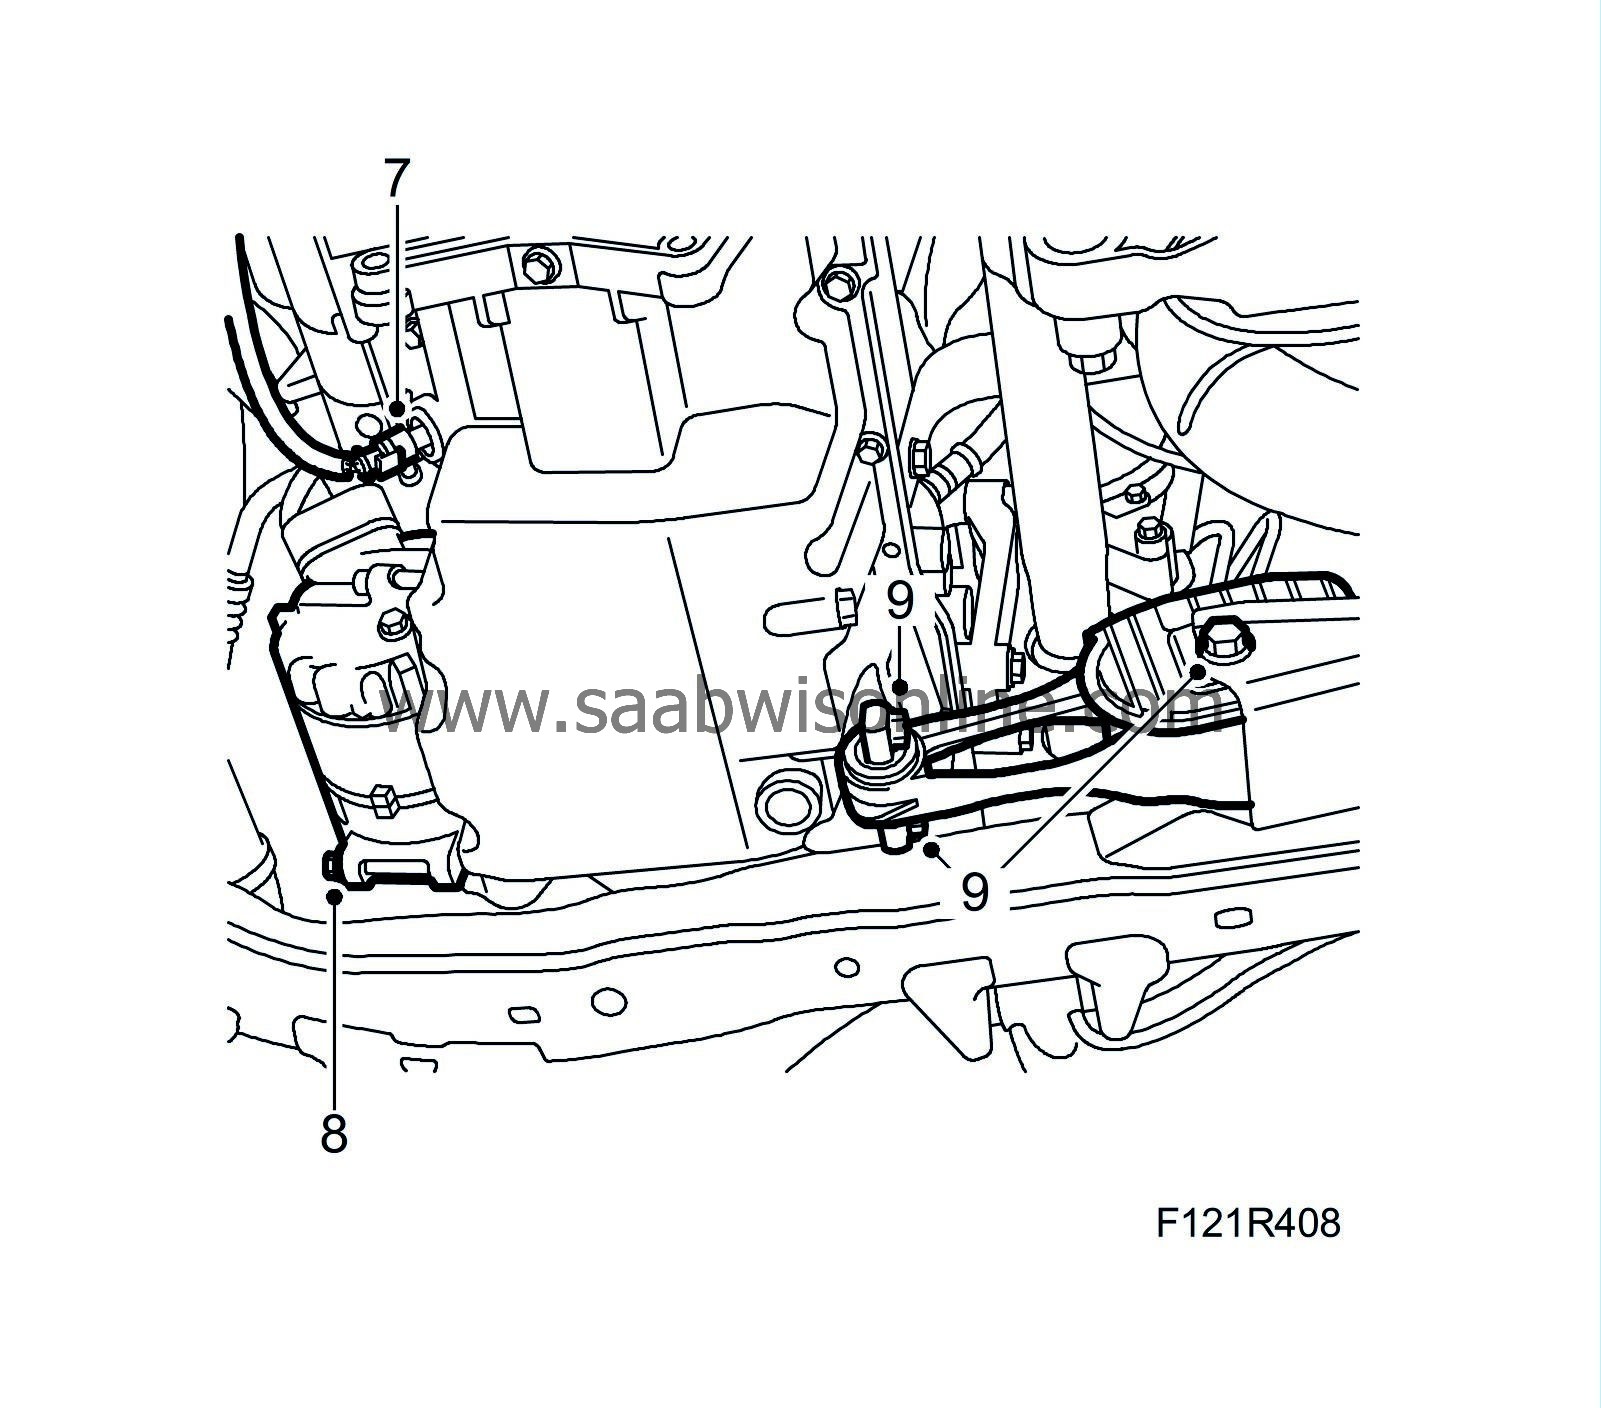
Unplug the oil level sensor connector.
|
|
| 8. |
Remove the lower fixing bolt for the A/C compressor.
|
|
| 9. |
Up to M04 inclusive:
Undo the rear torque arm bolt and remove the front bolts.
|
|
| 10. |
Remove the oil pan fixing bolts.

|
|
| 11. |
Place a screwdriver between the pan and the timing cover at the AC compressor, and carefully prise the oil sump loose.
|
|
| 12. |
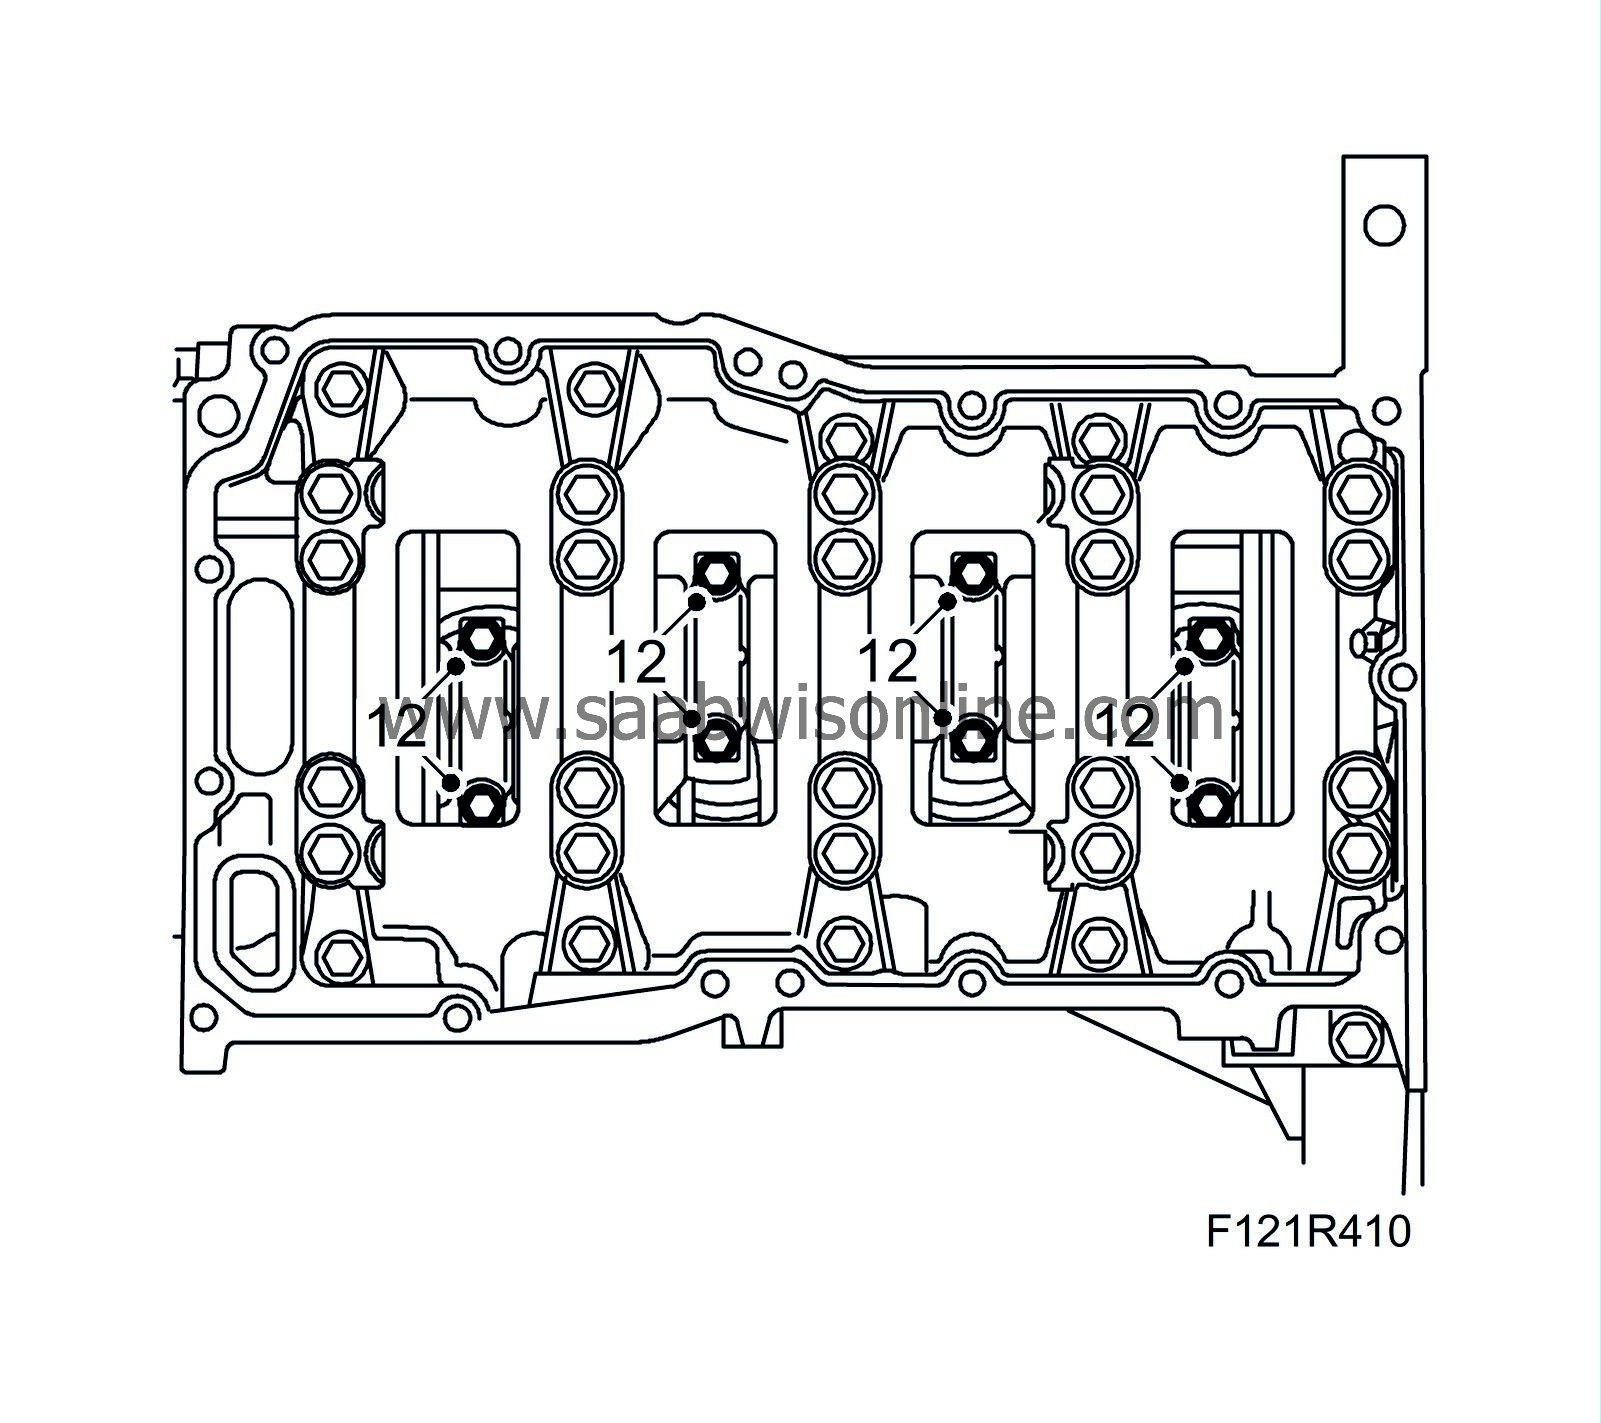
Remove the connecting rods' bearing caps. Push the pistons and connecting rods up out of the cylinder bores.
|
|
| 13. |
Lower the car and carefully lift out the pistons. Note the marking on the pistons and connecting rods so that they can be refitted in their original positions. Fit the bearing shells and bearing caps loosely on the connecting rods so that the parts do not get mixed up.
|
|
| 14. |
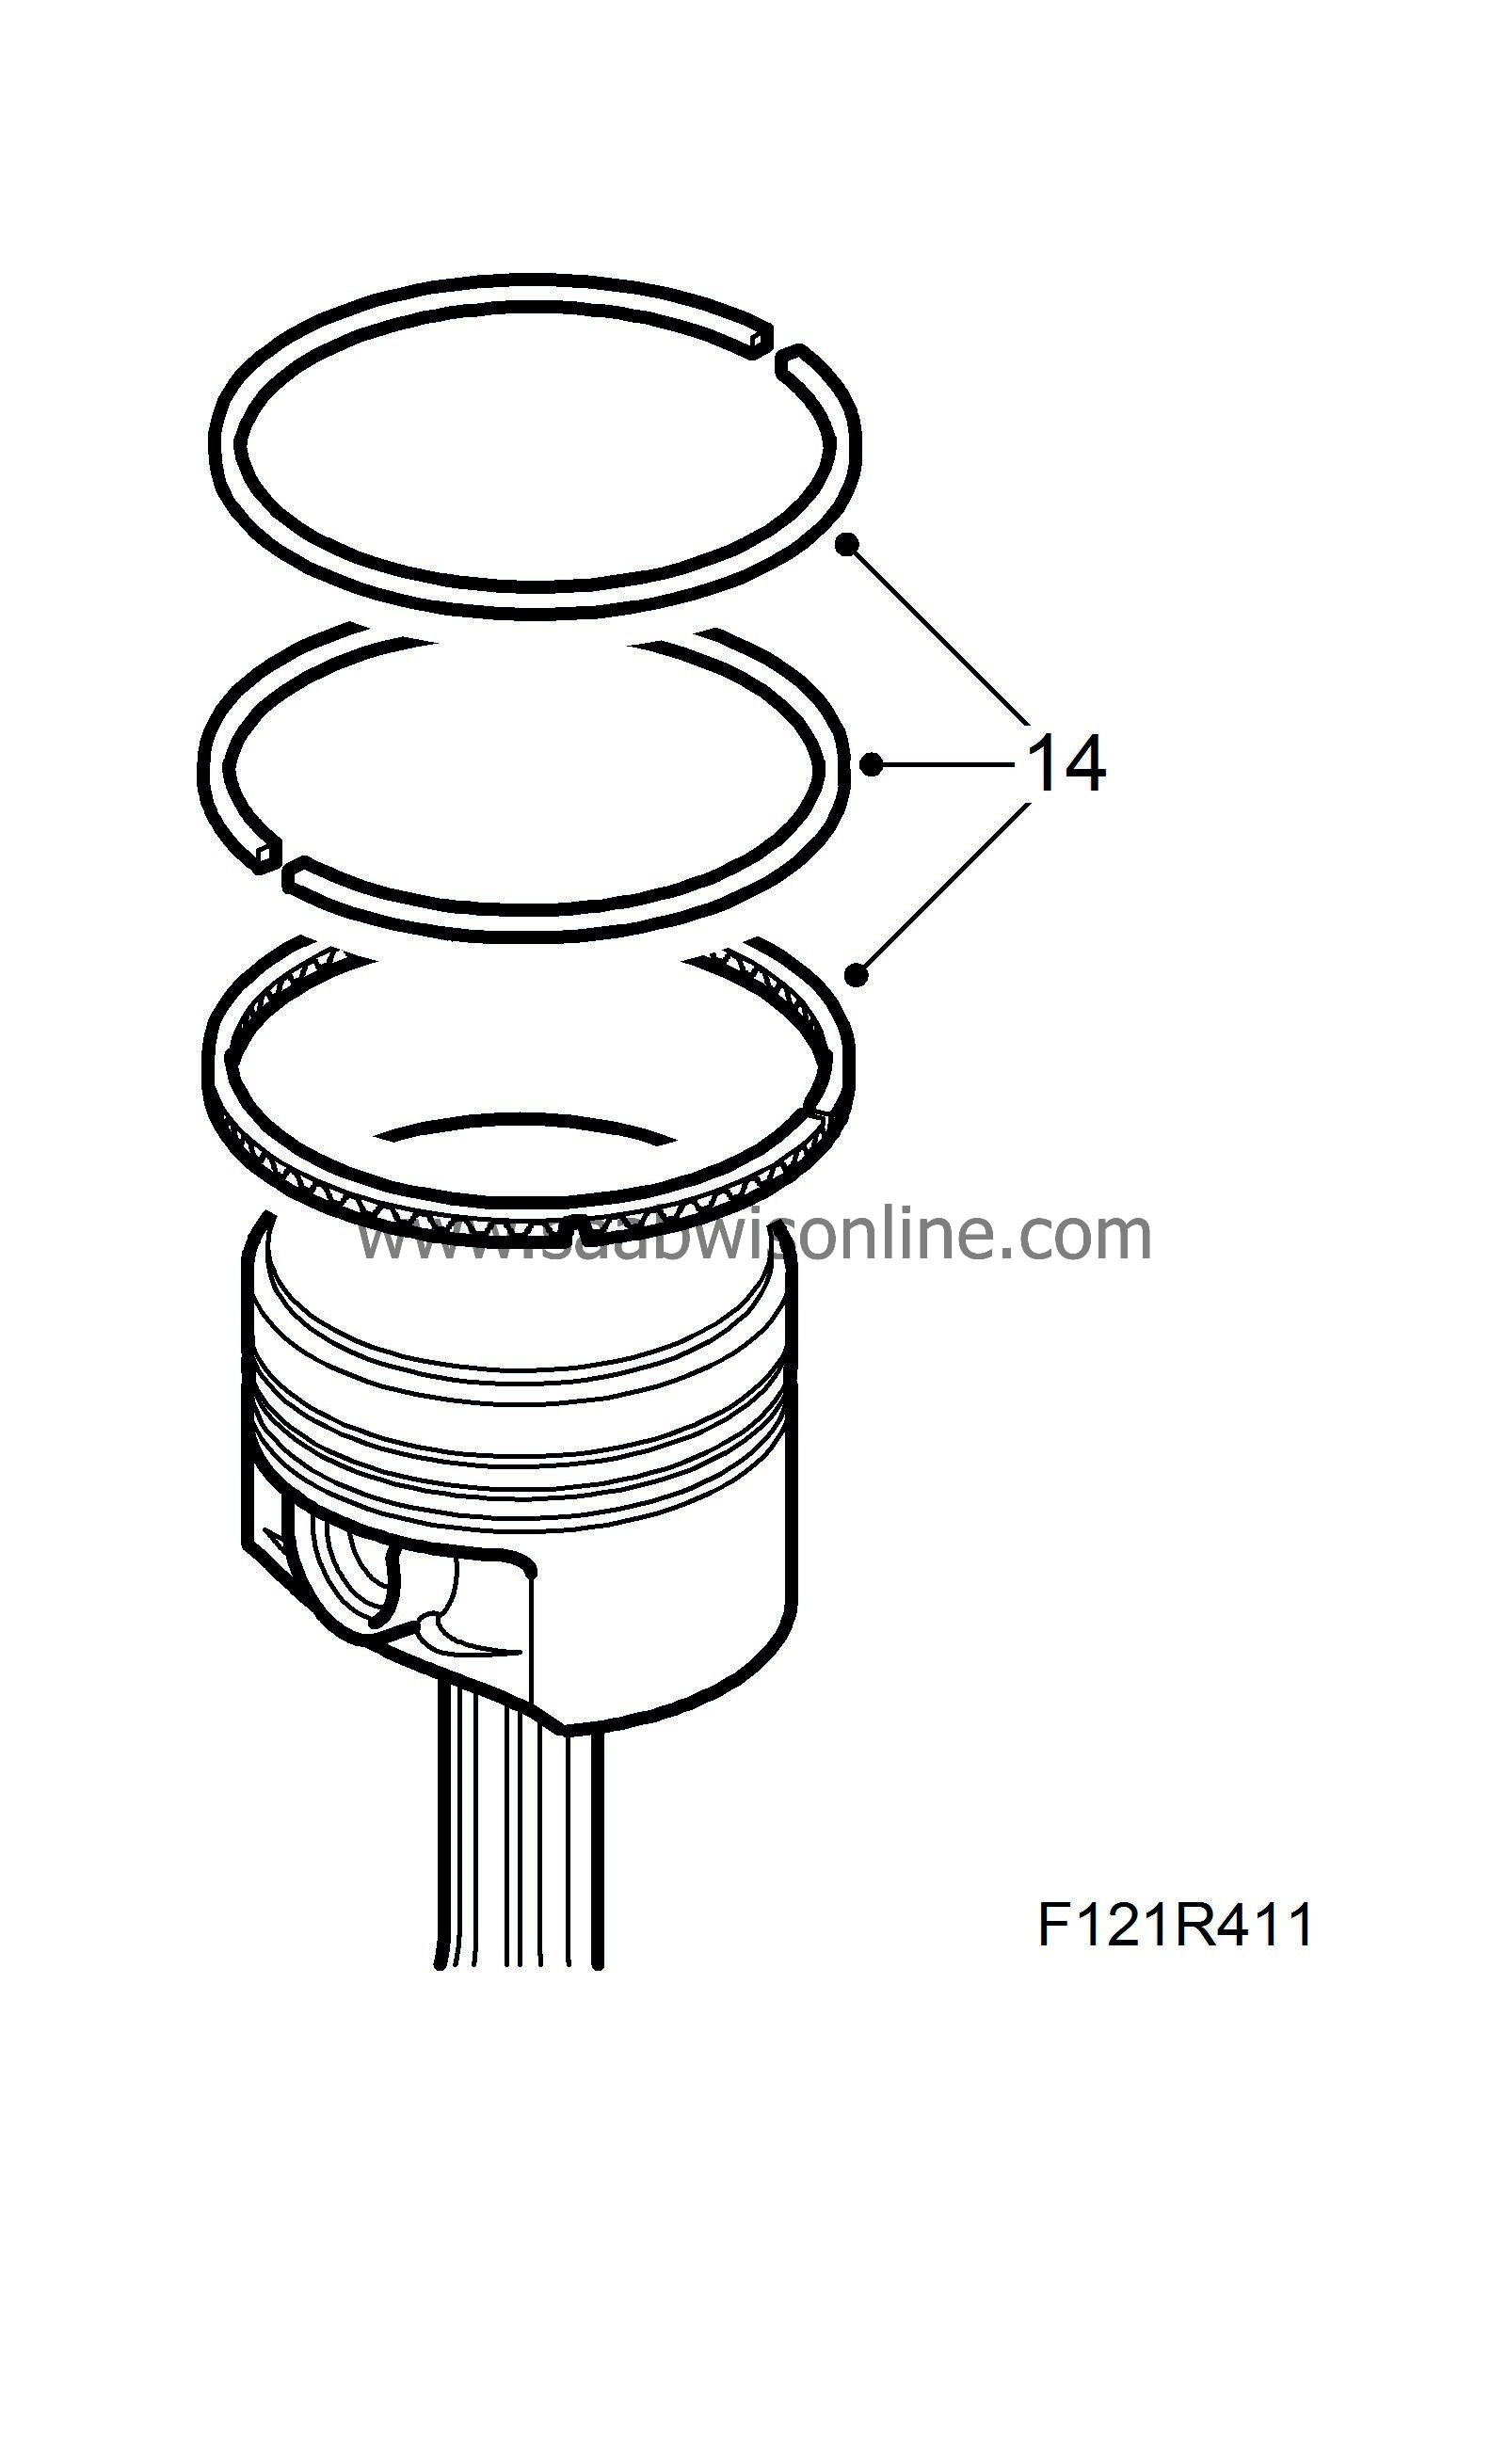
Remove the piston rings.
|
|
| 15. |
Clean any carbon and oil from the piston ring grooves in the pistons.
|
|
| To fit |
| 1. |
Fit the oil scraper ring.

|
||||||||||
| 2. |
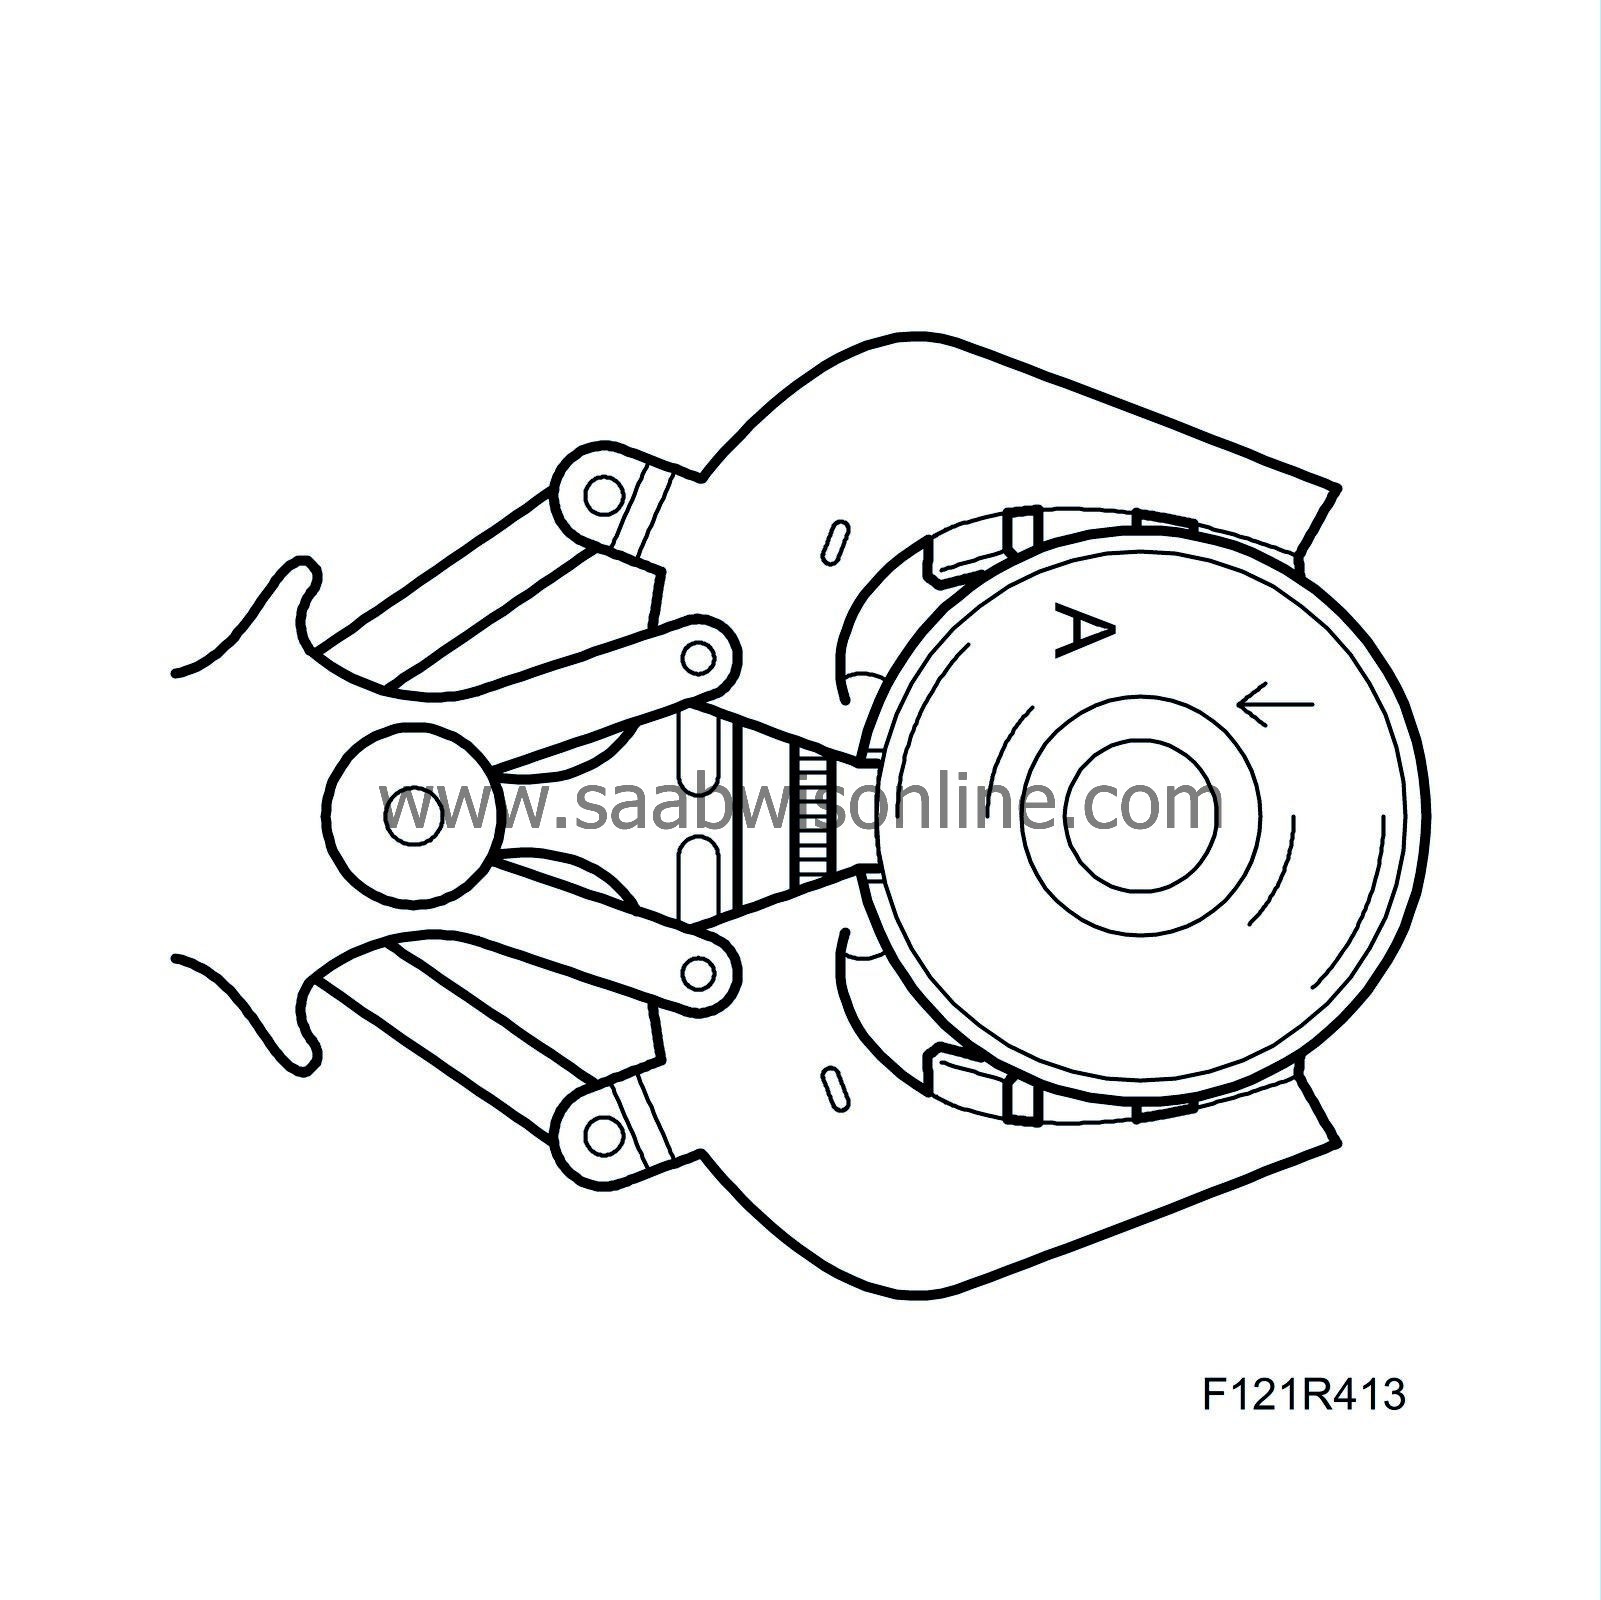
Use a piston ring expander when fitting the rings onto the piston.
|
|
| 3. |
The compression rings must be turned with the marking "TOP" facing upward.
|
||||||||||
| 4. |
Oil the piston and ring before fitting. Turn the compression rings so that the rings' openings are displaced 180° from each other and aligned with the gudgeon pin ends.
|
|
| 5. |
Oil the piston rings, bearings and cylinder.
|
|
| 6. |
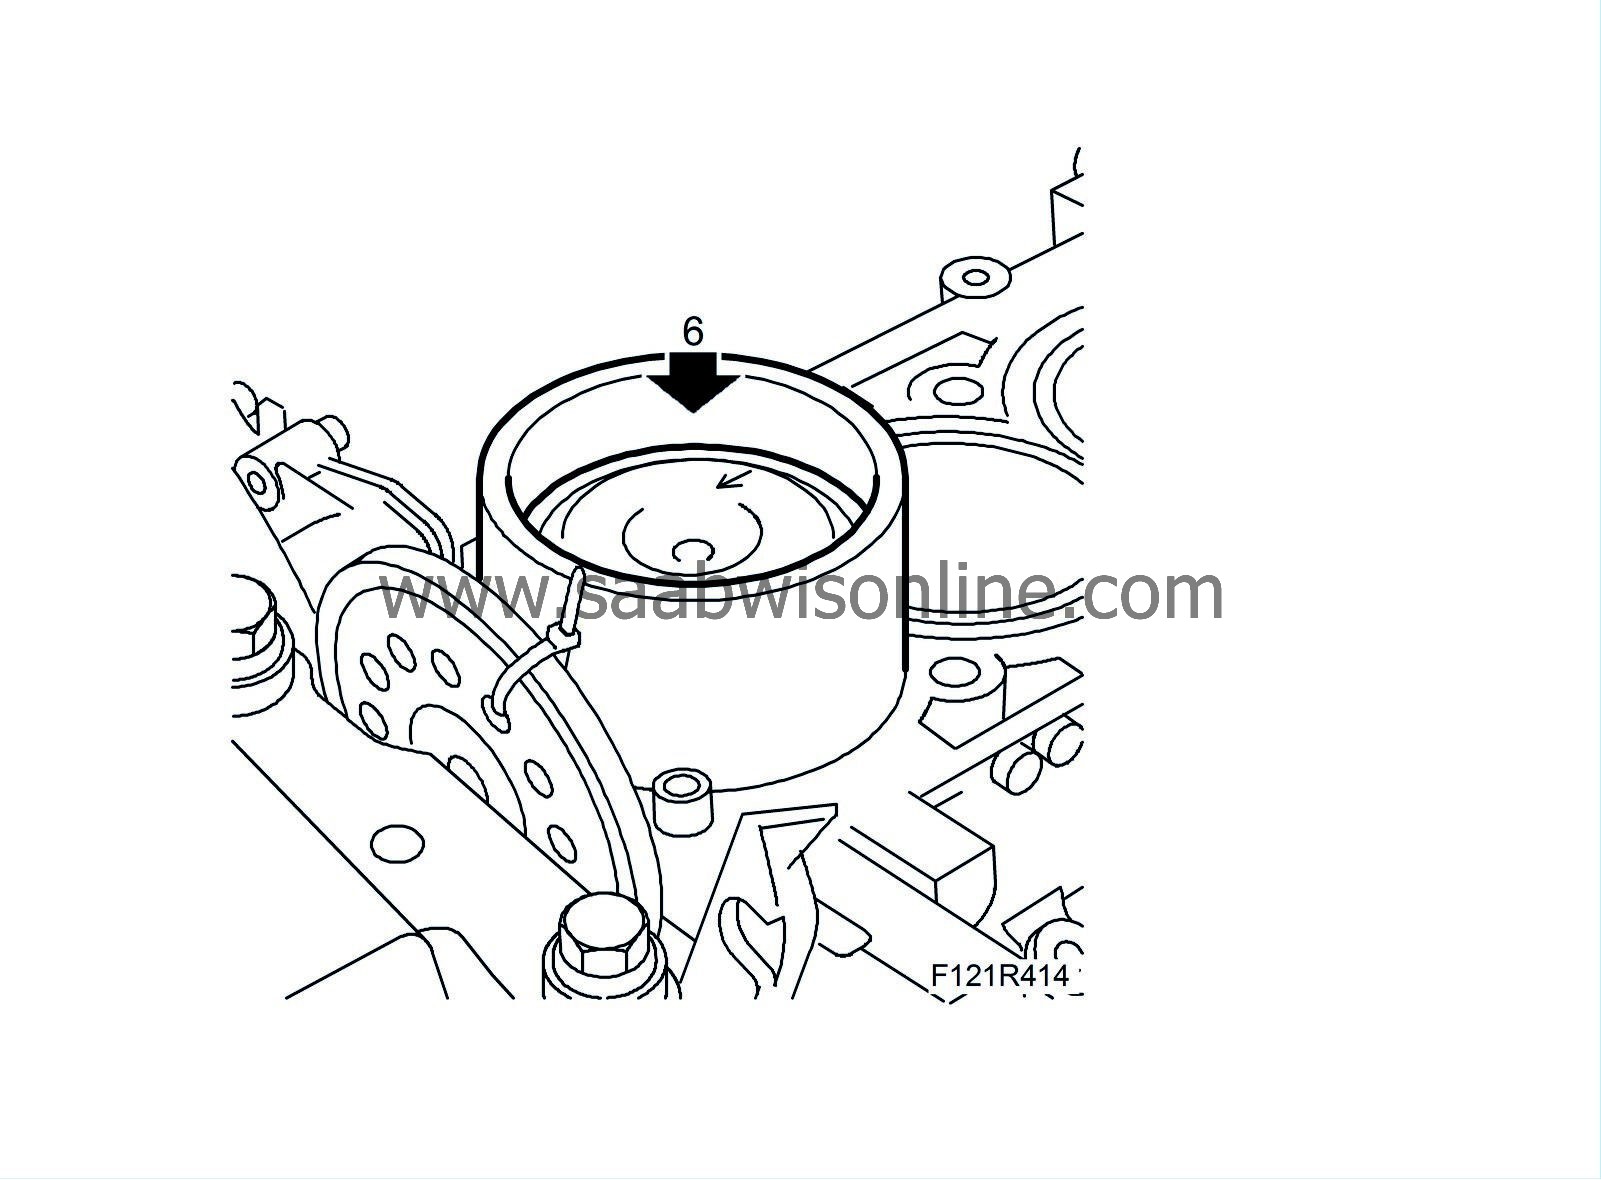
Fit the pistons using
83 95 113 Piston fitting tool
. The arrows on the pistons must point towards the timing chain.
|
|
| 7. |
Raise the car.
|
|
| 8. |
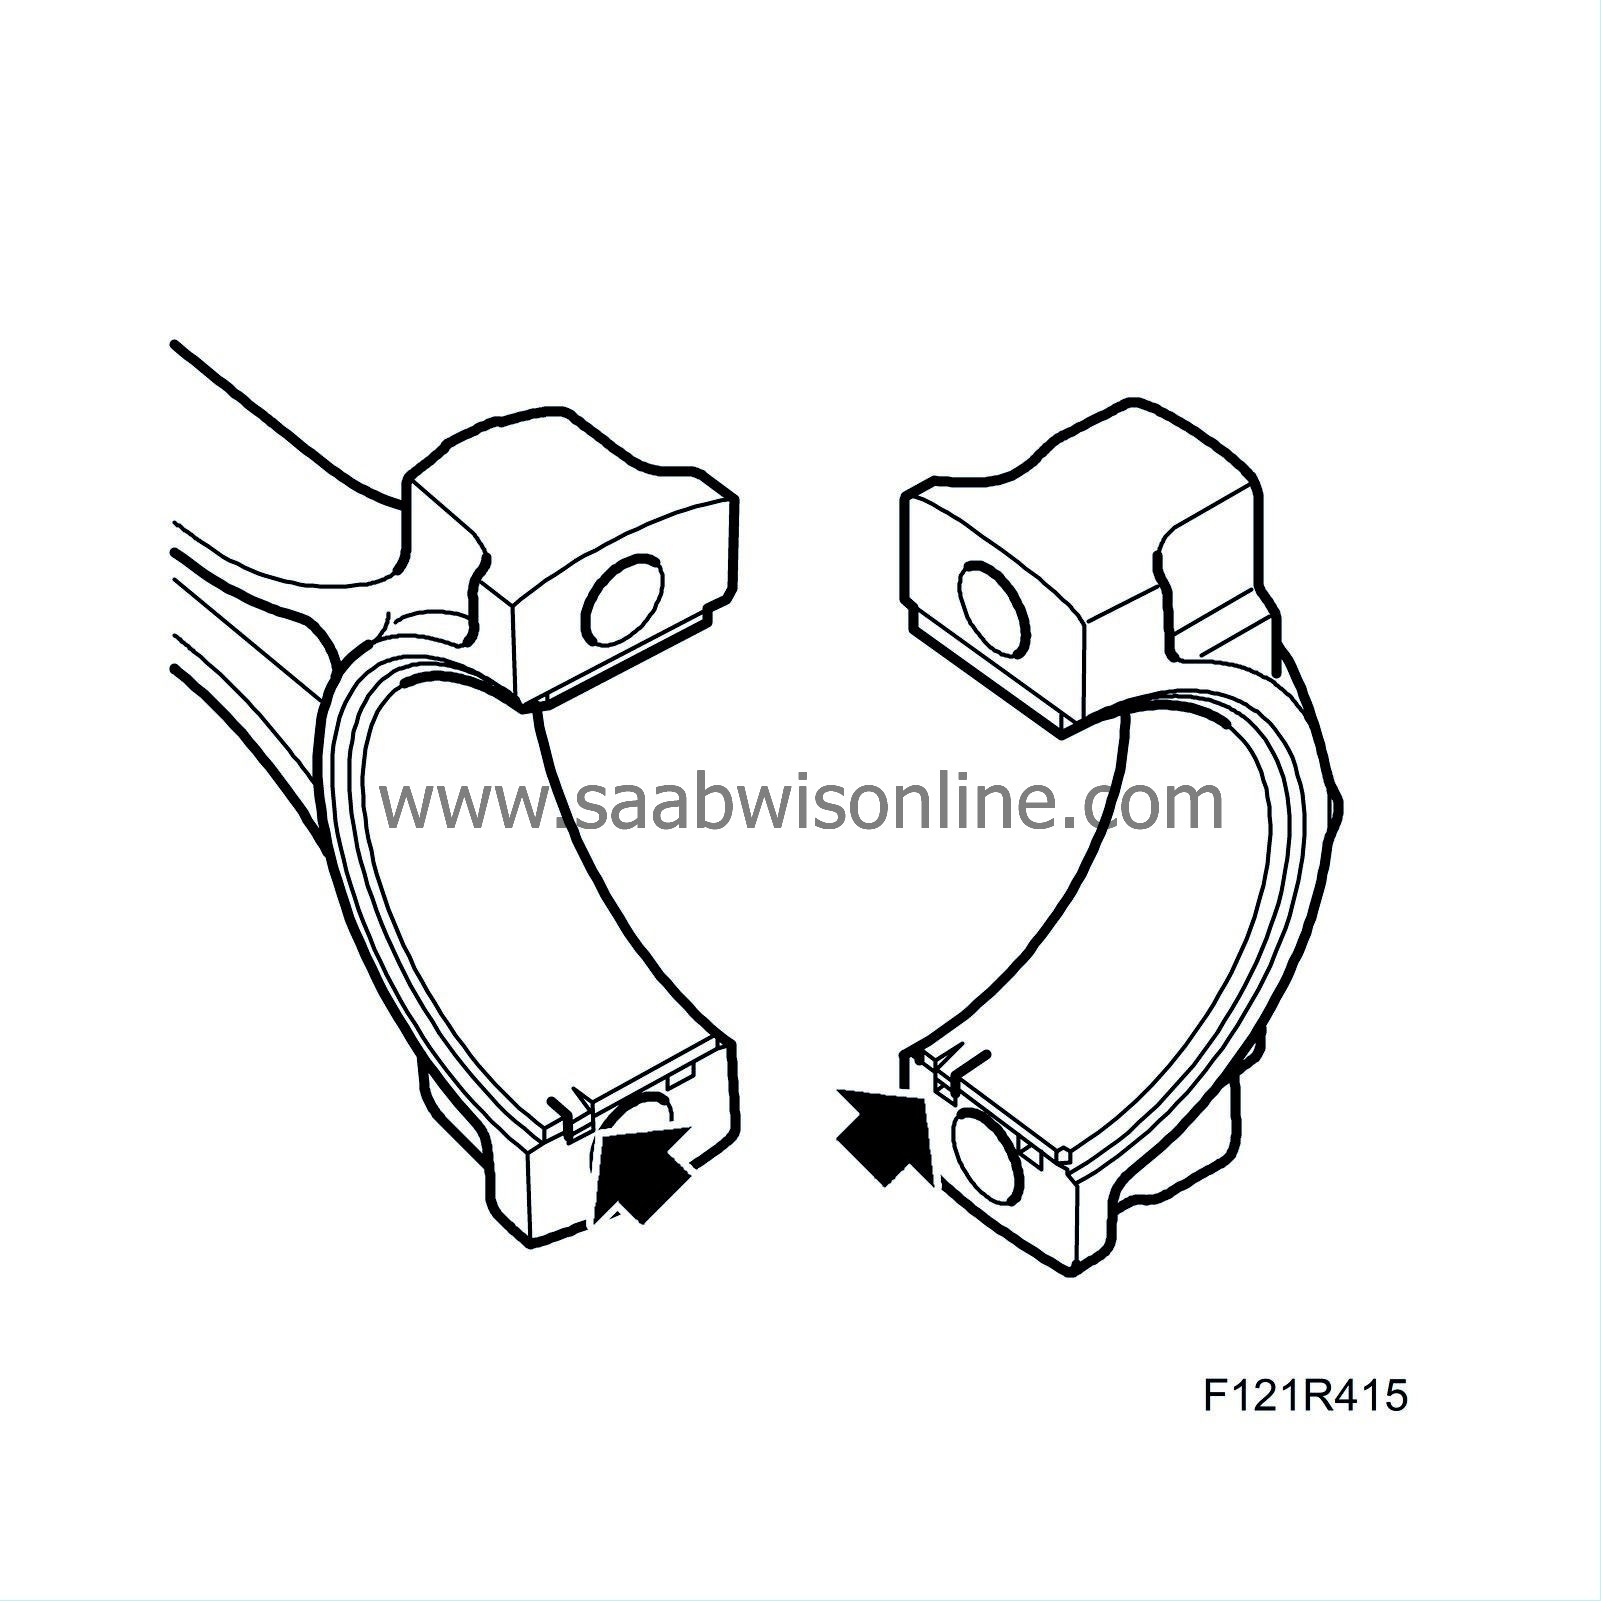
Fit the bearing caps with bearing shells. The outer bevelling on the connecting rod and bearing cap must butt up against each other.
Tightening torque 25 Nm + 100° (18 lbf ft + 100°) 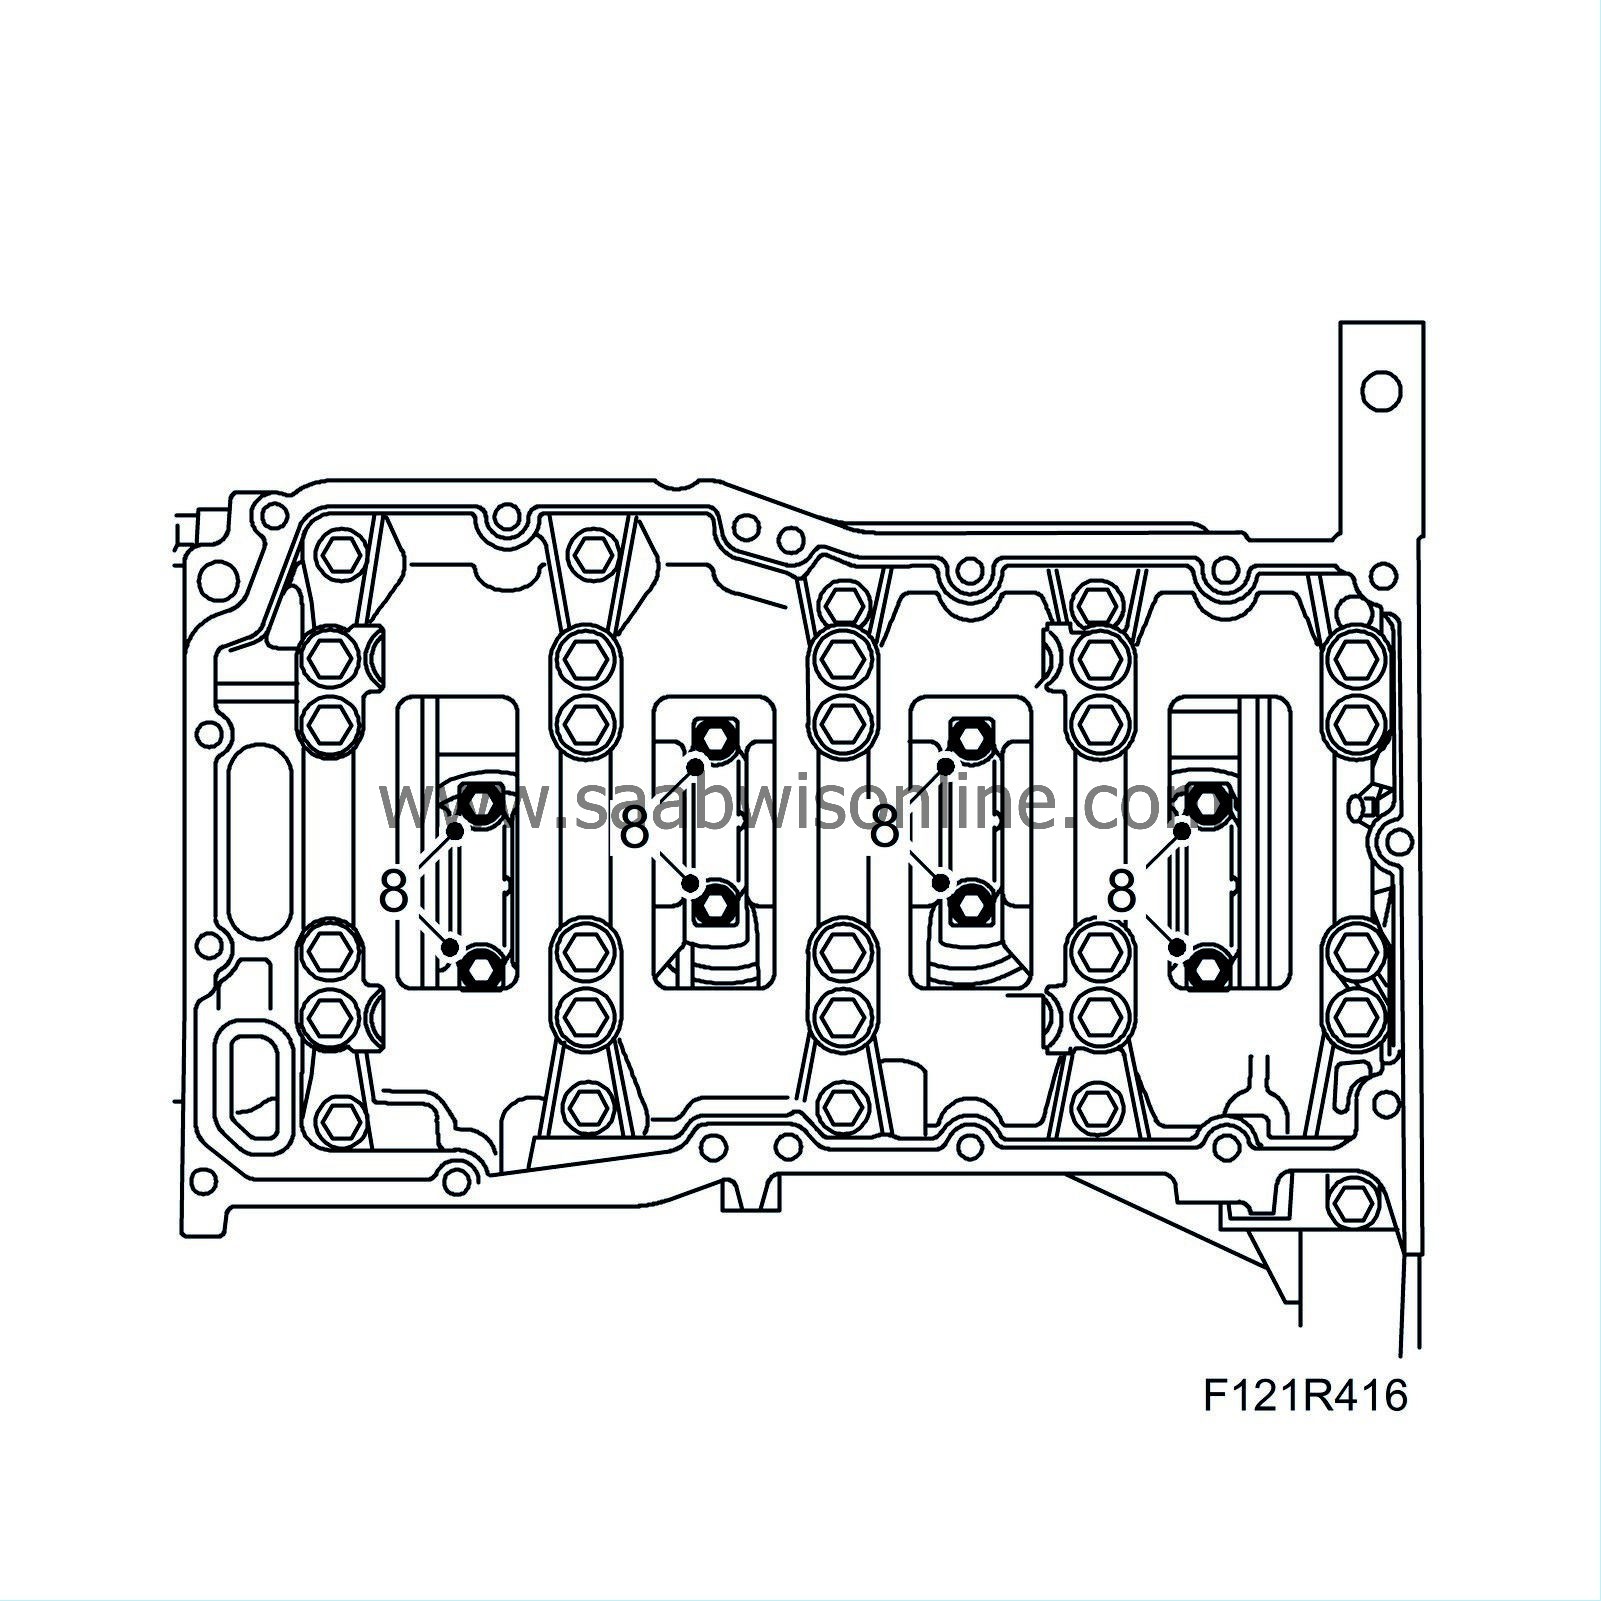
|
|
| 9. |
Clean the engine block and sump sealing surfaces. Remove any contaminants in the oil sump.
|
|
| 10. |
Apply a 2 mm thick bead 83 95 691 Flange sealant to the oil sump sealing surface and to the oil strainer suction pipe's connection.
|
|
| 11. |
Carefully fit the oil sump so that the sealant is not scraped off.
Tightening torque, oil sump 22 Nm (16 lbf ft) (11a) Tightening torque, bolts in gearbox 70 Nm (52 lbf ft) 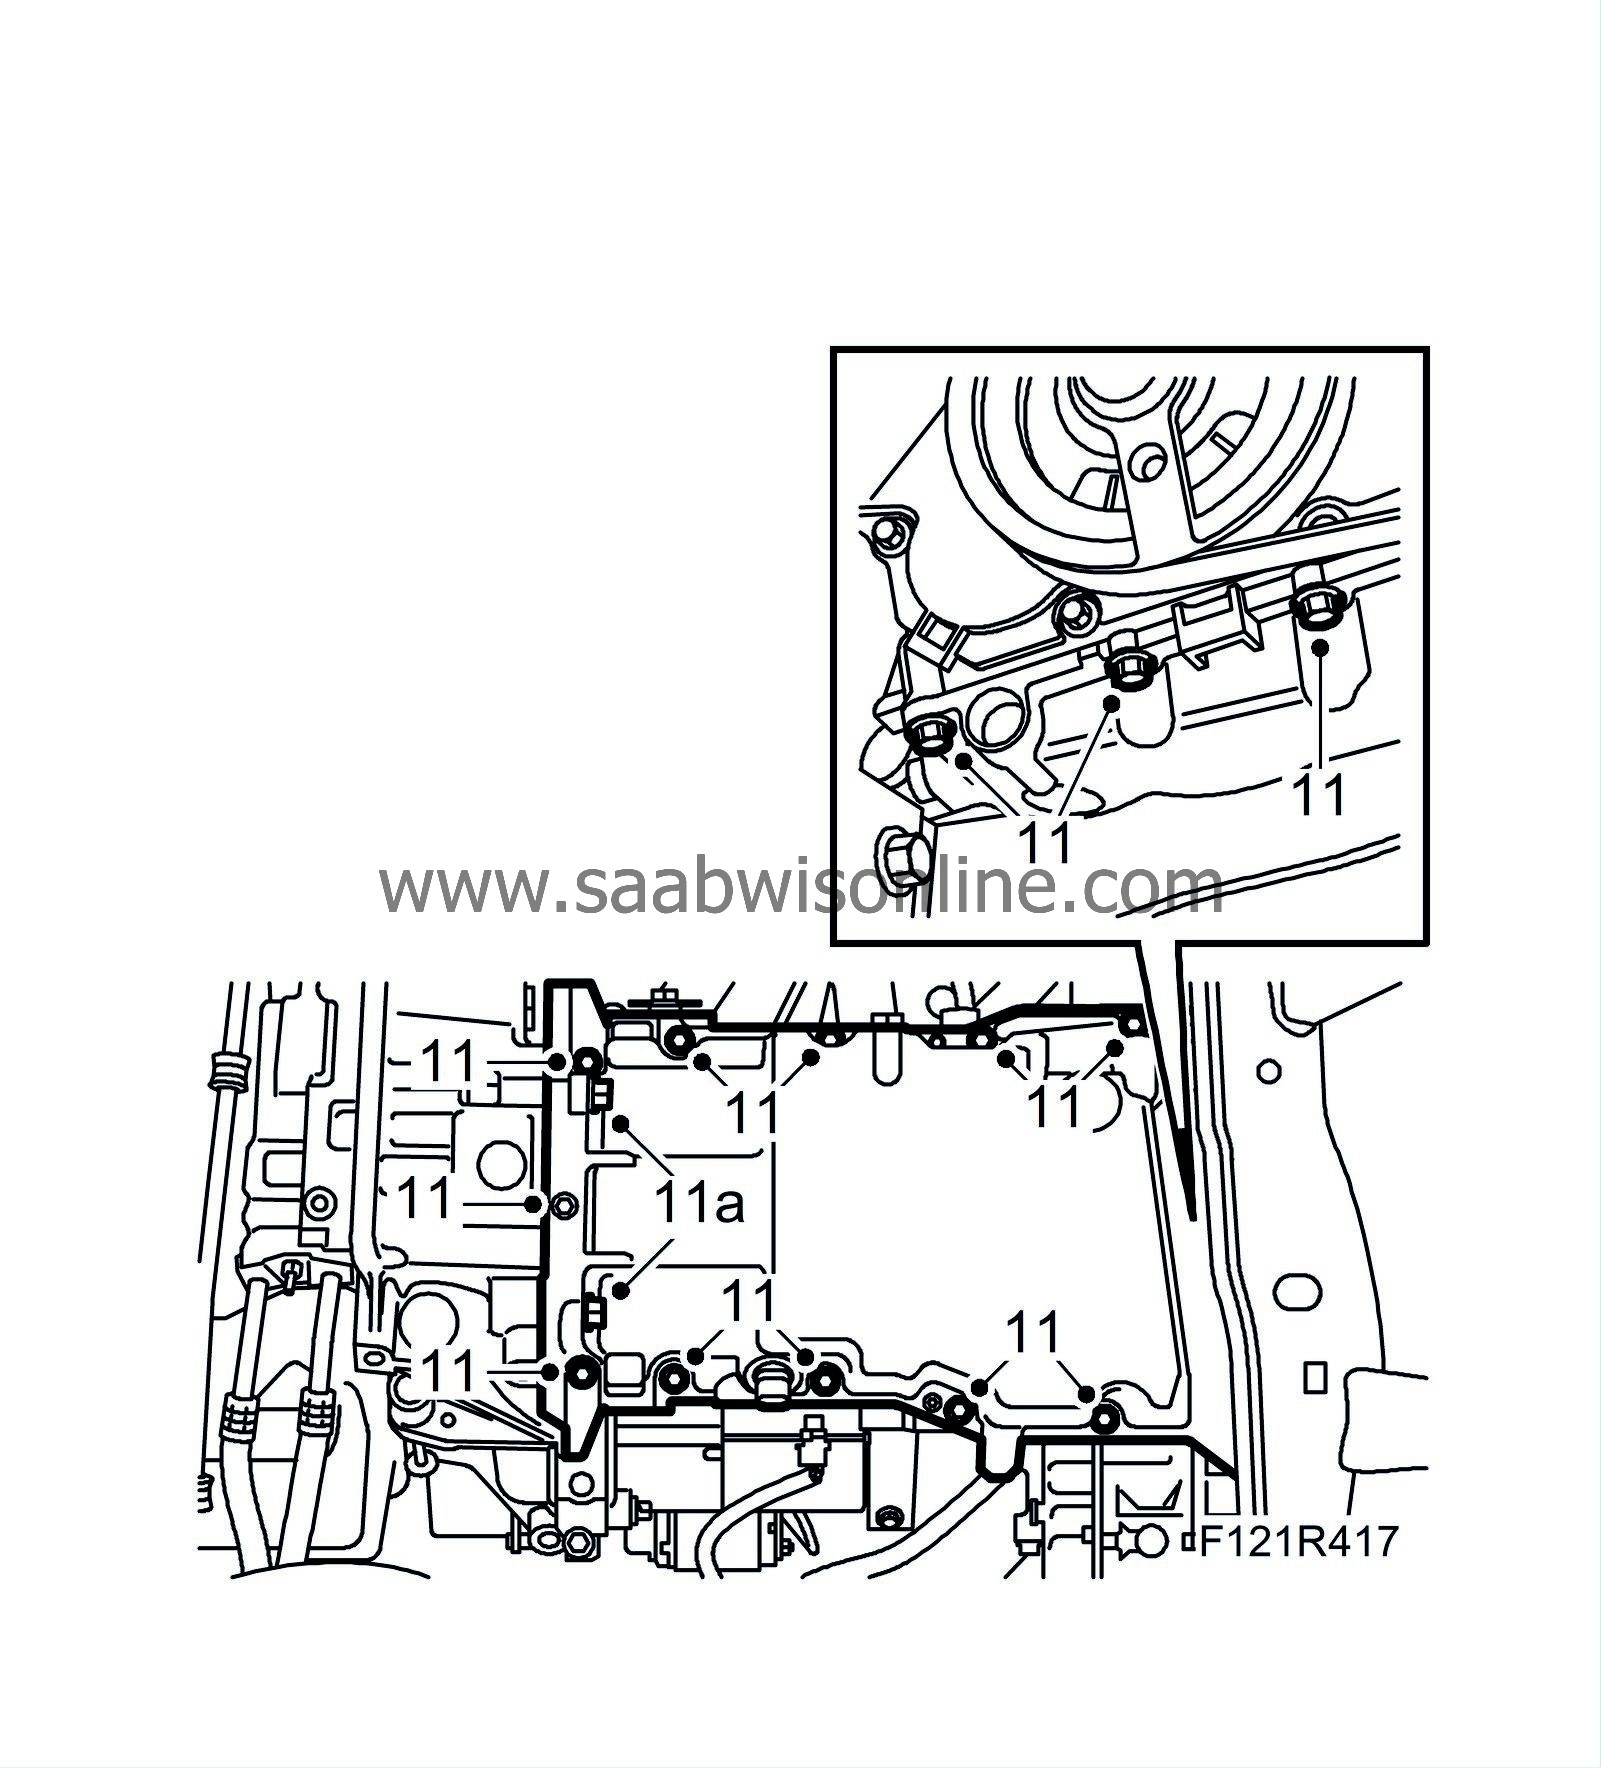
|
|
| 13. |
Fit the AC compressor lower fixing bolt.
Tightening torque 24 Nm (18 lbf ft) |
|
| 14. |
Plug in the oil pressure switch connector.
|
|
| 15. |
Lower the car.
|
|
| 16. |
Fit the dipstick pipe in the oil sump with a new O-ring, greased with
30 06 665 Vaseline
.
|
|
| 17. |
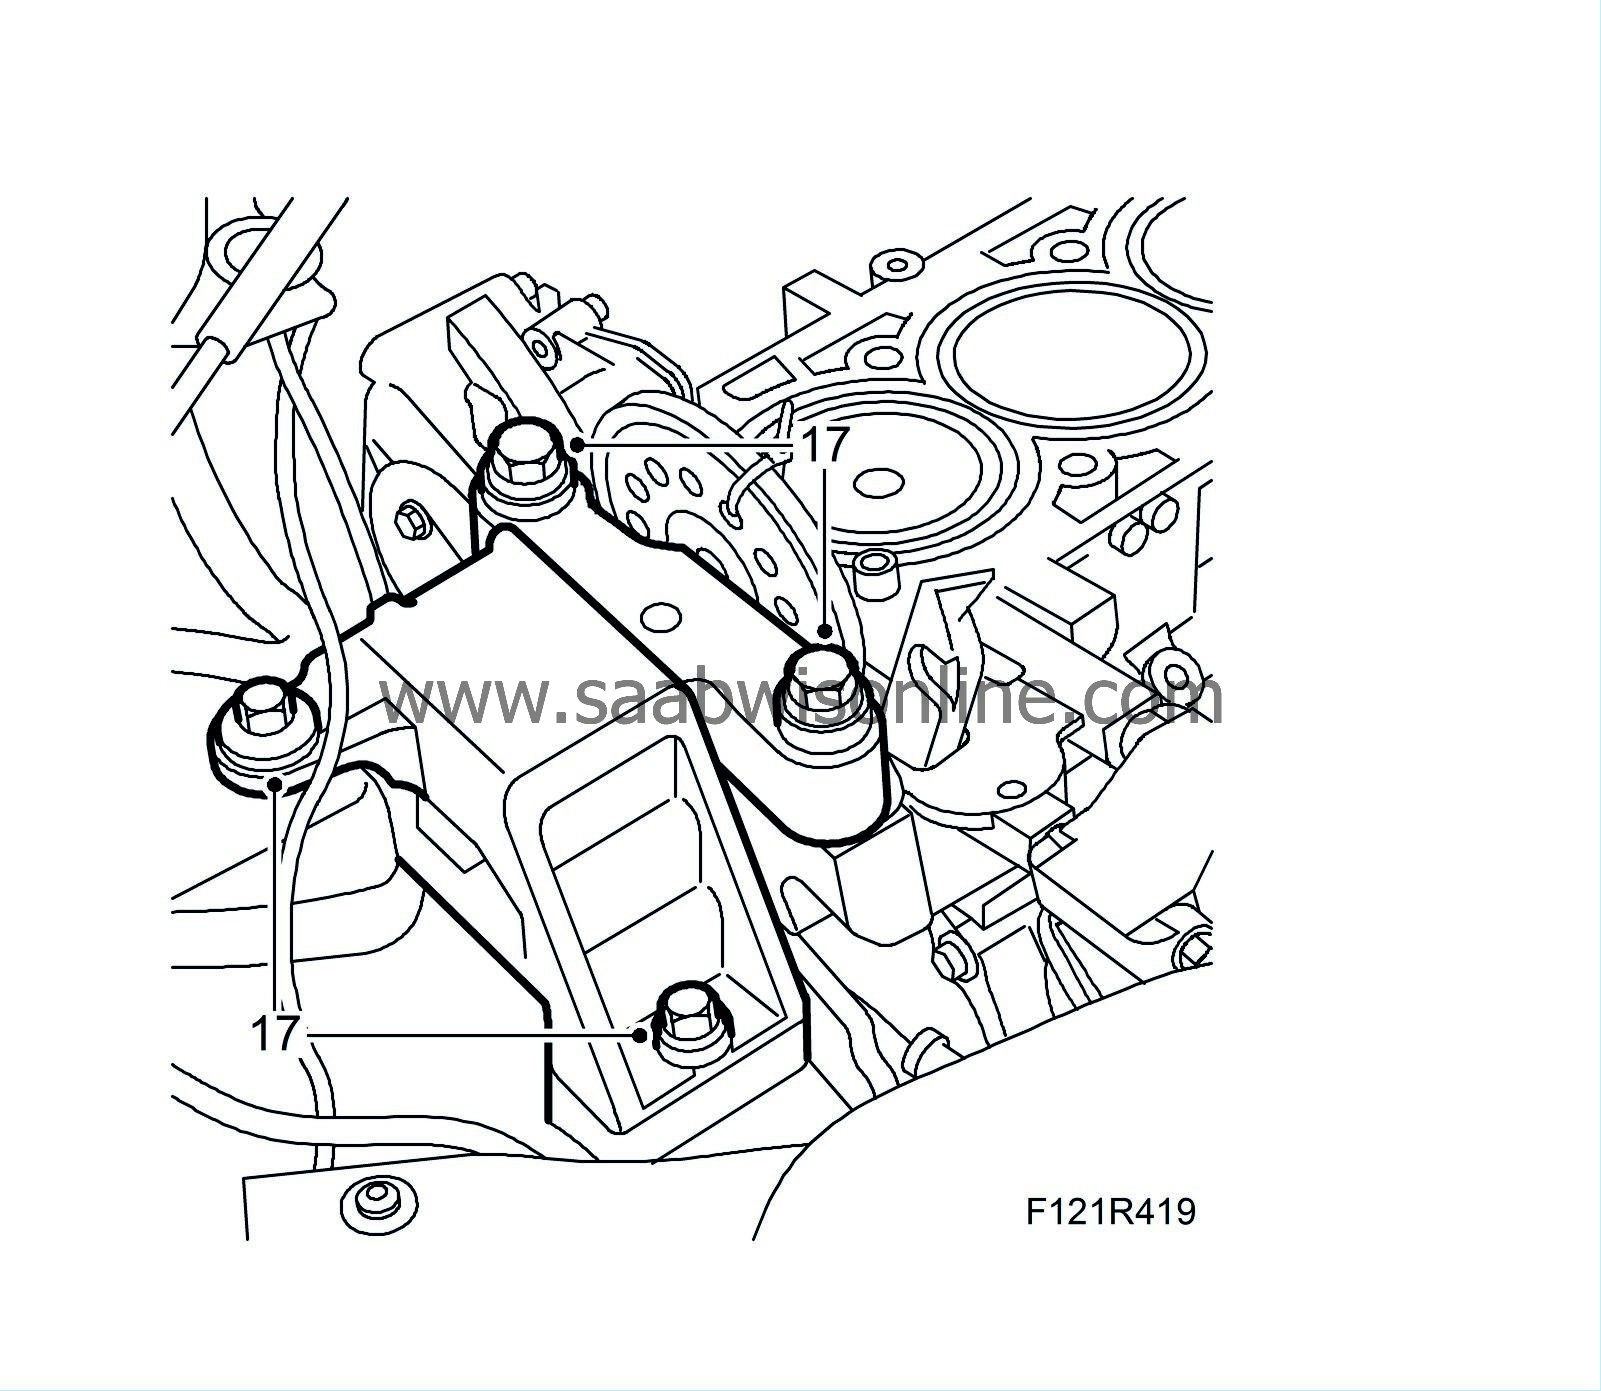
Place a jack with wood block under the oil sump and relieve the load from the right-hand engine pad. Remove the right-hand engine mounting.
|
|
| 18. |
Fit
Cylinder head
.
|
|
| 19. |
Fill with engine oil.
|
|

