Receiver, Z19DTR
| Receiver, Z19DTR |
| Important | ||
|
The A/C receiver and the compressor oil absorb moisture from the air, which can then not be removed. Plug all connections that are opened immediately. |
||
| To remove |
| 1. |
Put the car on a lift.
|
|
| 2. |
Drain the refrigerant from the A/C system, see
Draining and filling the refrigerant
.
|
|
| 3. |
Remove the
front bumper shell.
|
|
| 4. |
Remove the right-hand
Headlight.
|
|
| 5. |
Unplug the mass air flow sensor connector (A).

|
|
| 6. |
Remove the hose (B) between the turbo intake manifold and the air cleaner housing.
|
|
| 7. |
Detach the high pressure pipe's PAD connection (C) from the receiver.
Plug the opening. 
|
|
| 8. |
Raise the car to a suitable height.
|
|
| 9. |
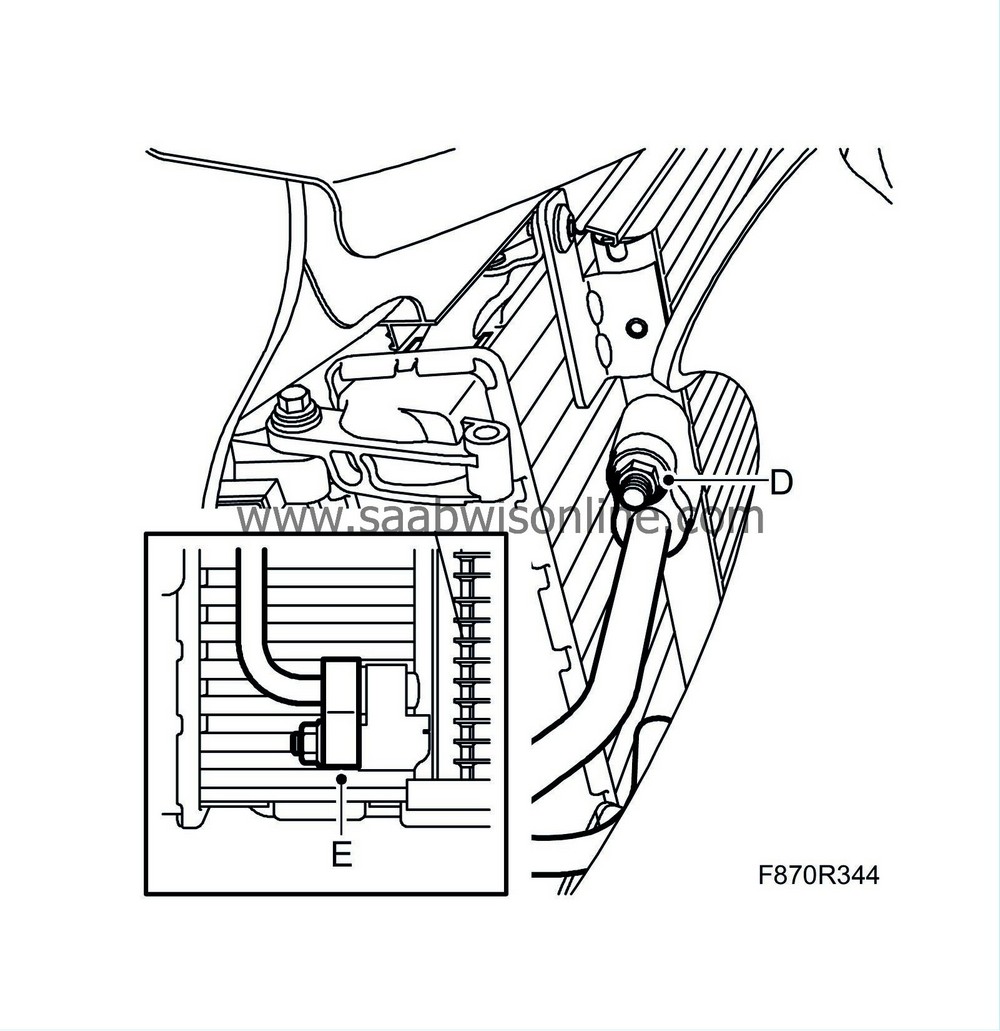
Detach the upper (D) and lower (E) PAD connection from the condenser

|
|
| 10. |
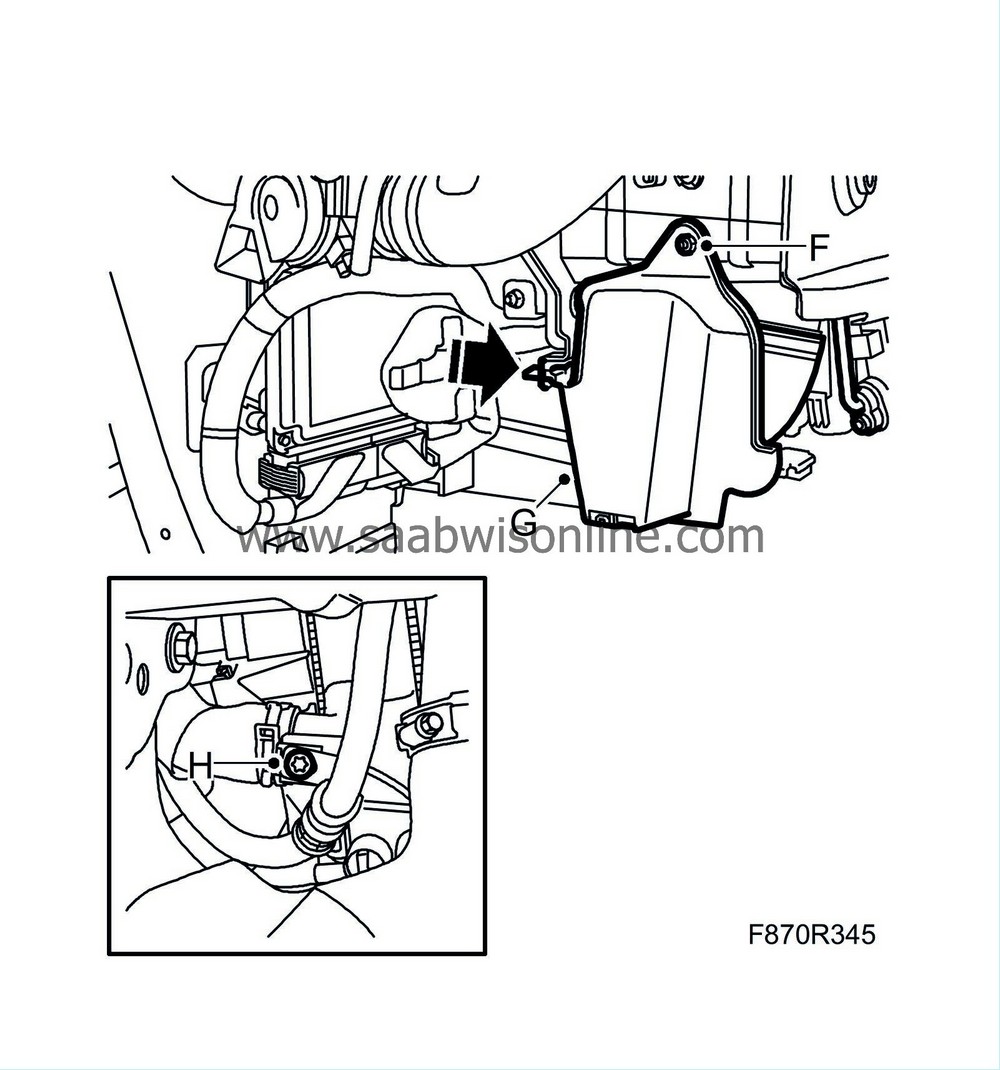
Remove the nut and remove the right-hand cover (G)

|
|
| 11. |
Remove the screw (F) for the pipe to the upper PAD connection.
|
|
| 12. |
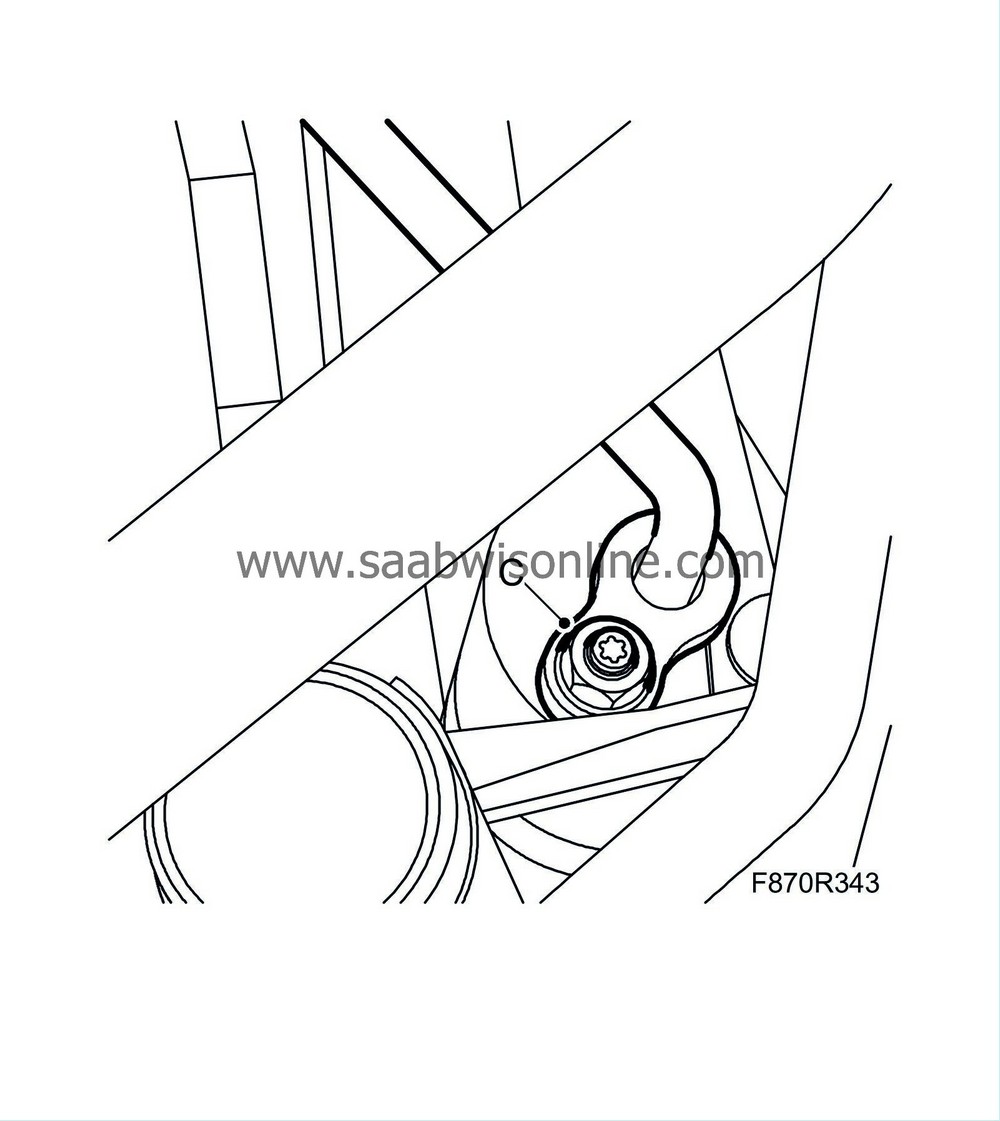
Remove the receiver's screws (I) and lower it.

|
|
| To fit |
| 1. |
Fill the compressor oil. See
Filling and adjusting the compressor oil
.
|
|
| 2. |
Raise the receiver to its position and tighten the screws (I).
|
|
| 3. |
Fit the screw (F) for the pipe to the upper PAD connection.

|
|
| 4. |
Fit the right-hand cover (G) using the screw.
|
|
| 5. |
Attach the upper (D) and lower (E) PAD connection for the condenser

|
|
| 6. |
Lower the car.
|
|
| 7. |
Attach the high pressure pipe's PAD connection (C) for the receiver.

|
|
| 8. |
Fit the hose (B) between the turbo intake manifold and the air cleaner housing.

|
|
| 9. |
Plug in the mass air flow sensor connector (A).
|
|
| 10. |
Fit the right
headlamp
.
|
|
| 11. |
Fit the
front bumper shell
.
|
|
| 12. |
Vacuum pump and fill the A/C system with refrigerant. See
Draining and filling the refrigerant
.
|
|
| 13. |
Check the performance of the A/C system. See
A/C system performance test
|
|


