Condenser
| Condenser |
| 1. |
Place the car on a lift.
|
|
| 2. |
Drain the refrigerant from the A/C system, see
 .
.
|
|
| 3. |
Remove the grille.
|
|
| 4. |
Remove the left and right headlamps as well as direction indicators.
|
|
| 5. |
Remove the front cover below the radiator unit.

|
|
| 6. |
Unplug the pressure sensor connector on the right-hand condenser tank.
|
|
| 7. |
Detach the A/C pipes PAD connection from the condenser and receiver.

Plug the openings. |
|
| 8. |
Remove the air duct from the air filter.
|
|
| 9. |
Unscrew the condenser, 2 bolts, and remove it by lowering it in front of the radiator.

|
|
| 10. |
Remove the receiver so that it can be transferred to the new condenser.
|
||||||||||
| 11. |
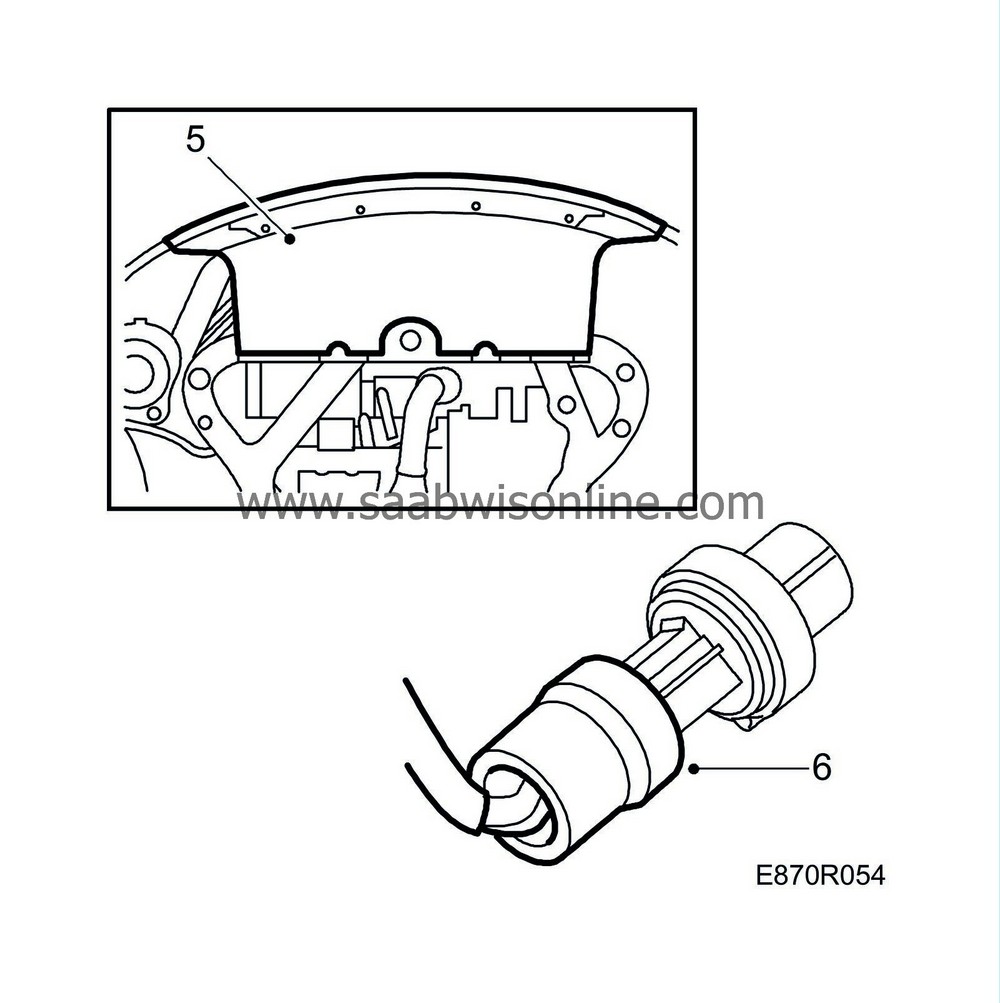
Remove the pressure sensor for transferral.
|
|
| To fit |

| 1. |
Fit the receiver to the condenser.
|
|
| 2. |
Lubricate the O-ring and fit the pressure sensor to the condenser.
Tightening torque: 7-9 Nm (5.2-6.7 lbf ft) |
|
| 3. |
Adjust the oil volume in the compressor, see
 .
.
|
|
| 4. |
Lift up the condenser in front of the radiator until it is located in the lower locating groove.
|
|
| 5. |
Screw the condenser to the upper mounting points, 2 bolts.
|
|
| 6. |
Remove the plugs and lubricate the O-rings on the A/C pipes.

|
|
| 7. |
Screw the A/C pipes PAD connector to the condenser and receiver.
Tightening torque: 8 Nm (5.9 lbf ft) |
|
| 8. |
Connect the air duct to the air filter.
|
|
| 9. |
Plug in the pressure sensor connector to the right-hand condenser tank.

|
|
| 10. |
Fit the front covering below the radiator unit.
|
|
| 11. |
Vacuum pump the A/C system and fill with R134a refrigerant, see
 .
.

|
|
| 12. |
Fit the right and left headlamps as well as direction indicators.
|
|
| 13. |
Refit the front grille.
|
|


