Timing Chain Tensioner Replacement (LDK/A20 NHT)
| Timing Chain Tensioner Replacement (LDK/A20 NHT) |
Special Tools
EN-45027 Tensioner ToolFor equivalent regional tools, refer to Special Tools (LDK, LHU) .
| Removal Procedure |
| 1. |
Remove the engine sight shield. Refer to
Engine Sight Shield Replacement
.
|
|
| 2. |
Remove the air cleaner outlet duct. Refer to
Air Cleaner Outlet Duct Replacement
.
|
|
| 3. |
Remove the camshaft cover. Refer to
Camshaft Cover Replacement
.
|
|
| 4. |
Release the turbocharger coolant feed pipe. Refer to
Turbocharger Coolant Feed Pipe Replacement (LDK/A20NHT)
Turbocharger Coolant Feed Pipe Replacement (LAU/A28NER)
.
|
|
| 5. |
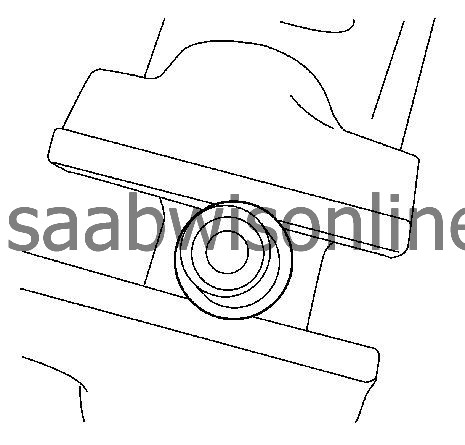
Remove the timing chain tensioner (1) from cylinder head.

|
|
| Installation Procedure |
| 1. |
Remove the snap ring with a snap ring pincer from tensioner body.
|
|
| 2. |
Pull out the ratchet cylinder from the tensioner body.
|
|
| 3. |
Install the
EN-45027-2
tensioner tool into a visa and rotary the ratchet cylinder with
EN-45027-1
tensioner tool in the clockwise direction to end position.

|
|
| 4. |
Install the ratchet cylinder and the snap ring with a snap ring pincer to tensioner body.

|
|
| 5. |
Refer to
Fastener Caution
.
Install the timing chain tensioner and tighten to 75 Nm (55 lb ft) . Use a new gasket. |
|
| 6. |
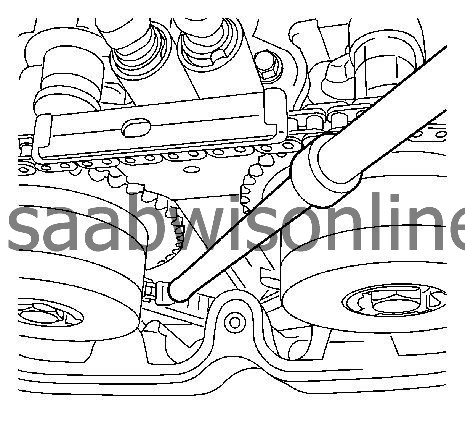
Push the adjustable timing chain guide from the timing chain tensioner with a ratchet drill extension down and check the chain tension.

|
|
| 7. |
Install the camshaft cover. Refer to
Camshaft Cover Replacement
.
|
|
| 8. |
Install the air cleaner outlet duct. Refer to
Air Cleaner Outlet Duct Replacement
.
|
|
| 9. |
Install the engine sight shield. Refer to
Engine Sight Shield Replacement
.
|
|


