Soft top assembly
| Soft top assembly |
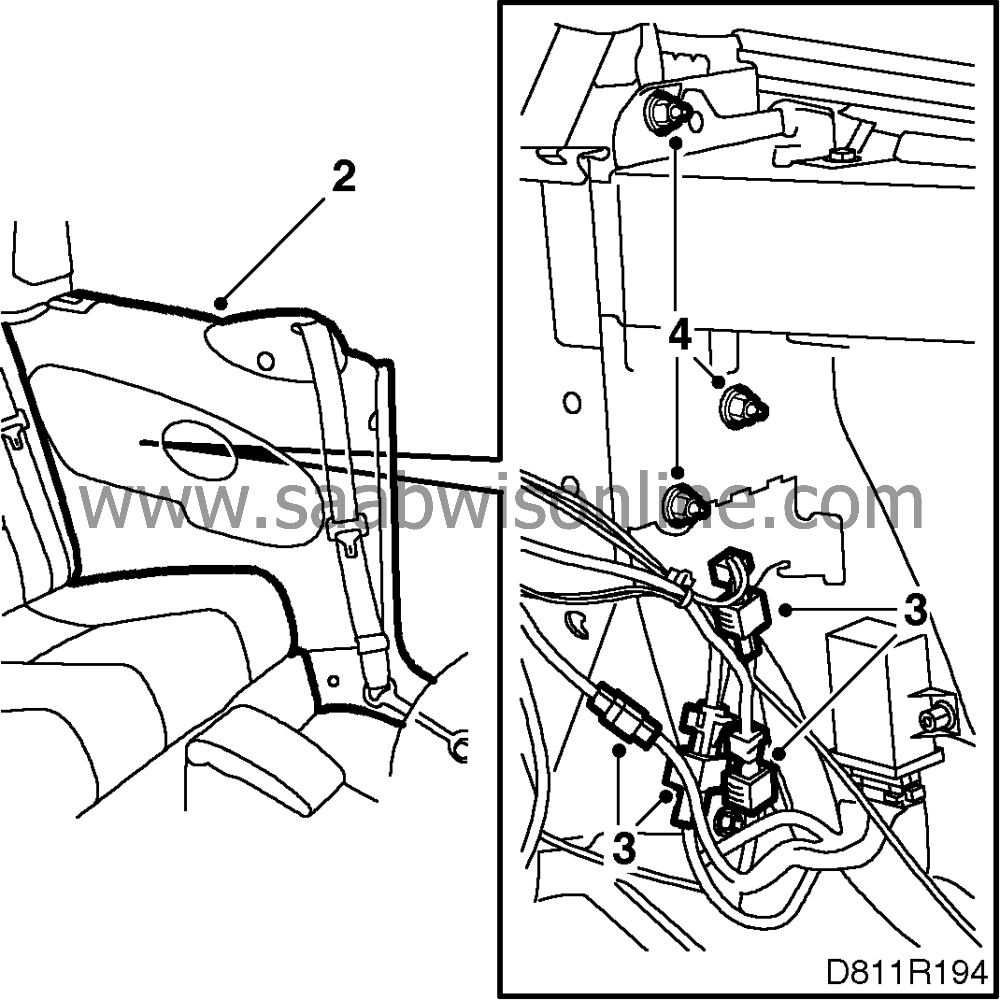
| To remove |
| 1. |
Lower the soft top and position the soft top cover straight up.

|
|
| 2. |
Remove the side trim. See
 .
.
|
|
| 3. |
Unplug the electrical connectors.
|
|
| 4. |
Remove the nuts securing the soft top.
|
||||||||||
| 5. |
With the aid of an assistant, lift up the soft top and unplug the electrical wiring. Note the number of shims on the right and left-hand sides. The same number of shims must be replaced when fitting a new soft top.
|
|
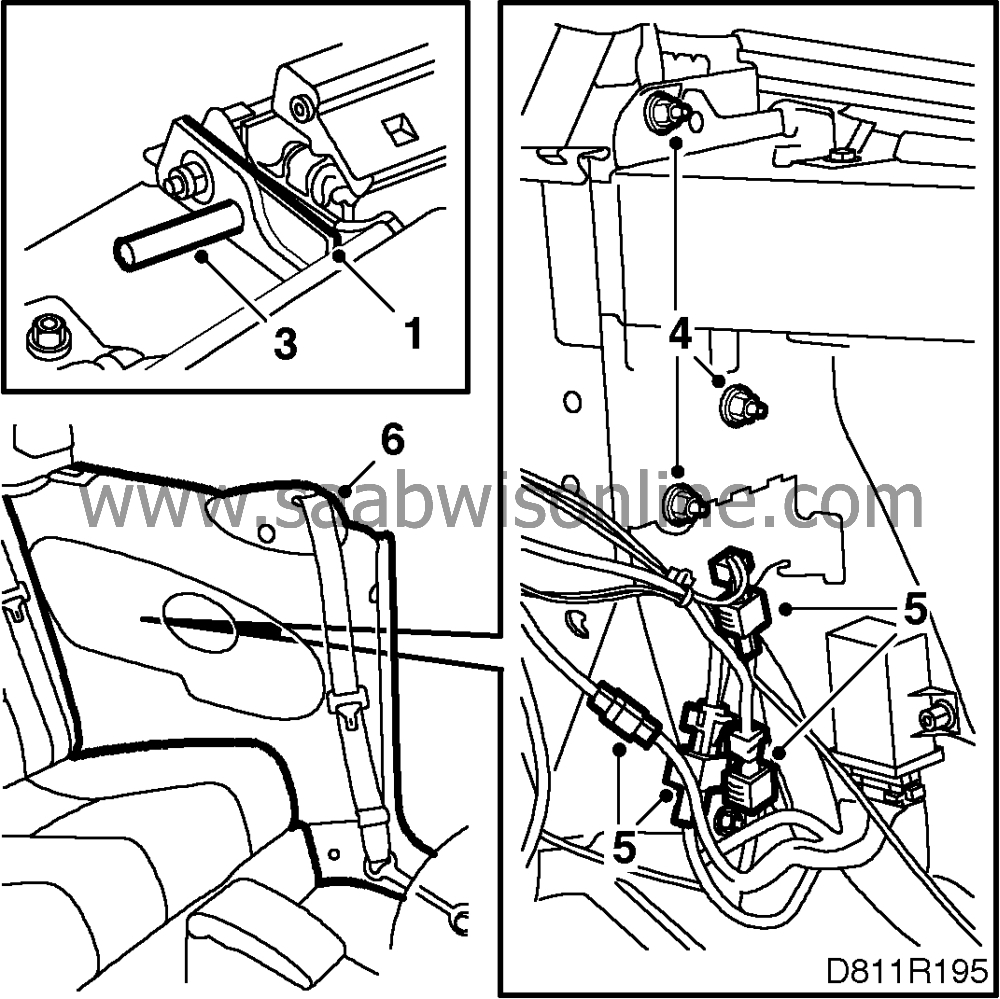
| To fit |
| 1. |
Put the shims in place on the soft top.
|
||||||||||
| 2. |
Insert the electric wiring.
|
|
| 3. |
Put the soft top into position. Guide it in place with two 10 mm drills, one on each side.
|
|
| 4. |
Tighten the nuts.
Tightening torque 28 Nm (20.7 lbf ft) |
|
| 5. |
Plug in the connectors and fasten the wiring.
|
|
| 6. |
Check the fit and profile of the soft top. See
|
|
| 7. |
Refit the side trim. See page .
|
|
| 8. |
Connect the diagnostic tool, clear any diagnostic trouble codes and then program the control module. See
.
|
|
This project is supported by memberships and donations. If you use this site, please consider Joining SCNA and/or making a donation.
Our Friends
