Link arm in soft top cover drive unit
|
|
Link arm in soft top cover drive unit
|
|
1.
|
Remove the soft top cover drive unit (console and motor). Follow the instructions for removing the soft top cover motor, without removing the motor and potentiometer from the console. See
 .
.
|
|
2.
|
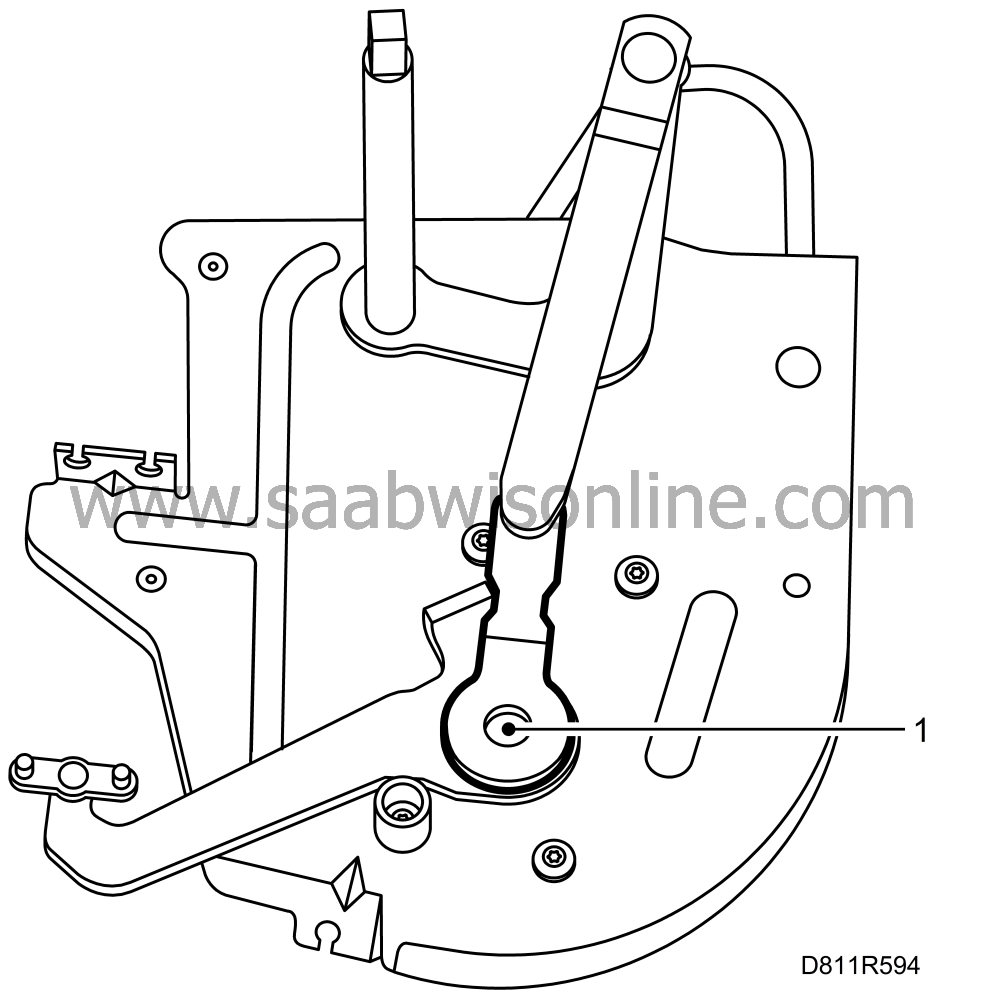
Mark the position of the link arm on the motor gearbox. (The link arm and shaft have splines.)
|
|
3.
|
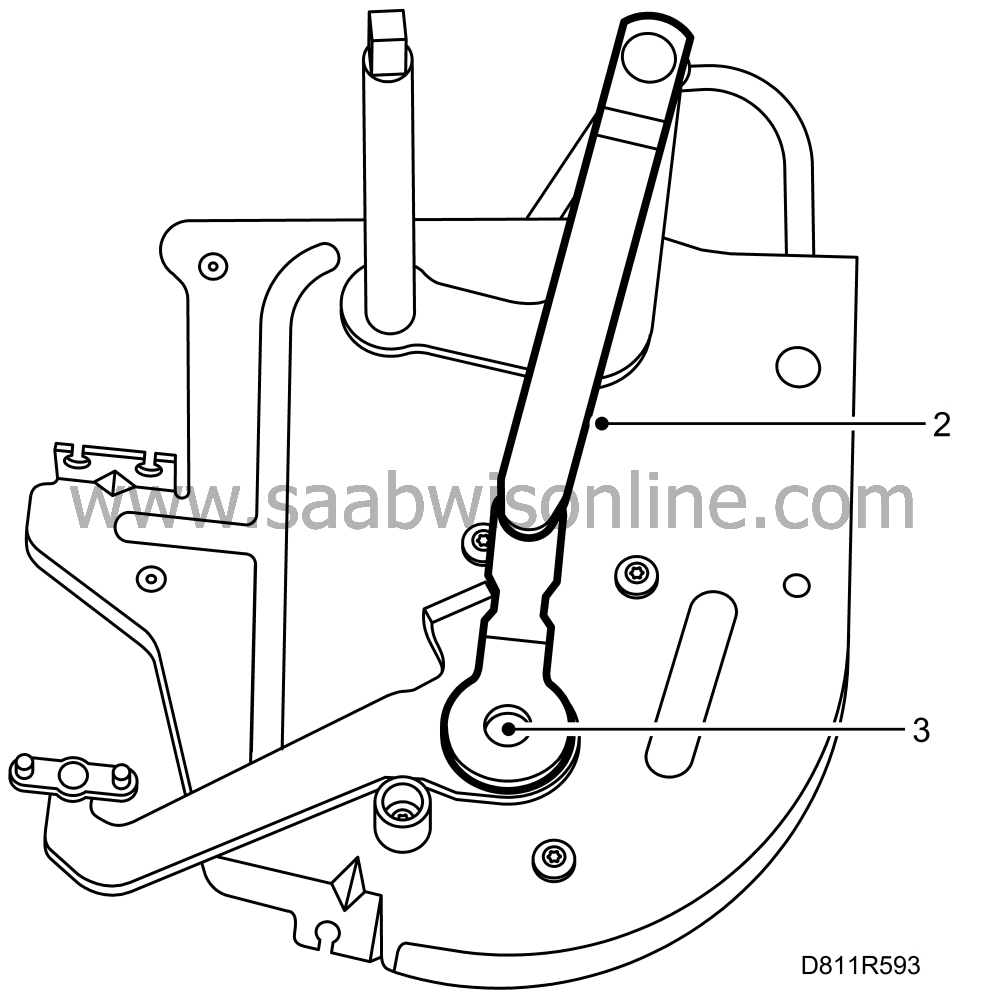
Undo the bolt securing the link arm and remove the link arm.
|

|
1.
|
Fit a new link arm, part no. 45 57 906. Make sure it is positioned correctly on the shaft. Tighten the bolt.
|
|
2.
|
Fit the drive unit. See
 . Plug in the connectors of the motor and potentiometer.
|
|
3.
|
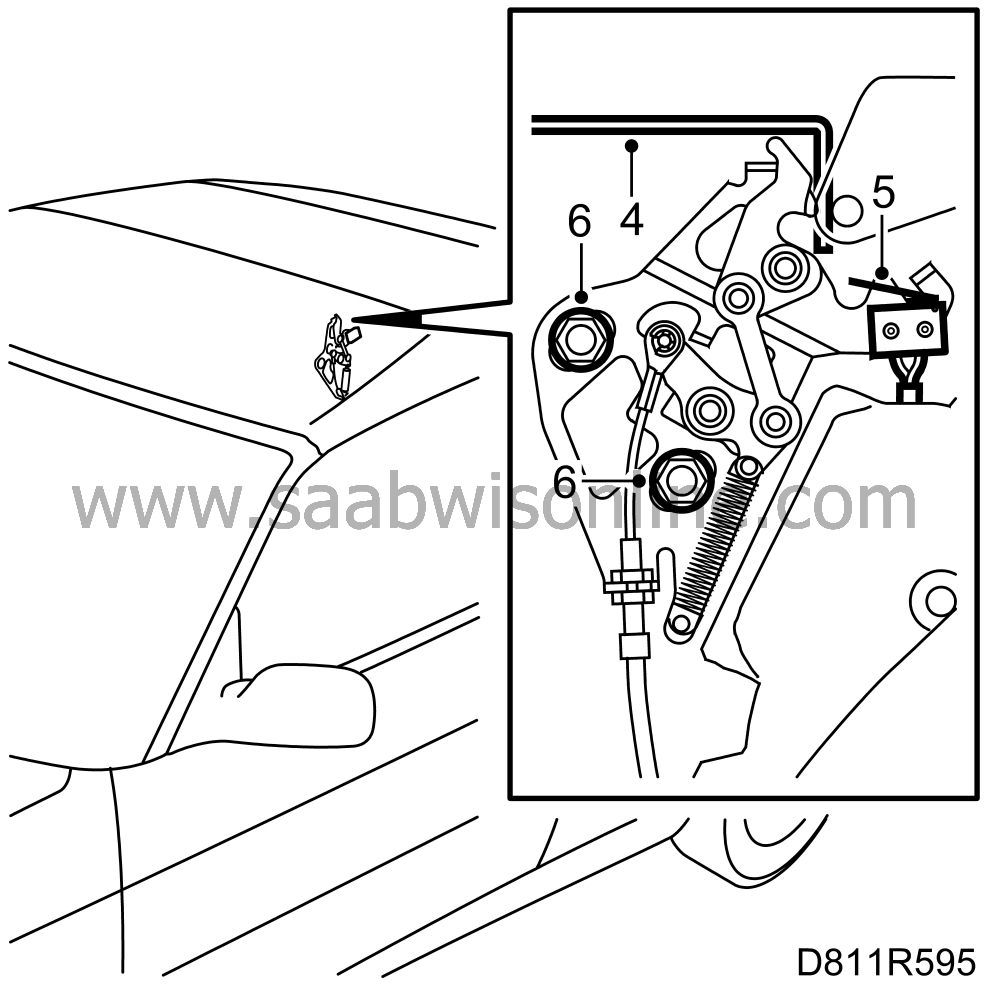
After changing the link arm, the front soft top cover latch must be checked and adjusted, if necessary.

|
|
4.
|
Raise the soft top cover sufficiently so that the special tool (16) 82 93 177 can be positioned as illustrated.
|
|
5.
|
Make sure the soft top cover latch fitting goes freely into the latch without touching the tool. Listen for a ”click” as the microswitch is activated. The latch must be adjusted towards the front if it touches the tool.
|
|
6.
|
Adjustment:
Remove the appropriate side trim. See
 .
.
Undo the two nuts securing the latch and press it forwards. Tighten the nuts.
Return to step 4 and check the adjustment.
The soft top cover may ”knock” on the latch when closing. If this is the case, lower the latch slightly so that the soft top cover rests on the seals.
Fit the rear side trim. See
 .
.
|
|
7.
|
Connect the diagnostic tool, clear any diagnostic trouble codes and then program the control module. See
 .
.
|
 .
.

 . Plug in the connectors of the motor and potentiometer.

 .
.


