Evaporator
| Evaporator |
|
|||||||
| Important | ||
|
If the pipes between the evaporator and the grommet in the bulkhead are jointless, they must be cut. Therefore, a new evaporator must then be fitted. |
||
| 1. |
Remove fuse 22.
Drain the refrigerant from the A/C system. See Draining and filling of refrigerant . |
|
| 2. |
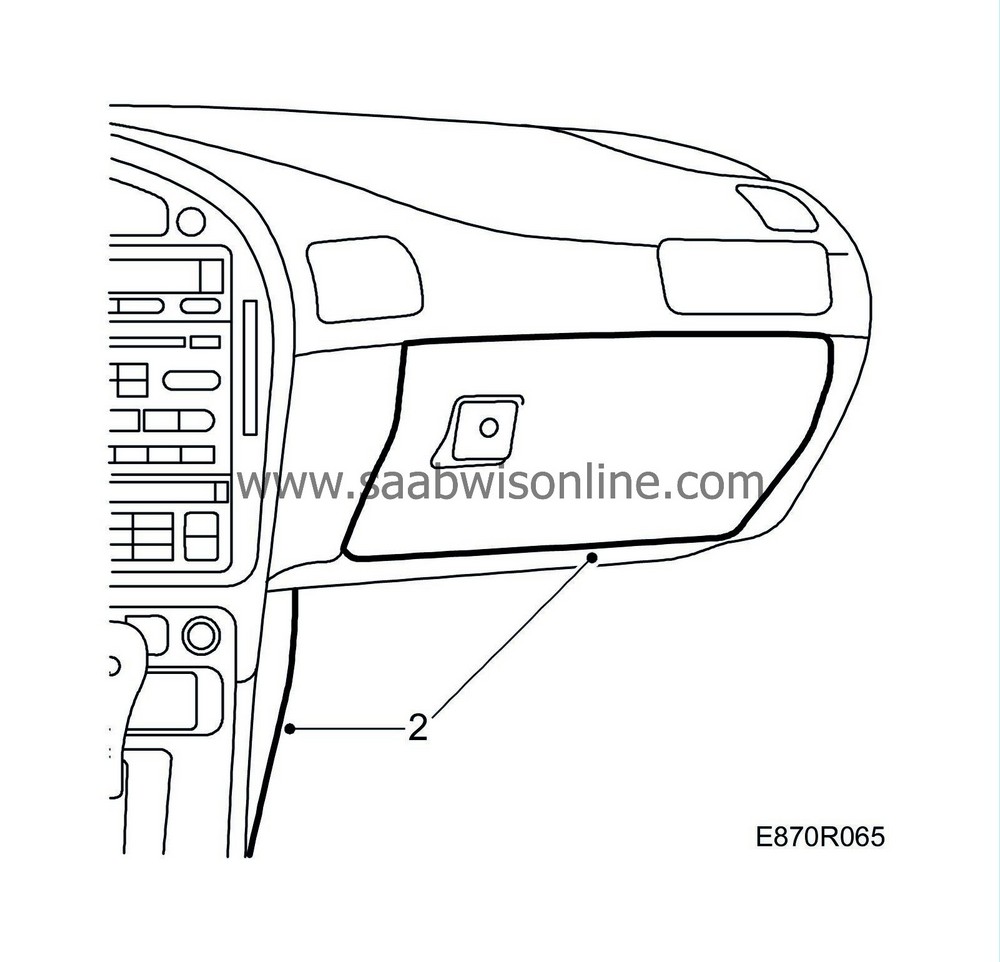
Remove the
Glove box
.
|
|
| 3. |
Cut the cable tie holding the wire harness to the service cover. Also cut the cable tie holding the cooler hose to the glove box.
|
|
| 4. |
Remove the service hatch bolts. Fold up the service hatch.

|
|
| 5. |
Remove the fresh-air filter and filter element or particle filter.
|
|
| 6. |
Remove the ventilation fan, see
Ventilation fan
.

|
|
| 7. |
Remove the expansion valve, see
Expansion valve
.
|
|
| 8. |
Cut the A/C pipes to the evaporator with a sheet metal cutter or air-driven jigsaw.
The pipes are accessible from the engine bay by the air recirculation flap. |
|
| 9. |
Pull out the evaporator.

|
|
| 10. |
Cars with temperature sensor
: Remove the temperature sensor from the evaporator.
|
|
| 11. |
Pull out the pipes from inside the cabin.
|
|
| 12. |
Vacuum pump the heating and ventilation unit to remove any cuttings.
|
|
| Fitting |

| 1. |
Cars with temperature sensor
: Make a hole for the temperature sensor and its clip in the evaporator cooling fins, 60 mm from the bottom of the 11th fin (from the passenger side). Use a tool with a round tip, e.g. a cross-head screwdriver that is 4.5 mm in diameter.
Fit the temperature sensor in the evaporator. |
|
| 2. |
Adjust the oil level in the compressor. See
Filling and adjustment of compressor oil
.
|
|
| 3. |
Insert the plugged pipe set from inside the cabin.
|
|
| 4. |
Position the filter retainer against the evaporator.
|
|
| 5. |
Push in the evaporator to the heating and ventilation unit.
|
|
| 6. |
Remove the plugs in the A/C pipes and fit the expansion valve, see
Expansion valve
.
|
|
| 7. |
Position the PAD connection with the corresponding pipe set.

|
|
| 8. |
Locate the bolt in the PAD connection and tighten it from inside the engine bay by the air recirculation flap.
Tightening torque: 8 Nm (5.9 lbf ft) |
|
| 9. |
Fit the ventilation fan, see
Ventilation fan
.
|
|
| 10. |
Fit the fresh-air filter. When changing filter, see
Replacing the fresh air filter
.

|
|
| 11. |
Fit the service cover.
|
|
| 12. |
Fasten the wiring harness and cooler hose with cable ties.
|
|
| 13. |
Fit the side trim on the centre console.

Fit the glove box. See Glove box . |
|
| 14. |
Evacuate the A/C system and fill with R134a refrigerant. See
Draining and filling of refrigerant
.
Fit fuse 22. |
|


 Warning

