Rear Suspension Support Bushing Replacement
| Rear Suspension Support Bushing Replacement |
Special Tools
| • |
CH-48377
Remover/Installer
|
|
| • |
CH-49233
Press Tool
|
|
| • |
CH-8996928
Removal Tool, Bushes Rear Subframe
|
|
For equivalent regional tools, refer to Special Tools .
| Removal Procedure |
| 1. |
Raise and support the vehicle. Refer to
Lifting and Jacking the Vehicle
.
|
|
| 2. |
Remove the tires and wheels. Refer to
Tire and Wheel Removal and Installation
.
|
|
| 4. |
Remove the park brake cables from the support. Refer to
Parking Brake Rear Cable Replacement (J71)
.
|
|
| 5. |
Remove lower fastener shock absorber. Refer to
Shock Absorber Replacement (GNC)
Shock Absorber Replacement (GNE)
.
|
|
| 6. |
Remove rear springs. Refer to
Rear Spring Replacement (GNC)
Rear Spring Replacement (GNE)
.
|
|
| 7. |
Disconnect the electrical connection.
|
|
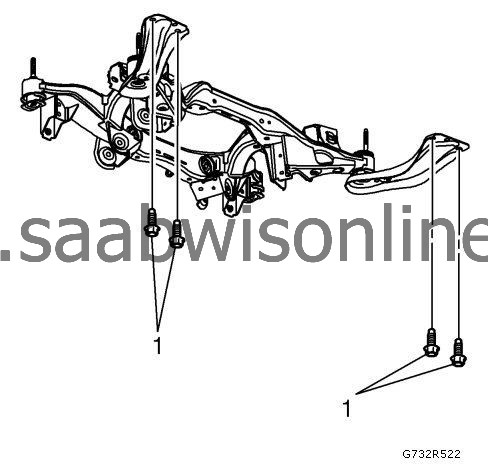
| 8. |
Remove reinforcement arm bolts (1) to body.
|
|
| 9. |
AWD:
Remove the propeller shaft. Refer to
Propeller Shaft Replacement
.
|
|
| 10. |
Position a transmission jack under the rear support and firmly secure the support to the jack with straps.
|
|
| 11. |
Mark up support position to body with spray paint.
|
|
| 12. |
Remove the 4 rear support to body bolts (1).
|
|
| 13. |
Remove the rear support assembly from the vehicle.
|
|
| 14. |
With the aid of an assistant, remove the rear support from the transmission jack and place it on the floor.
|
|
| 15. |
Remove the washers from the front bushings.
|
|
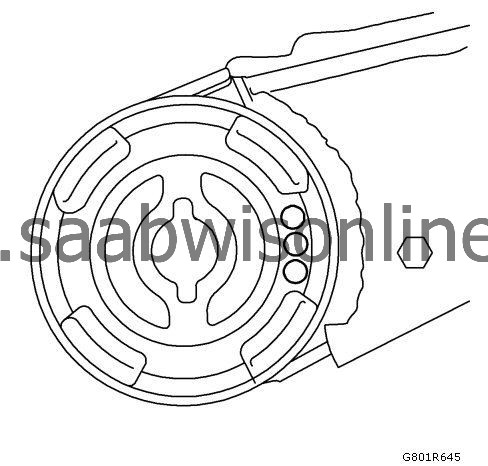
| 16. |
Drill through rubber bushings with drill 8 mm. See diagram.
|
|
| 17. |
Remove the bushings by placing
CH-48377-1
drift mandrel between bushings and wall of rear axle and drift out.

|
|
| Installation Procedure |
| Note | ||
|
When transferring any suspension components, refer to each suspension component replacement procedure for the proper torque specifications. |
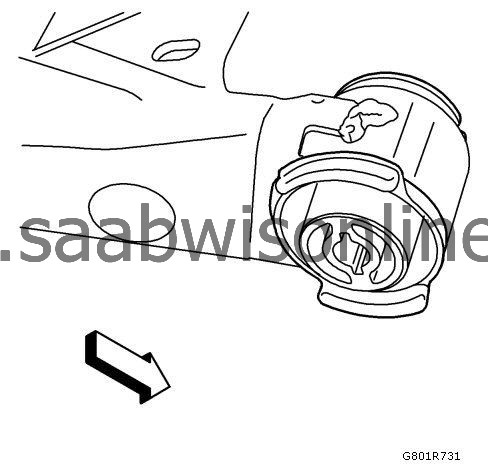
| 1. |
Locate the front bushings as shown in the picture.
|
|
| 2. |
Locate the rear bushings as shown in the picture. 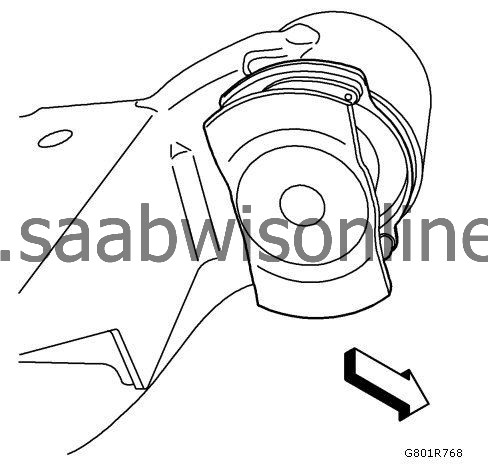
|
|||||||
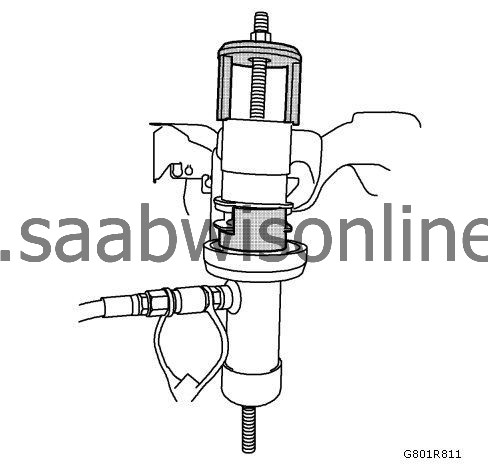
| 3. |
Coat damping bushing with silicone grease and install the bushings. Use hydraulic press tool
CH-49233
Press Tool and
CH-8996928
Removal Tool.
|
|
| 4. |
With the aid of an assistant, position the rear support onto the transmission jack and firmly secure the support to the jack with straps.
|
|
| 5. |
Position the rear support assembly to the vehicle.
|
|
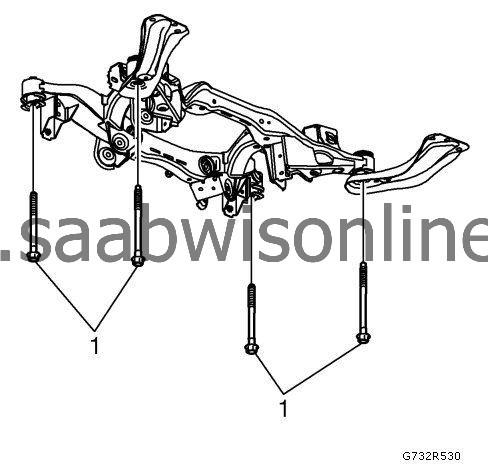
| 6. |
Refer to
Fastener Caution
.
Install 4 NEW rear support to body bolts (1). TightenTighten to 90 Nm (66 lb ft) + 180 degrees + 15 degrees
|
|
| 7. |
Connect the electrical connection.
|
|
| 8. |
Install rear springs. Refer to
Rear Spring Replacement (GNC)
Rear Spring Replacement (GNE)
.
|
|
| 9. |
AWD:
Install the propeller shaft. Refer to
Propeller Shaft Replacement
.
|
|
| 10. |
Install NEW reinforcements arm bolts (1) to body.
TightenTighten the bolts to 150 Nm (111 lb ft) + 30 degrees + 15 degrees.
|
|
| 11. |
Install shock absorber lower fastener. Refer to
Shock Absorber Replacement (GNC)
Shock Absorber Replacement (GNE)
.
|
|
| 12. |
Install the park brake cable. Refer to
Parking Brake Rear Cable Replacement (J71)
.
|
|
| 14. |
Install the tires and wheels. Refer to
Tire and Wheel Removal and Installation
.
|
|
| 15. |
Lower the vehicle.
|
|
| 16. |
Check the rear alignment. Refer to
Wheel Alignment Measurement
.
|
|
This project is supported by memberships and donations. If you use this site, please consider Joining SCNA and/or making a donation.
Our Friends
